Kracker Jack
God
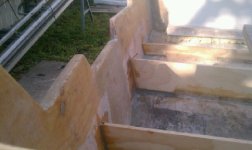
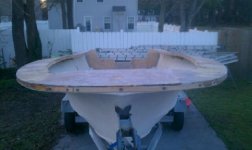
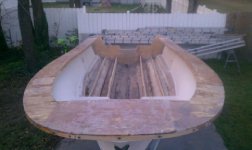
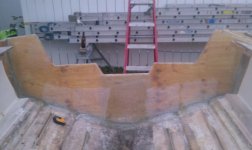
Well guys the temp is gonna be 65 degrees tomorrow so I will be taking half the day off from work and glassing my inner skin. Im sure there will be a beer or two drank also.
Follow along with the video below to see how to install our site as a web app on your home screen.
Note: This feature may not be available in some browsers.
 I take pics with my phone and then send them to my email. After they show up on my email I then download them to my computer. After that i go to my thread and open up the comment or reply to thread window. Then click on that paper clip icon on the tool bar next to the smiley face. your picture download window will then open. Click browes and your commputer options for pictures window will open double click your picture of choice.click up load on your picture download window and your done.
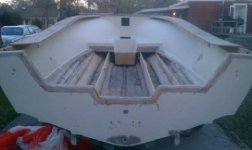
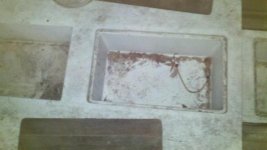
 you have no cap like this one. this one was hand made and builtok i see mine is made a lil diff i have no cap unless it rotted away and how do i get the fish boxes out without messing up my step into cuddy to lhe left is the step down and middle is the box and far right is the other box

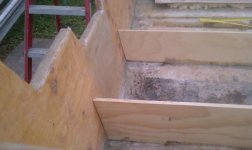
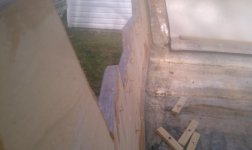
 looking good