reelapeelin
God
Nice work, Kracker...lookin' good...can't wait to see to progress on this...
Follow along with the video below to see how to install our site as a web app on your home screen.
Note: This feature may not be available in some browsers.
Is there anyway I can move this thread over to the repair section? or is it ok to keep posting here?
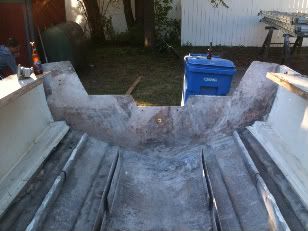
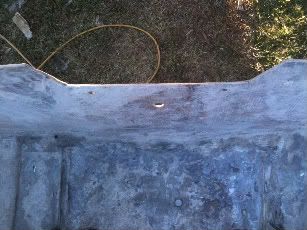
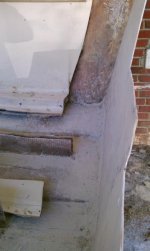
no wonder transoms rot out in these rascals so soon if there not done right, the bilge holds water 3 or so inches deep and can not drain. so should I keep it the same height as the sump box, or should i drop the height a little so that it drains more efficiently?
do i need a splash well plug?
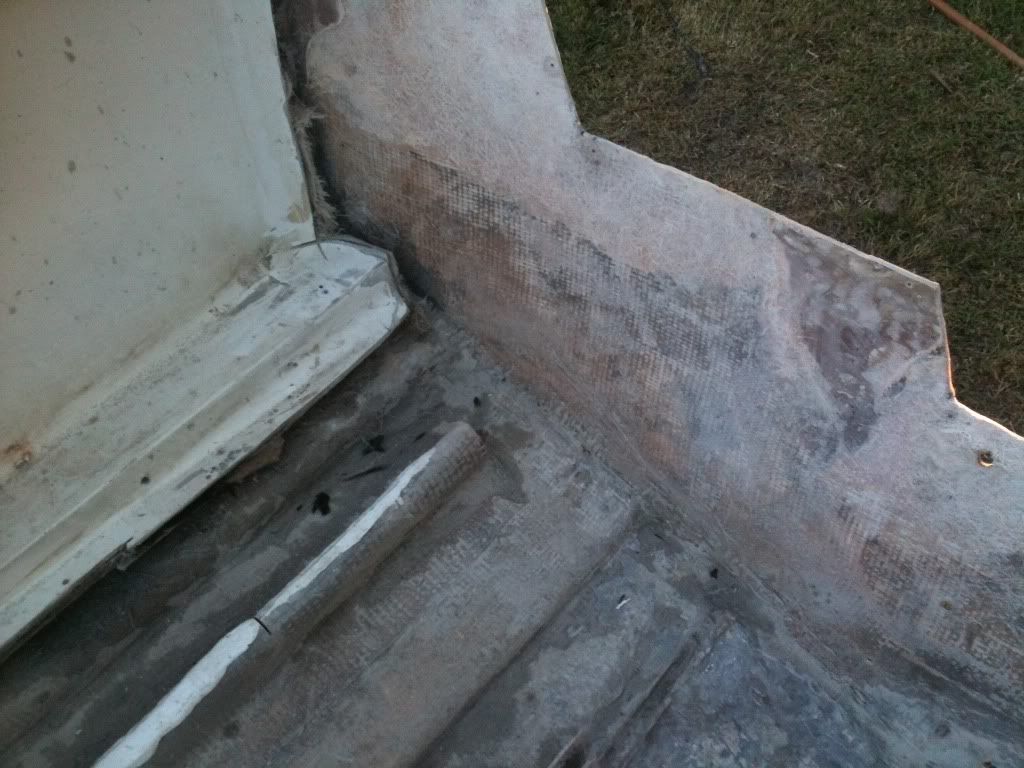
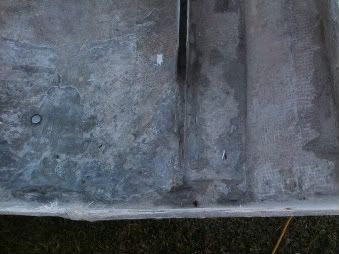
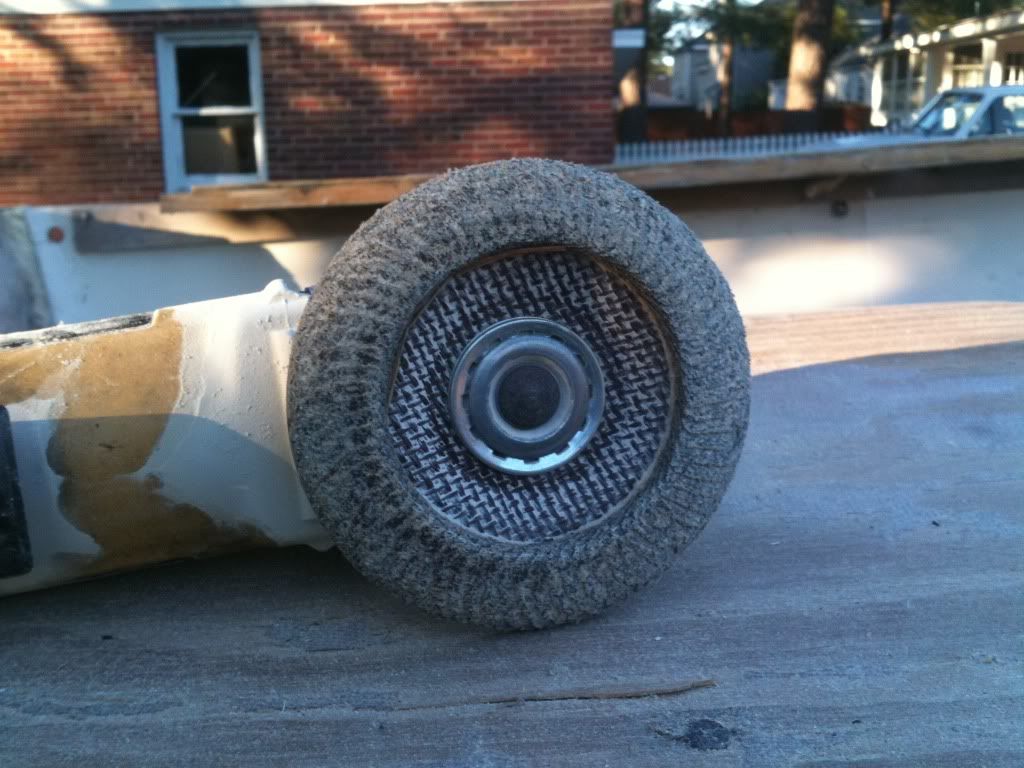
The word of today is "ITCHY"!!!!!! More prep work today. I read these post over and over and the phrase that sticks in my head is "prep work is key to a sucessfull project" I have decided to go with a 25" transom and im buying a spacer for my 20" lower end. my old lady bought me a seperate clothes hamper for my boat working clothes, she went to work the other morning itching her butt off after washing her clothes with some that i worked on the boat with. LOL!!!!! SHE WAS BENT!!! Will post some pics of my work today later
rub your arms and neck down heavy with baby powder before you start grinding, I don't know what it does, but it sure prevents itching from glass