Kracker Jack
God
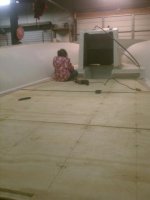
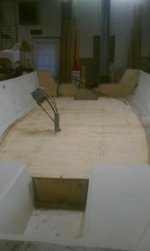
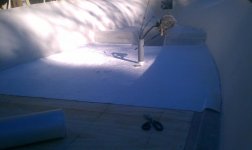
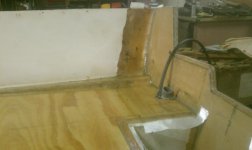
You are on point! I tried it today and its a no go. I'm going to run the teleflex and controls another route and just keep that Chase pipe for power and neg wires ,fuel and other wiring. I'm just not comfortable cutting my stringer out any more.Kracker:
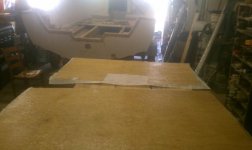
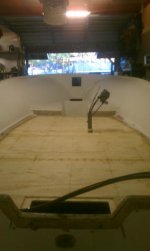
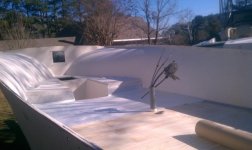
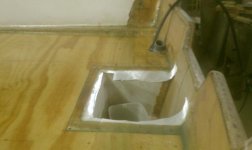
I recommend you dry your rigging thru that chase before you mount the deck. It looks relatively small in the pics with several 90 degree corners that may makes rigging a real pain. Especially if your going to use mechanical steering!
Keep up the good work.
Kamikaze
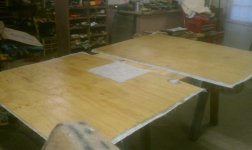
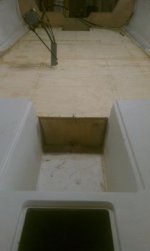
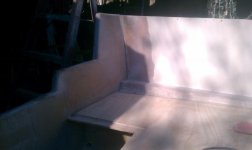
 The transom end is 2 sweeps together to make a broad 90 degree angle.The other ened was just a hope and a prayer. It really not to big of a deal beacause I have a plan B to run teleflex and controls