Wellcraft, V20 and Steplift remain the property of the Wellcraft Company
Install the app
How to install the app on iOS
Follow along with the video below to see how to install our site as a web app on your home screen.
Note: This feature may not be available in some browsers.
You are using an out of date browser. It may not display this or other websites correctly.
You should upgrade or use an alternative browser.
You should upgrade or use an alternative browser.
Hammer's transom Rebuild
- Thread starter msbhammer
- Start date
")
Bygracealone
God
Hammer,
This is my first run in with this thread. I've been away for a few weeks, so when I first saw this I thought it was your original V you were working on.
Wow! Looks really good so far. Keep her going; it won't be long now.
I'm really proud of ya' man.
Hey, don't let that dually on Ebay get to you. As I said in another post, many people wait to the last seconds before bidding on things. Ebay is hardly the thing to look to for determining what your boat might be worth. Do a good job, as I know you will, and you may be surprised.
looks good Mike 8) How are the stringers where they meet the transom. I know my project was rotted the first 2 feet of the stringers because Wellcraft failed to seal that drain hole. Not to add more work to your plate but you have enough access to them to make an easy repair if they need it. Just my .02.
I always wondered how important the wood in the stringers are to this hull. I know with other makes the fiberglass is where the strength is. We have discussed this before on the board, but I don'y think we ever came to a conclussion ???
I always wondered how important the wood in the stringers are to this hull. I know with other makes the fiberglass is where the strength is. We have discussed this before on the board, but I don'y think we ever came to a conclussion ???
I'm a wussy, Cant work in that heat. Will wait till November. LOL. ;D ;D ;D ;D
Mulv, I was really surpised how solid the stringers were. One stringer had about 3/4" of rotted would that I cleaned out and will fill with resin.
Somebody by that dually and donate the bracket. LOL. ;D ;D ;D ;D
Hopefully the bonding to the outer skin will go good.
Guessing wetting down both pieces, but then adding some filler as well to fill any voids. Then screwing teh hell out of it from the outside to pull it all tight.
Sound right. ???
Looking at that last Pic. Mulv. This year V or any other I guess could sure one more stringer on either side..
Once I get the cap on, I;m not gonna glass it to the floor just yet. Wanna decide how I will replace a 2x2 soft spot
I think SKOOL is beefing up his floor with3/4 and my be adding more support as well.
Once I get the cap on, I;m not gonna glass it to the floor just yet. Wanna decide how I will replace a 2x2 soft spot
I think SKOOL is beefing up his floor with3/4 and my be adding more support as well.
C
chesapeake_dreamin
Guest
Mike I'm sorry it took so long. Been crazy with this heat wave and a lot of catching up to do after being off for three weeks. Not to mention it was nice to have a few days off with just wifey and me. With that said here's the eye candy.
Not sure of the year but it's free and in real rough shape. About the only thing not damaged or rotten are the slider and the windshield. Not sure of the year, like I said it still has the plastic molded logo and V20.
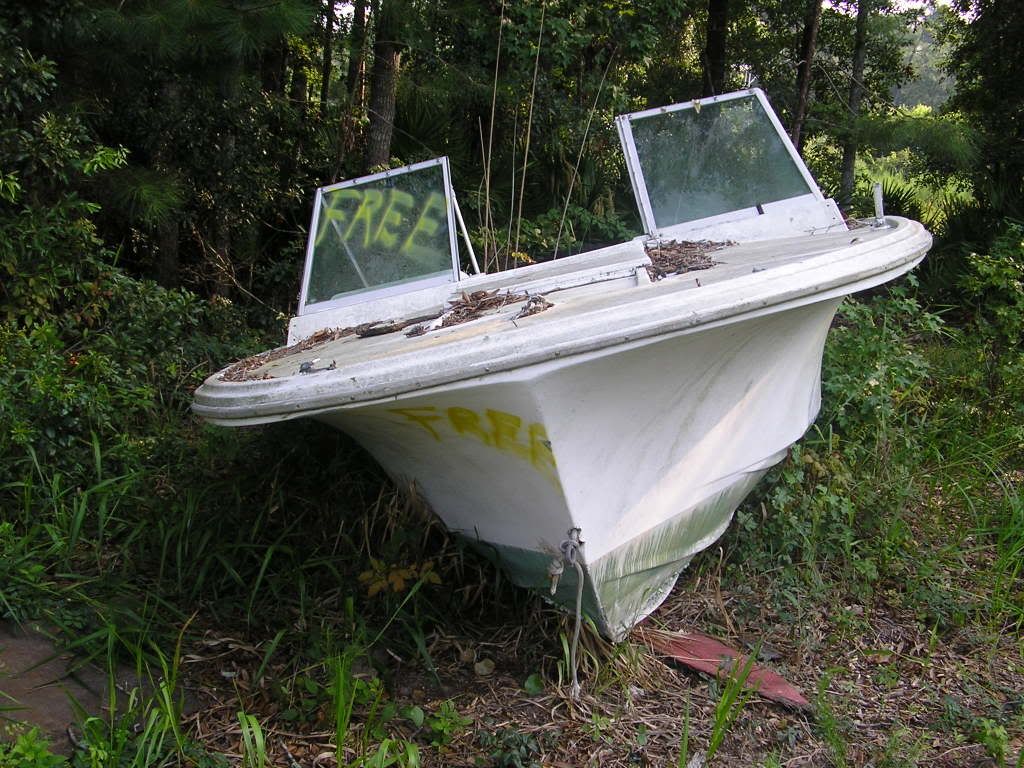
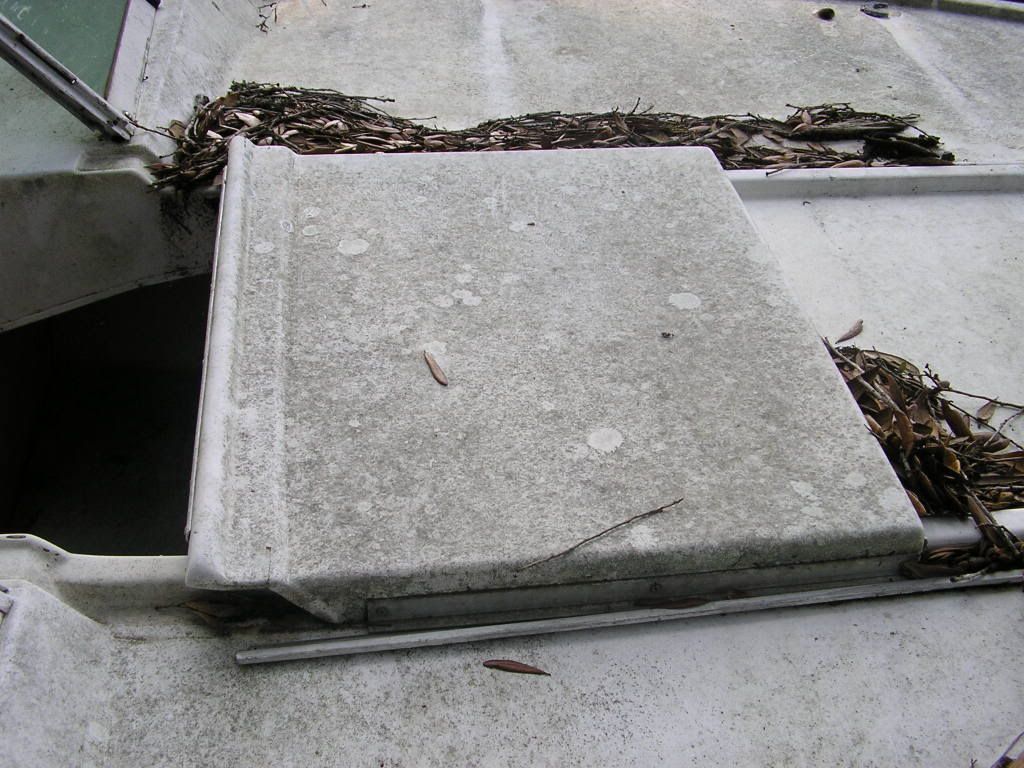
not barried but full of dirt and a few things growing


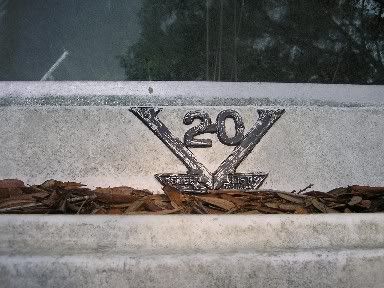
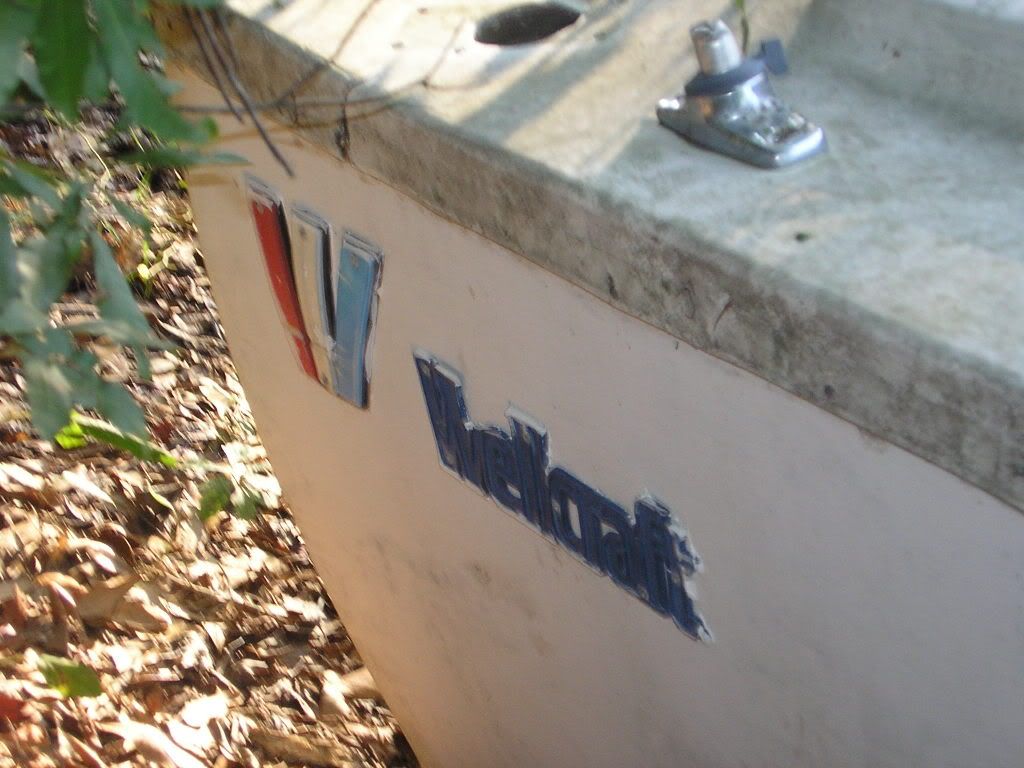
Not sure of the year but it's free and in real rough shape. About the only thing not damaged or rotten are the slider and the windshield. Not sure of the year, like I said it still has the plastic molded logo and V20.
not barried but full of dirt and a few things growing
C
chesapeake_dreamin
Guest
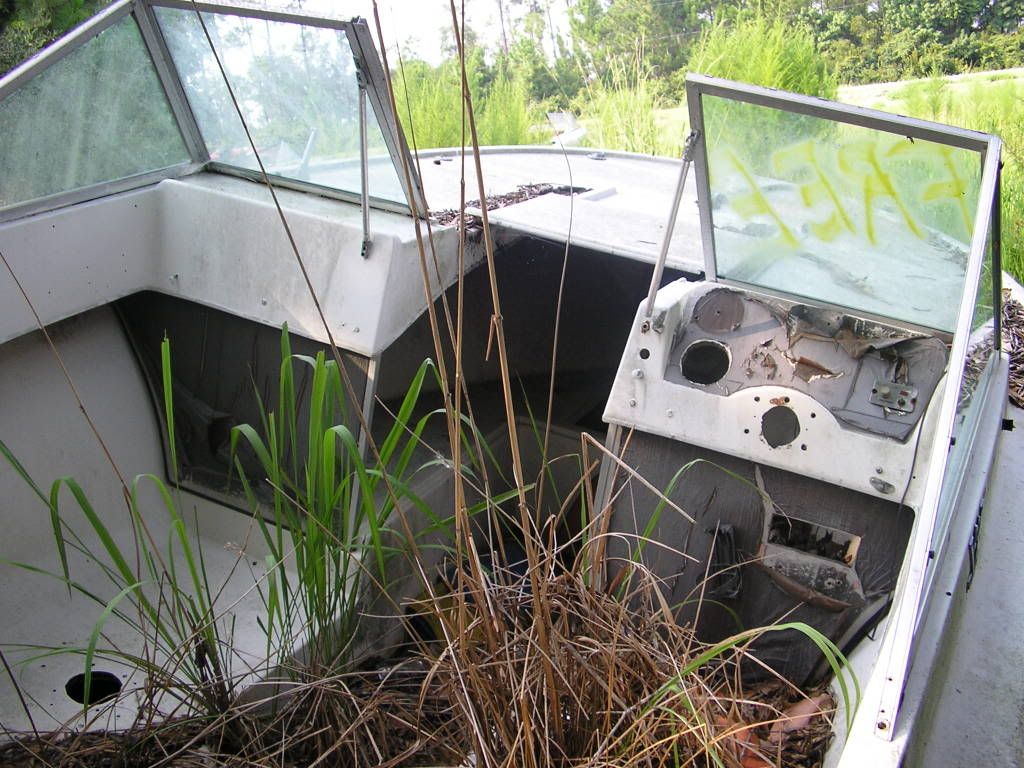
Notice the eye bolt through the bow. Lots of work, more then my knowledge not to mention wifey gave me the big HE*& NO last night. ;D the one pic is of a gash in the side wall and that rear end is shot. No worries, with the heat wave and drought here, I've seen another that was covered in cuzu. Now that the vines are dieing off, I'm going to take a look and offer to just pull it out for the guy. I'ts on a trailer and look sound other then the pine sap and vines.
Cool deal Chesapeake! Thanks for the pics. Good windshield and slider there. Somebody might be able to use those saddle tanks too if they are there. Then again they might not be any good after sitting so long.
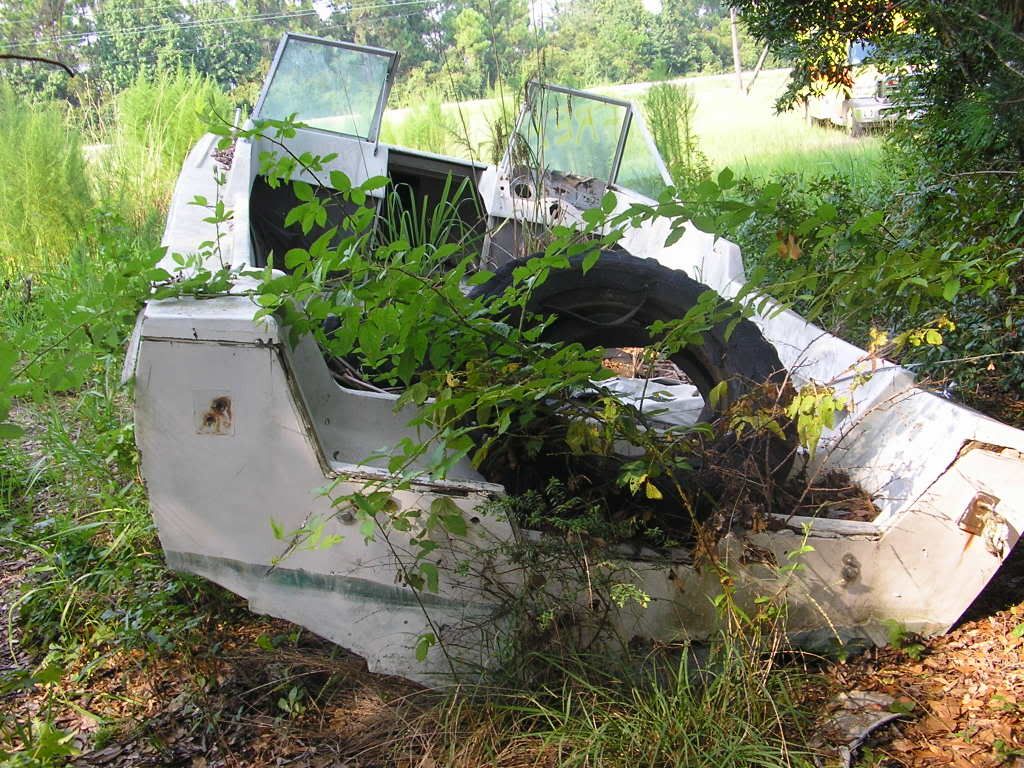
Looks ready for splashdown if you ask me! Who wants to go first on the "innertube" on the back of that beauty? ;D
Looks ready for splashdown if you ask me! Who wants to go first on the "innertube" on the back of that beauty? ;D
Ok, it rained last night and was hot as hell today again, but I had the V tarped up so I could do some work on her. Had some spare West System so I went animal on the transom. ;D
I had a cure time of working of 20 minutes. Well after 10 minutes she was heating up quick. I was against clock here big time. :-/

Soaked the inside of the skin and the transom wood up really well. Because I was working so fast and by myself, I didnt realize I screwed up. When I knocked in some supports, the transom wood raise up about 1/2 from the bottom. :-/ Said hell with it and screwed the hell out of her from the outside.

Ran out to the store to buy some more. :-/ :'( :'(
It wasnt free. Those microfibers is some super strong stuff. Like concrete when it dries.

Grinded down the screws and went ahead and wetted down the inside. Had concerns about the wood asorbing when I add in the second transom piece. Figured this might prevent any non bonding and seperation. Yes, I did...I cit slices down her to get the bend. Thickness of one ply, then I tossed on a few batteries to bend her overnight. I'm gonna fill in the cuts with filler.


I had a cure time of working of 20 minutes. Well after 10 minutes she was heating up quick. I was against clock here big time. :-/
Soaked the inside of the skin and the transom wood up really well. Because I was working so fast and by myself, I didnt realize I screwed up. When I knocked in some supports, the transom wood raise up about 1/2 from the bottom. :-/ Said hell with it and screwed the hell out of her from the outside.
Ran out to the store to buy some more. :-/ :'( :'(
It wasnt free. Those microfibers is some super strong stuff. Like concrete when it dries.
Grinded down the screws and went ahead and wetted down the inside. Had concerns about the wood asorbing when I add in the second transom piece. Figured this might prevent any non bonding and seperation. Yes, I did...I cit slices down her to get the bend. Thickness of one ply, then I tossed on a few batteries to bend her overnight. I'm gonna fill in the cuts with filler.