Transom repair - Here we go..... (long)

Yes sir. About $475 for the three 5 gal buckets plus activator. I did use about half a gallon on poly resin to coat the insides. I'll need a little more to seal the vertical sections of the transom that are open to the inside. I'll make sure I have a pic of that so you can see what I'm talking about. I spent $10 at harbor freight on the 2' drill bits and I picked up a few other things that I thought would help that I ended up not needing. And I had to buy the 3' x 3" steel bar that I used to scrape the remaining wood off the inside ( I don't have as much junk lying around as I used to - my wife makes me keep it clean). Anyway, that bar at Lowes was about $10. All in all, probably not much more that $550. If you can get a chainsaw that will reach the limits of wood throughout the entire transom, that is the ticket. Mine was to small so I had to resort to physical labor. I could have rented a 24" for $65, but I was dumb and said I don't want to spend that. In hindsight, I should have rented it and been done with it in no time. Hopefully pics when I get home tonight.

Maury
 
Here we go with more pics.

P1010280.jpg

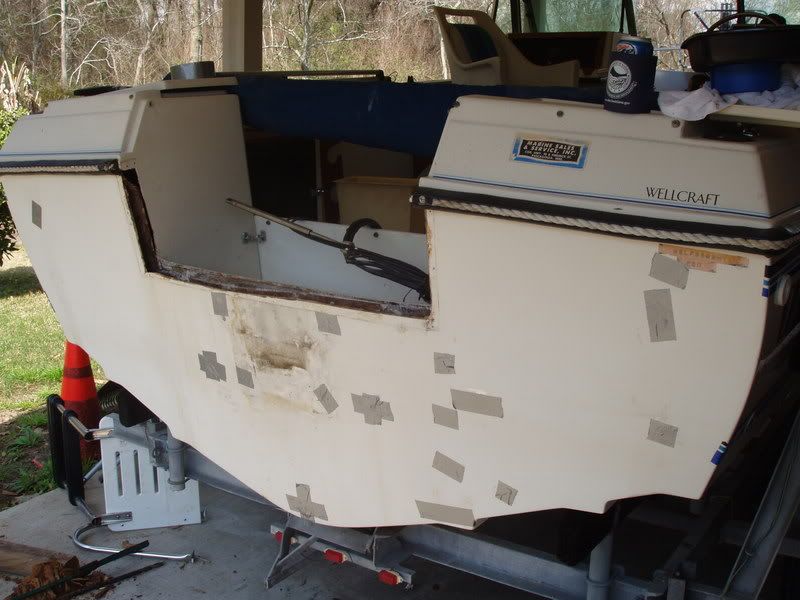
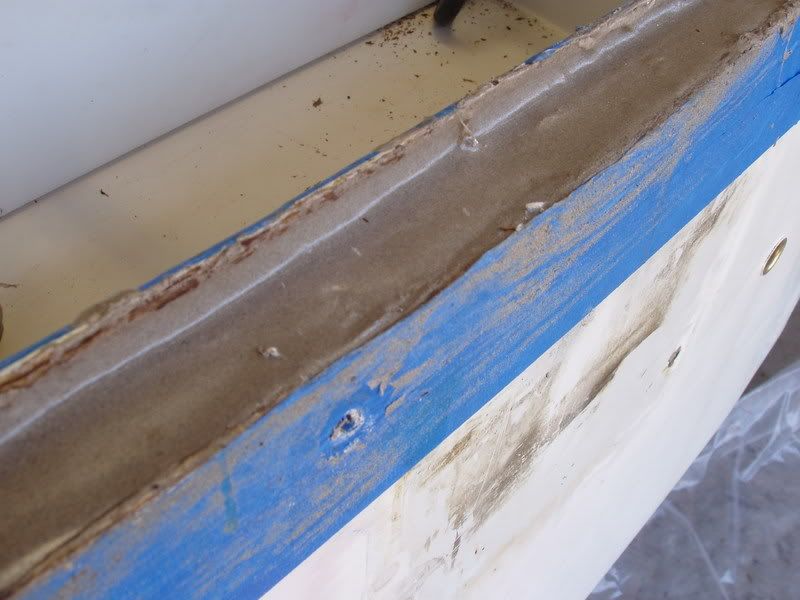
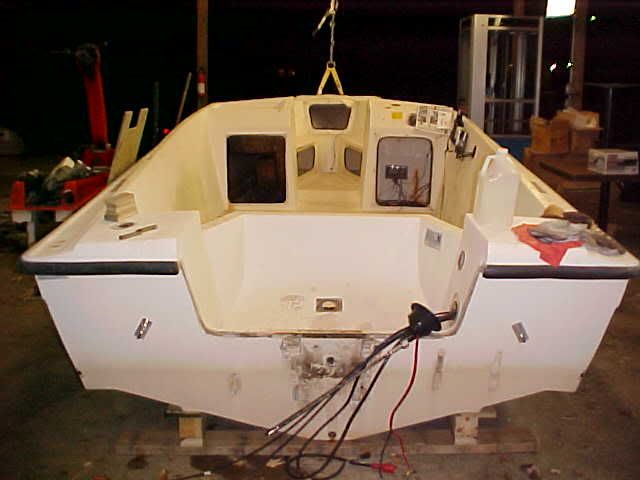
Here she is all taped up. Important note, don't use cheap painters tape. It doesn't work well. Make sure EVERY hole is closed. There was one at a seam on the inner liner that I could not have known about unless I had filled her up with water.

P1010283.jpg

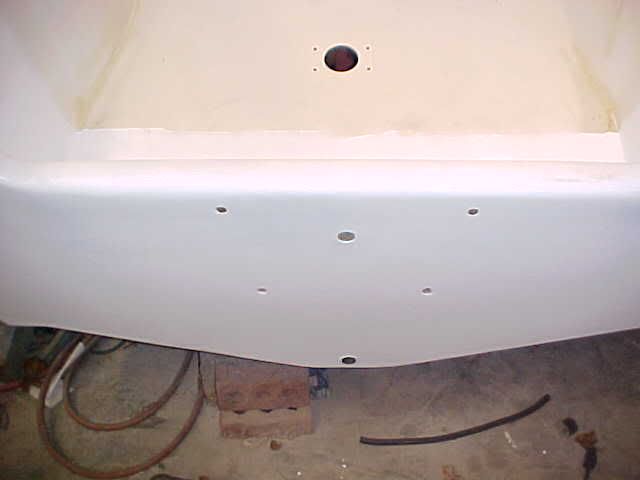
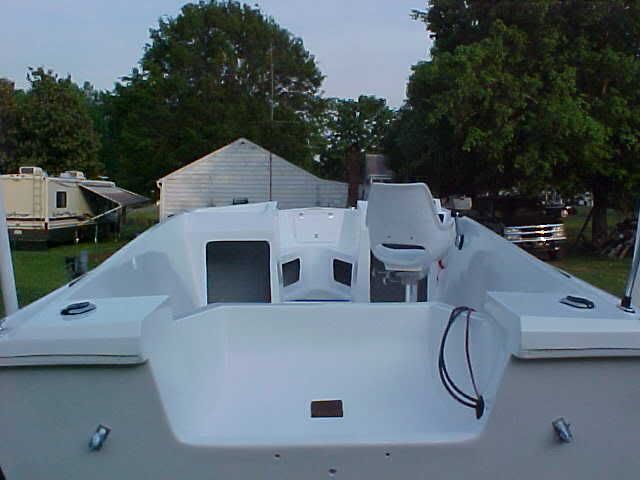
The inside, not quite finished.

P1010281.jpg

Another inside view. She looks pretty clean. I sanded as much as I could. I found that using the long drill bit as a sander worked well. It scrapped the sides pretty clean.

P1010284.jpg

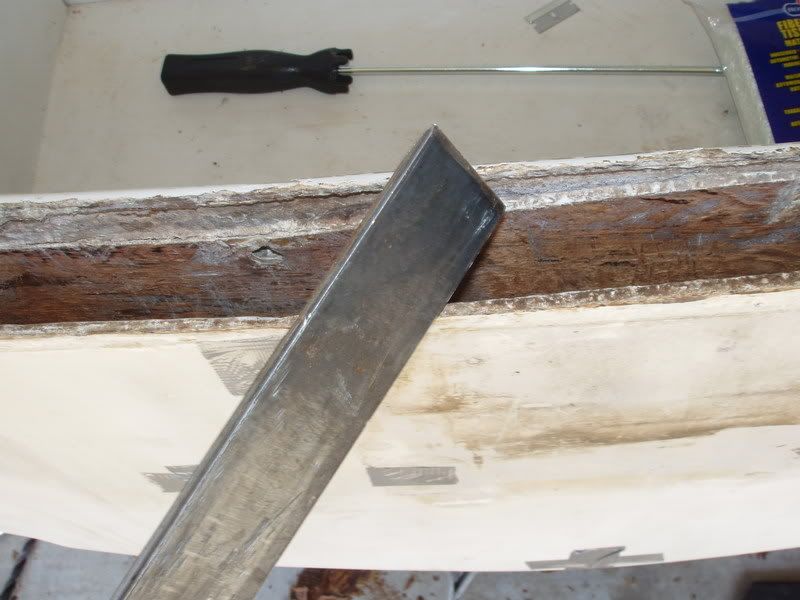
Here is my metal bar scraper. Can you say physical labor?? I was pretty sore after a few hours with this.

P1010289.jpg

Another ready to pour shot.

P1010288.jpg

Time for a break and a beer prior to the final steps. Yes, that's a self portrait.

P1010304.jpg

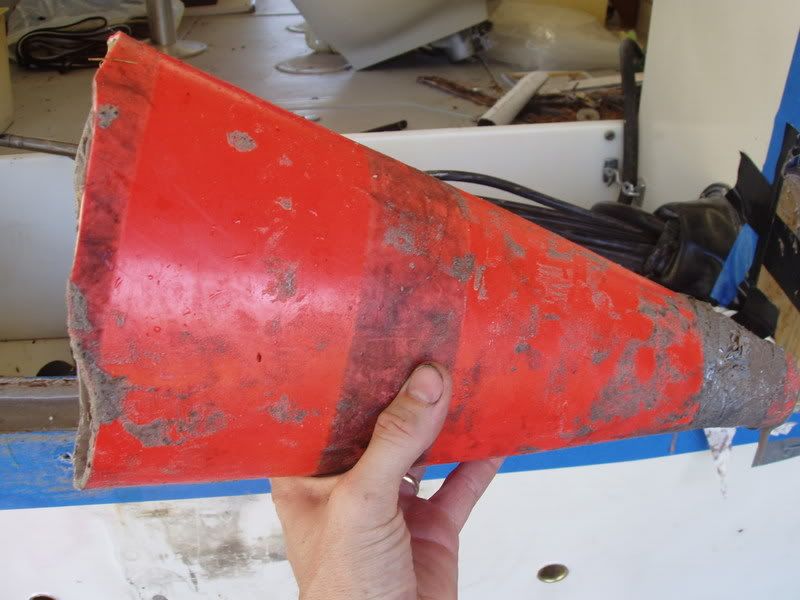
No actual shots of the actual pour as it was a two person job. Here's my traffic cone fullel.

P1010290.jpg

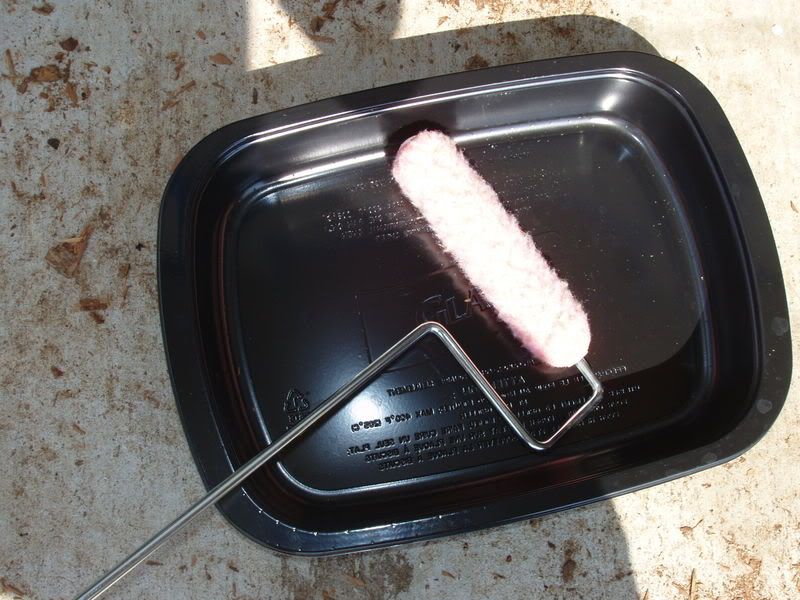
I coated the interior really well with resin before I poured the transom compound. Here is the small roller I used.

P1010293.jpg

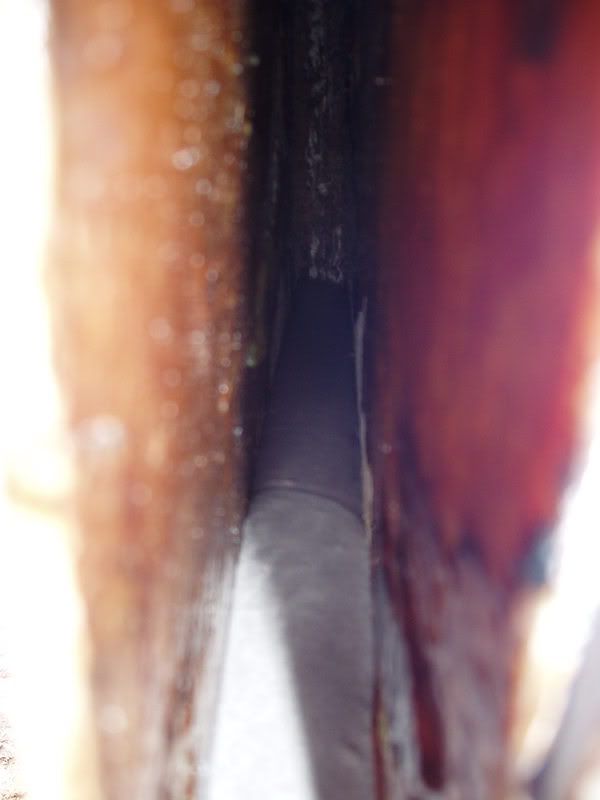
The first pour. The stuff really self levels. This is looking toward the side (starboard?)

P1010295.jpg

More pour

P1010292.jpg


P1010303.jpg


P1010302.jpg

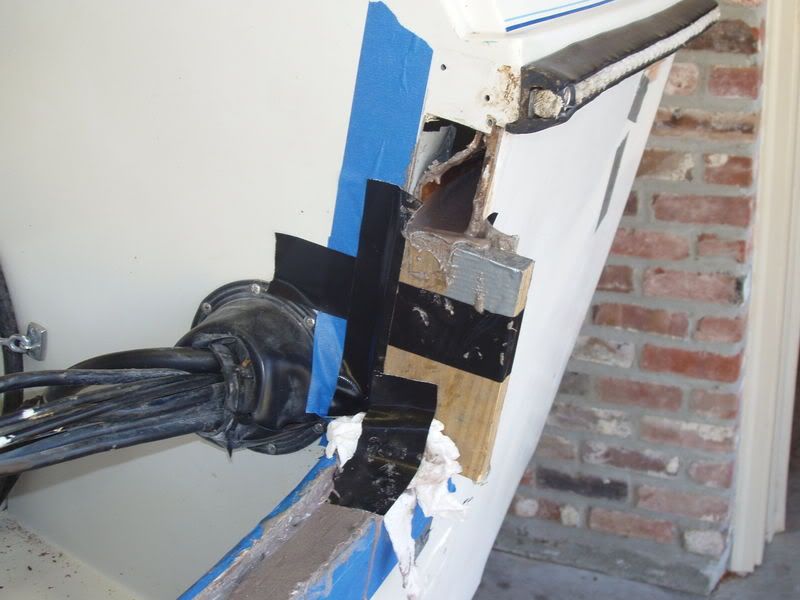
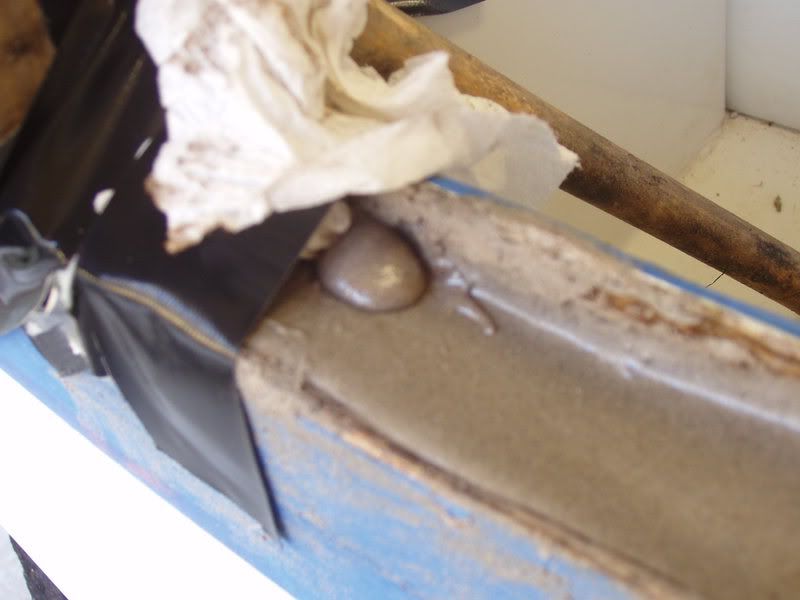
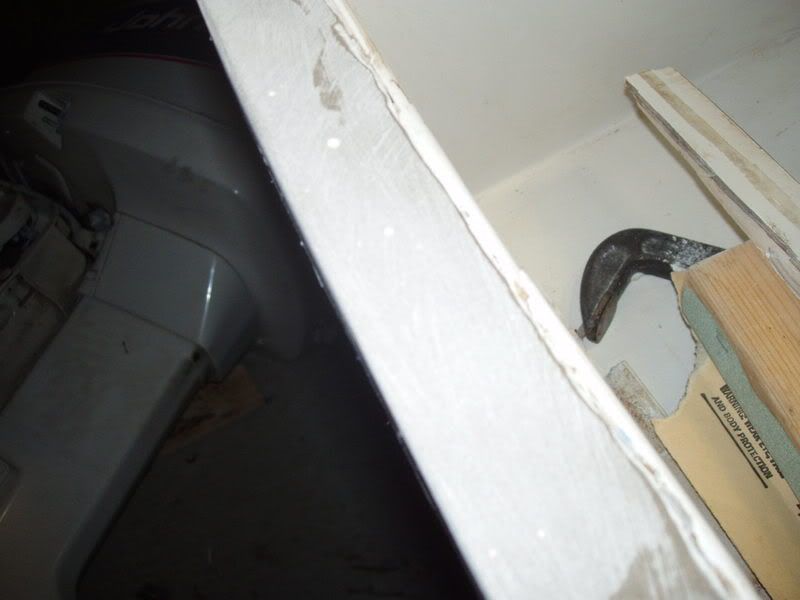
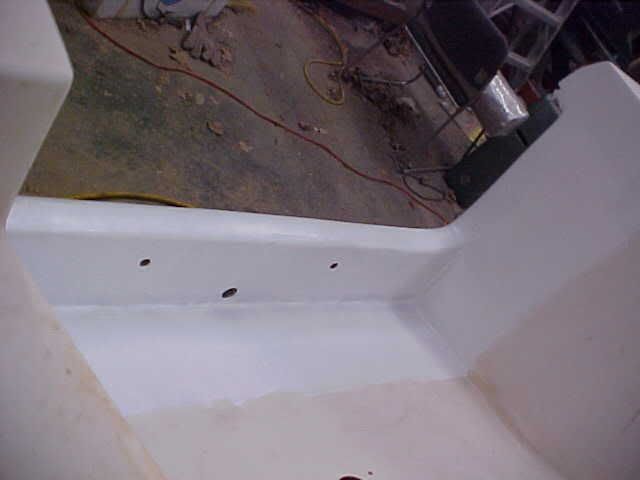
Here's the high tech engineering to block up the sides. Use good tape as this stuff leaks through even the smallest hole.

P1010305.jpg

See what I mean

P1010310.jpg

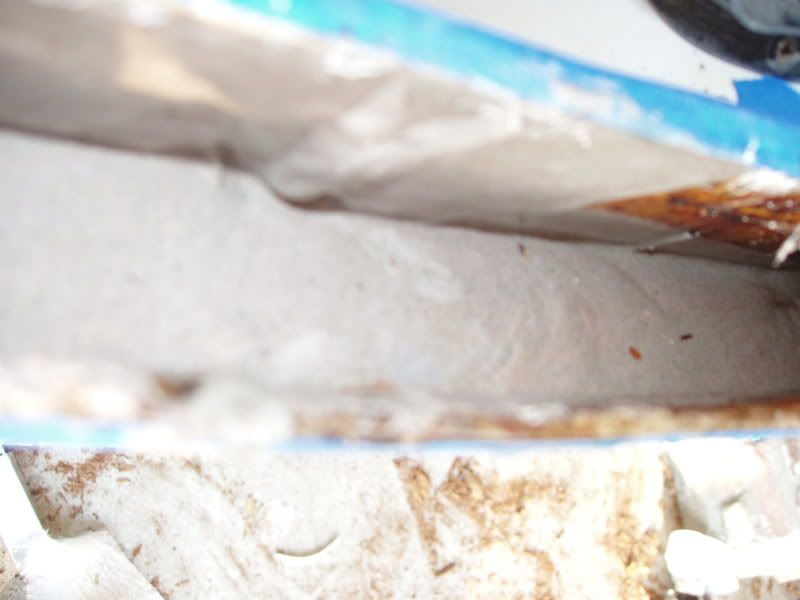
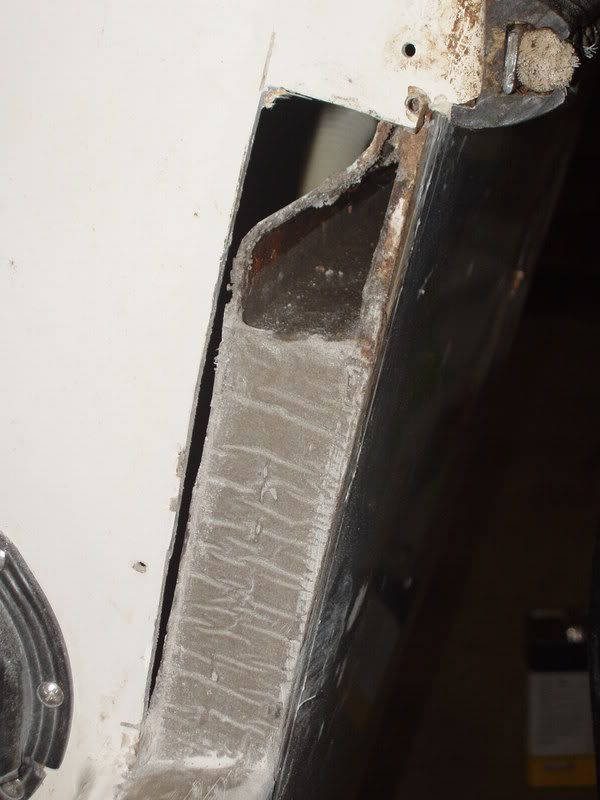
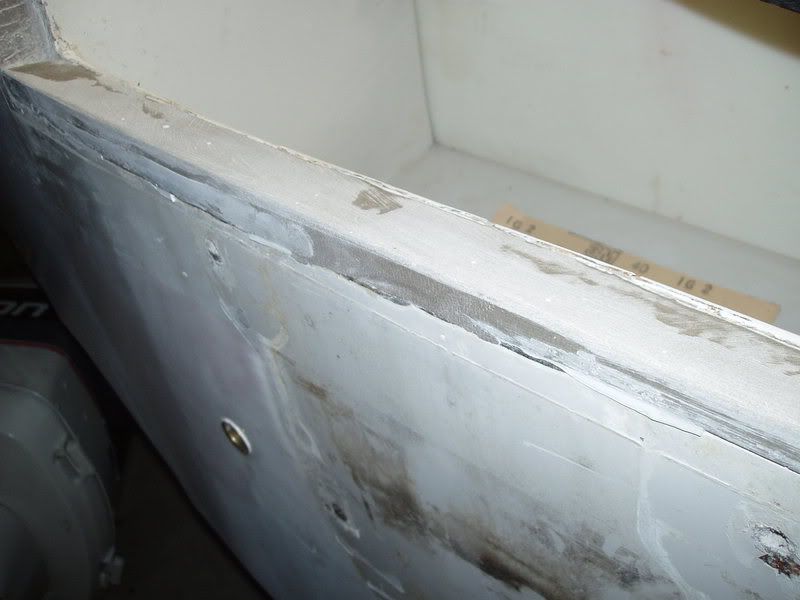
The finished side. Wrinkles are from the duct tape that was covering the wood block. The space is there because the void tapered down toward the outside of hte boat. The transom compound was at the top of the void on the outter edges of the transom. I guess I can pack it with resin and cloth, but why bother? Nothing screws into that section and its only about two inches out of the entire transom height. I doubt it provides little, if any support.

P1010307.jpg

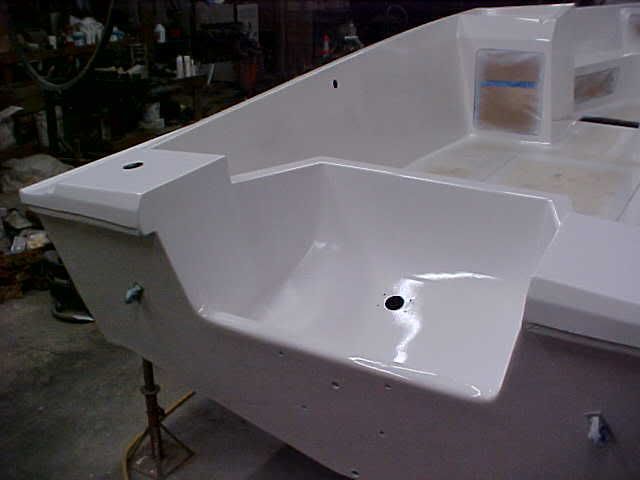
Finished with a little sanding. I added a small lift on the top just so my transom cap would have a shelf to sit on. The original transom had some really uneven, thick bondo type filler on top. One side of the transom had about 1/4 inch of filler and the other side had about 2". Did they cut the wood that crooked at the factory?

P1010308.jpg

The stuff is as hard as concrete.

More to come. Comments anyone?
 
That looks like a great job!! Can't wait for the finished product!!

About the alum cap, Skools and Stinky I believe have removed them as they just allow the water to get down inside rotting the transom!

They just glassed them over sanded and done!! no more top! I liked the idea and with this stuff you are using a cap will not be needed and neither will rotting be a issue ever again!
 
yeah how hard is it to drill and how well can you mount stuff in the transom with screws? don't cap it with metal glass it over rounded like new boats looks better and never an issue,
 
I was hoping to not have to paint and do any finish work. I don't want it to look like a patch job. But I may consider that. I know the cap won't do anything but provide looks. As fas as screwing an drilling, I'll get to that next. I haven't begun to remount anything yet.
 
Looks great! Whoever redid my transom glassed over the top like skools did. Awesome pics and good commentary. I might be picking up a project boat that I know needs transom work and I don't really want to get into pulling the cap.

Did you use all 15 gallons? and if not is there a formula to figure out how much material is needed for the thickness and area of the transom?
 
Last edited:
I really like the detail in this post,
I think I could do a transom this way aaaaannnnndd
I think I may need to do mine in the next couple of years.

:clap::clap:
 
I just took measurements with a tape measure and drew it out on engineering paper. The key is the thickness. I did my calcs using 1 3/4 inch wood thickness and the dimensions were out to the sides of the hull. I came up with almost 4000 cubic inches or almost 17 gallons. I took about a gallon off of that for outter hull thickness. I knew it would be close. The void was closer to 1 1/2 inches thick and the void didn't extend up as far on the sides as I thought. I ended up using about 14 gallons total. I had received a free gallon of the stuff as a sample a while back so I had about 16 gallons on hand. When I did the sides, I mixed up a gallon at a time.

Spareparts, I don't own a little boat - that was tsubaki's contribution to the post.

Its not 100% complete, but here are some of my thoughts. I DID NOT want to pull the cap or cut it in any way. I don't go offshore much anymore - this boat will spend most of its life in the lakes and bayous down here pulling tubes and keeping beer cold. I feel this transom will certainly hold up to that. I live in a subdivision so I can't (nor did I want to) have boat parts spread all over my yard for weeks on end. I wasn't able to hang a hoist from anything to pull the cap off so I chose this method. I was able to contain the mess to my boat port. Finally, the cost was probably a little more than wood and glass, but not much. Quality resin is expensive. And obviously, taking it to someone would have been $2k easy. My transom in my old 75' V was $1500 about 15 years ago. I didn't have that $$ to invest in a boat I paid about $4k for.

Removing the wood is by far the hardest part (except for removing a 175 Johnson without a hoist!) So far, I have about 10-12 solid hours in the project (removing the wood was most of that time). The pour took longer than I thought - about 3 hours. That's mostly because of the upper parts of the transom and I had to let the lower part solidify so the stuff wouldn't ooze out when I poured. All in all, that's not bad.

Final pics and comments soon.

Maury
 
See if you took my word way back when, we could have all called for a sample like you then shipped to you and it would have been free!!

Remeber this parishht, you and 15 brothers and you all set!!:beer:
 
Awesome work Maury! This is the best post ever for this method.

Do you know how much one gallon weighs? Trying to figure how much weight 14 - 15 gallons is going to add to the rear end....of course after you subtract weight for the wood and resin you would have used I'm sure its not all that much heavier. That should last forever!

Great job! You deserve a cold miller lite after all of that!

Blue
 
Back
Top