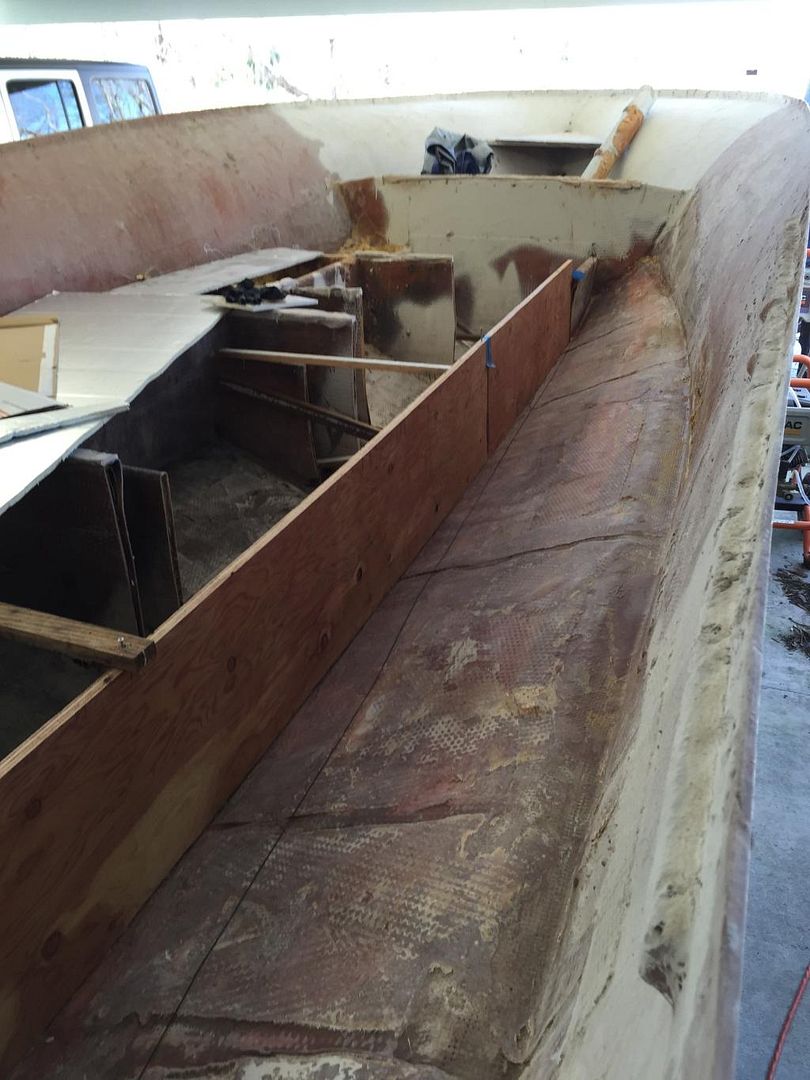
rebuilding my V

Yep, that is what I did but I still put the knees in as it was originally to provide drain piping clearance. I raised mine to remedy the bottom bolt holes from coming in at the splash well level when I raised the transom height. It was alot of work and sanding those 4 interior corners makes for very sore fingers. In hourly terms, around 20 hrs is probably a light estimate.
 
Yep, that is what I did but I still put the knees in as it was originally to provide drain piping clearance. I raised mine to remedy the bottom bolt holes from coming in at the splash well level when I raised the transom height. It was alot of work and sanding those 4 interior corners makes for very sore fingers. In hourly terms, around 20 hrs is probably a light estimate.

good to know, I noticed that my splash well is a lot narrower than yours and I think that the stringers run wide enough as to not land in the splash well. I might be able to put some biggers knees and just cut a hole for rigging and glass it back in. You splash well looks really wide. Mine is maybe 3 feet wide.
 
IIRC the reason the stringers were angled down at the transom was the splashwell layed onto and was bonded to the top of the stringers with putty. Mine was this way, 1983 model. Unless you altered the splashwell it would be difficult to drop in knees.

Arjay pour looks great. Keep up the good work. :beer:

The splash well has been changed already now that I think about it. I'll take some measurements and see what fits the best.
 
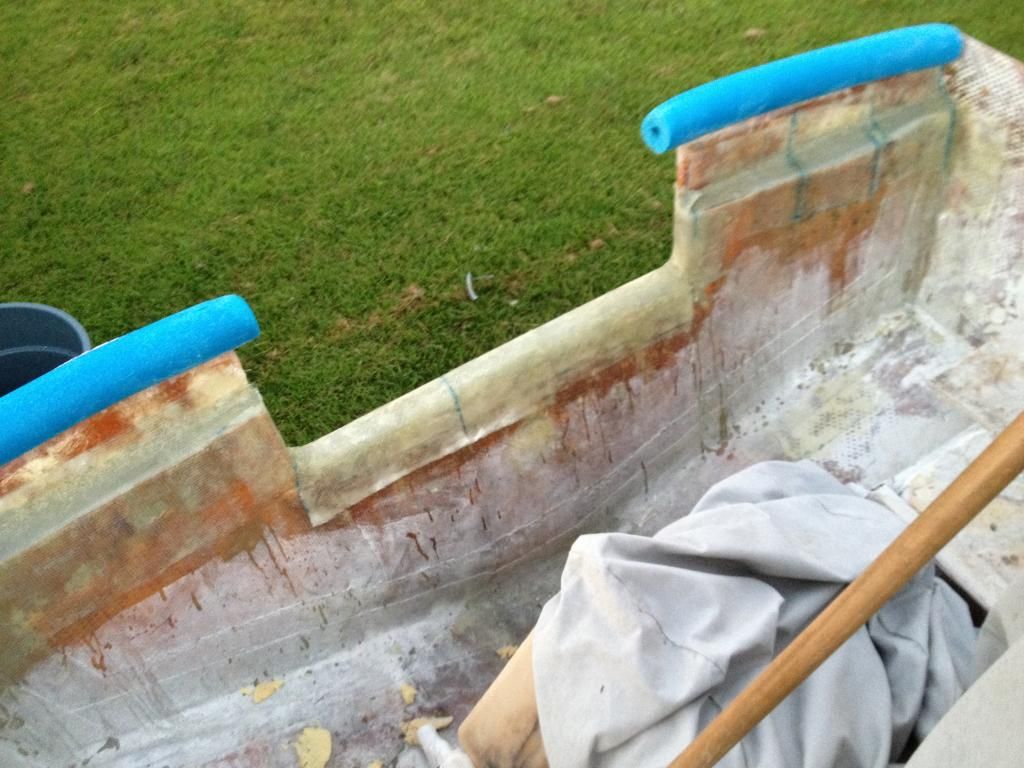
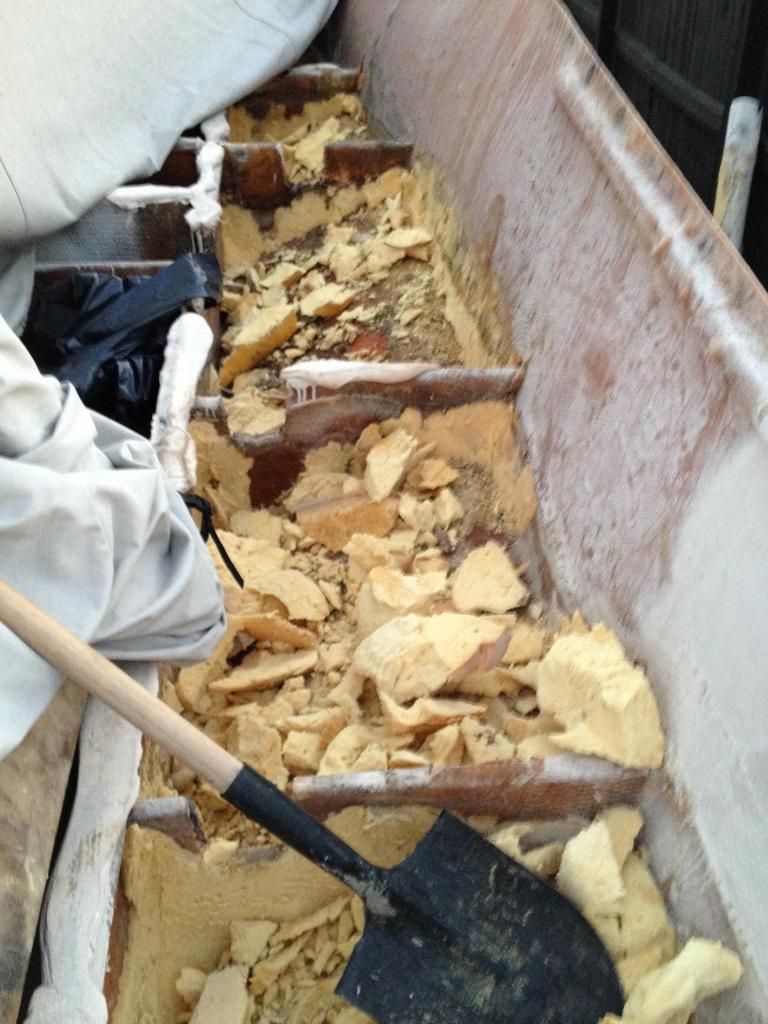
I was able to do some work to her today. I did some fiberglassing to the transom. Just one layer to cover up the arjay. I also started to remove the foam. It wasn't nearly as bad as I thought it was going to be. A regular old shovel did the trick. I'll get in there tomorrow and remove the rest with a scraper that way I can start cutting the starboard stringer out to replace it. I thought I was going to replace every piece of wood in the hull, but after inspecting the main forward bulk head and stringers. I don't think I am going to remove them. They are solid as a rock and I will take a core sample out tomorrow just to be sure.
What I will do is add another bulkhead right aft of the large bulkhead in case rot does decide to show. I will also run another piece of ply along side the old stringer to the scarf joint to help with strength is rot shows up.


Just wanted to post a quick update. No more work done, but I will be moving the boat under a shelter so I can work regardless of the weather. As it seems lately the rain doesn't want to go away. So hopefully I will be able to get some more work done.
 
Thanks Cterrebonne!, putting your boat under roof cleared the weather up around here just fine! Driest it's been in weeks!
 
Thanks Cterrebonne!, putting your boat under roof cleared the weather up around here just fine! Driest it's been in weeks!

lol, wish I could say the same here.

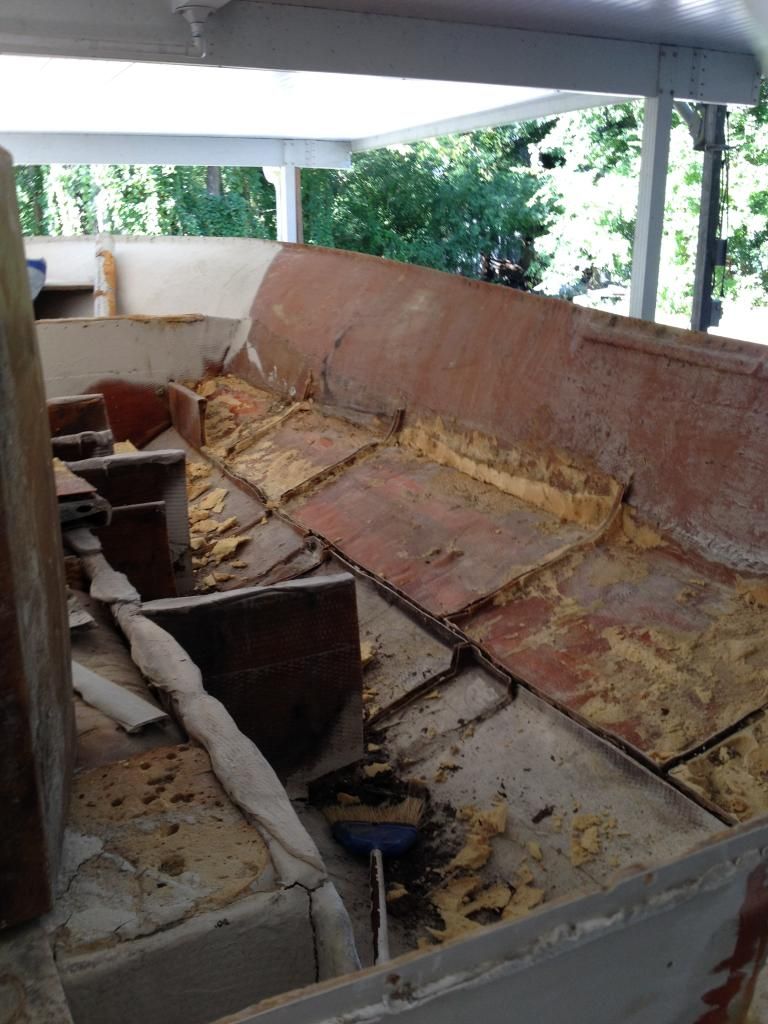
It looks like I will be able to get to some work done on Sunday. Hopefully I will be able to remove the bulkheads and the starboard side stringers, then sand it all down in preparation for new stringers on that side.
 
made some progress today. I was able to cut out the starboard stringer and outboard bulkhead system. There was a ton of rot but luckily I found dry solid wood about 2ft from the main bulkhead at the bow which is also dry and solid. I plan on butting a new stringer up to the old stringer and run another piece of ply along the inboard side to add strength and help with the joint. Should last longer than I plan on keeping her.

 
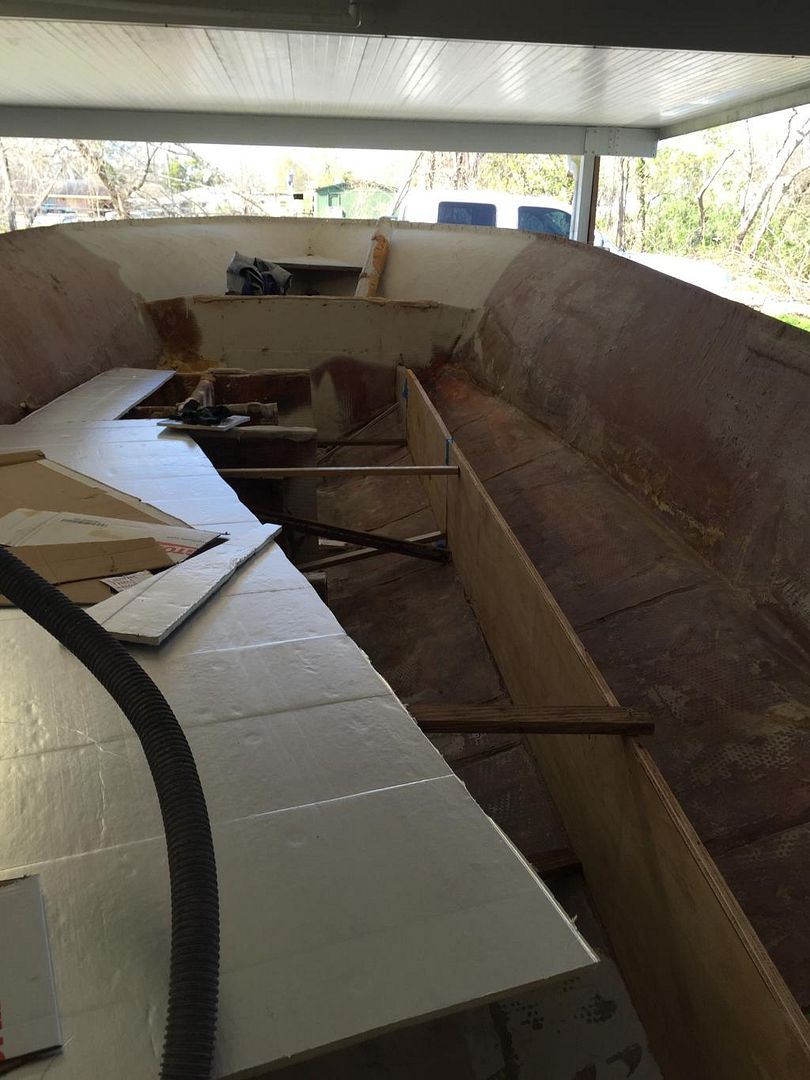
Update: I have been making more progress recently. I was able to grind down the old fiber glass some more. I also glued in the right stringer in today with epoxy glue. Now I have to sand off the areas where the epoxy leaked out. Hopefully this week I will be able to fillet and tab in the starboard stringer. I need to get my hand on some cabosil this week.


Nice work.
Going to tackle my transom now that the snow is melting.

Questions;
How much arjay did you use?

What are those metal standoff things that appear to be spacing the skins?

You used poly resin. Is it OK to use epoxy with arjay?

I plan to cut the inside skin 3" from the corners, dig out wood, glass the old skin back in using epoxy resin. All of my fiberglassing experience is with epoxy.
I read that it is best for "repairs" of old glass and has better adhesive qualities.

Did you pour it solid and re-drill holes for drains? Any problems/suggestions?


Thanks for any suggestions you can make.

I used 3 5 gallon pails so 15 gallons total

Those metal looking things are 2x4's wrapped in duct tape.

I used poly to laminate everything back, remember with epoxy, epoxy sticks to poly and vinyl ester but poly and vinyl ester doesn't stick to epoxy.

Epoxy is over kill but I would use what you are used to.

I poured it solid, I will cut holes and reglass later.

You can PM me with any questions you may have, good luck!

Love seeing and reading about cap off restorations.

I'd post any questions here so everyone else down the road can benefit from others prior experience.
 
Love seeing and reading about cap off restorations.

I'd post any questions here so everyone else down the road can benefit from others prior experience.

Very good point bradford.

I did want to share a tip for anyone interested.

The easiest and less messy way I found to remove the foam from the side of the hull is to use a shovel. You basically just dig into the foam and it pops apart in big chunks and there isn't a bunch of dust like you get with a chainsaw or a sander. Each side took me about a 1/2 hour to remove all the foam. I also had those large garbage bags made for putting leaves and grass in. I used them to put the foam inside of and I just put them at the curb after for garbage collection.

Also, what works excellent to remove the remaining pieces of foam is a angle grinder with a wire wheel on it. To get into those hard to reach places a hard bristle wire brush works great.

I also don't plan on putting foam back into the sides. I will cut the edge of the ribs where they meet at the bottom of the hull and the stringers that will allow water to flow back into the bilge.
 
How much flex did the hull have with doing one side at a time? Did you do it that way to keep the hull straight?

Not as much flex as you would think it would have. It helps that it's supported bow to stern on a nice 4x6 trailer bunk. I would say that the bunks are about 10ft long or so, then I have a support under the front of the bow. side to side movement is minimal. I weigh about 300lb so it's supported pretty well.

I did it one side at a time for a few reasons. Like you mentioned, so it would help with keeping everything from flexing as much. Also, so that way I have a reference when rebuilding the new stringer.

Once the new stringer is tabbed in and before I put the top layer to cap it off, I am going to measure against the old stronger and then add more glass or remove wood to get it as close as possible to how it was.
 
Back
Top