Stillrunning
Senior Member
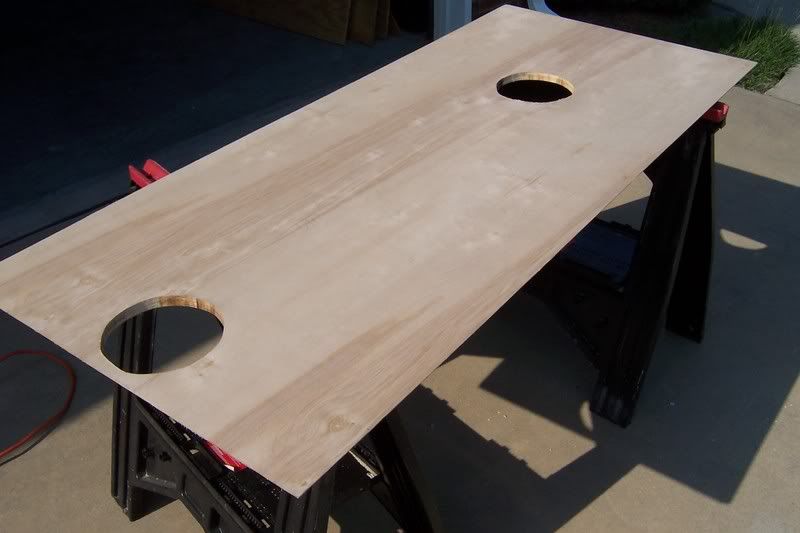
Looks good. Next time if you take a router and lower the bit about 1/4 inch and run it a round the edge of the wood then you can pull off the inner skin in one peice. Thats wht I have done and it seemed to work very well without all the grinding.
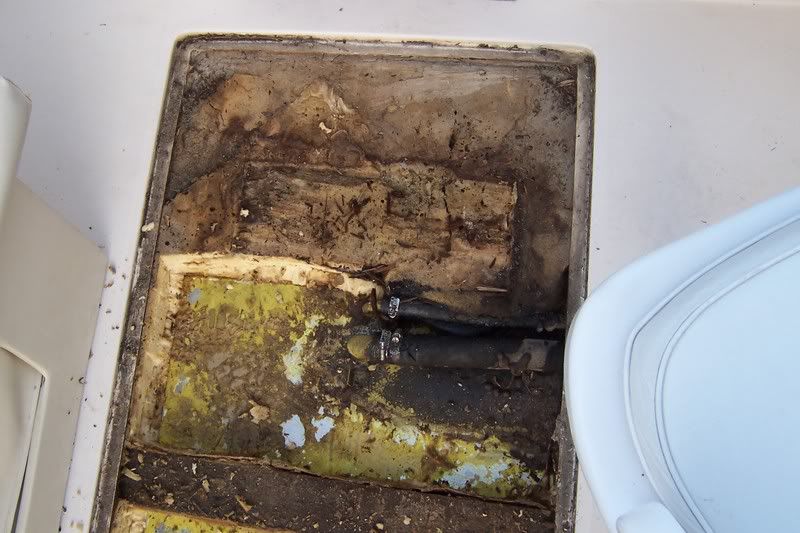
Does anyone know why Wellcraft uses these little 6x6 sections of plywood?
Does anyone know why Wellcraft uses these little 6x6 sections of plywood?
")

")