Wellcraft, V20 and Steplift remain the property of the Wellcraft Company
Install the app
How to install the app on iOS
Follow along with the video below to see how to install our site as a web app on your home screen.
Note: This feature may not be available in some browsers.
You are using an out of date browser. It may not display this or other websites correctly.
You should upgrade or use an alternative browser.
You should upgrade or use an alternative browser.
New here!
- Thread starter inaforty
- Start date
chumbucket
God
If you look through the old brochures we have in the archives, there are a couple years where you can clearly see a bench seat so they must have been an option from the factory.
Here's one example;
http://www.wellcraftv20.com/gallery/cat_1989/017_wellcraft
Here's one example;
http://www.wellcraftv20.com/gallery/cat_1989/017_wellcraft
inaforty
Senior Member
Thanks again to all for a warm welcome.
I was messing around on the boat this afternoon but forgot to take a photo of those mounting pins that hold that bench seat in place.
I will do that tomorrow after.
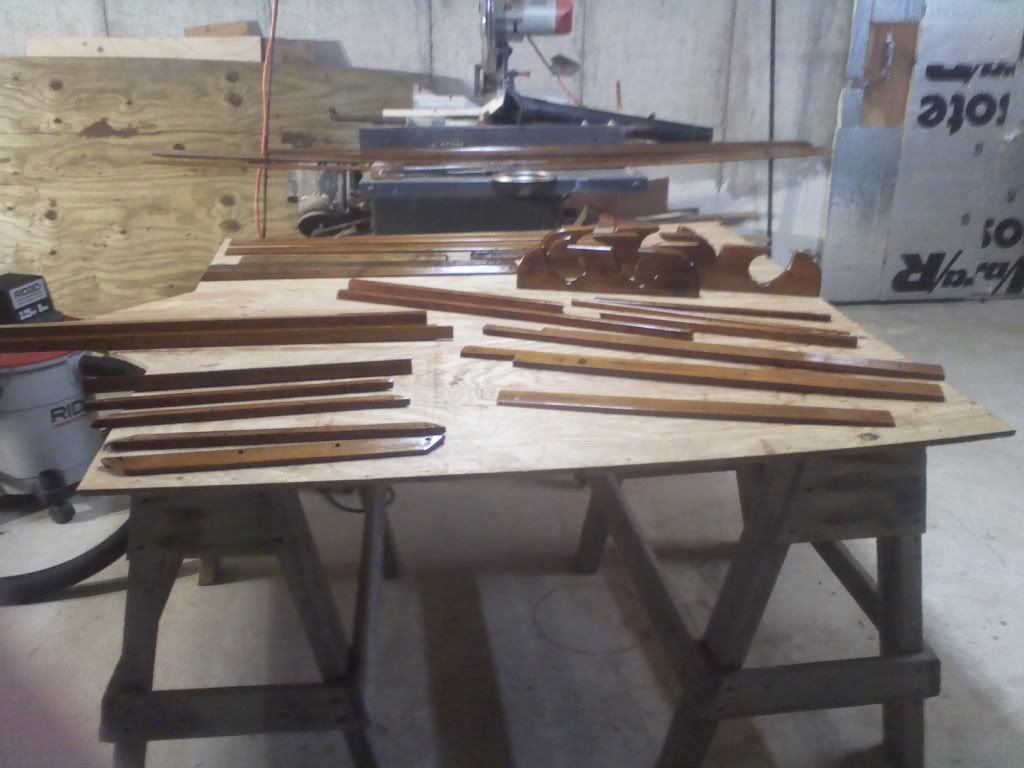
I almost got all the trim woodwork off the boat.
I will then spend sometime refinishing the wood.
I was messing around on the boat this afternoon but forgot to take a photo of those mounting pins that hold that bench seat in place.
I will do that tomorrow after.
I almost got all the trim woodwork off the boat.
I will then spend sometime refinishing the wood.
INA40, this may just spark a debate. I recommend you clean your teak up well, including sanding, then hit it with 3-4 coats of Sikkens Cetol Marine Finish. No, this is not SPAM. This stuff just works very well. It used to suffer from a bit of an orangish (is that a word?) cast, but the modern product and the variations thereof look very nice. Cetol is very durable. I would avoid the gloss finish, but the traditional, satin and natural teak finishes are very nice. Another nice thing about it is that once a year, you can lightly sand any nicks or cuts, Cetol it up, and you are good to go for the year. I have found this stuff works much longer than teak oil or varnish, at least for a northern boat which spends 1/2 of the year (at least) under cover.
inaforty
Senior Member
Nipper,
Thanks for the suggestion on the Sikken. I have a good bit of Helmsmen left over from doing the Whaler wood work last summer. However it would probably a better idea to use something of better quality.
I took a few photos of the mounting pins that hold the bench seat to the floor.
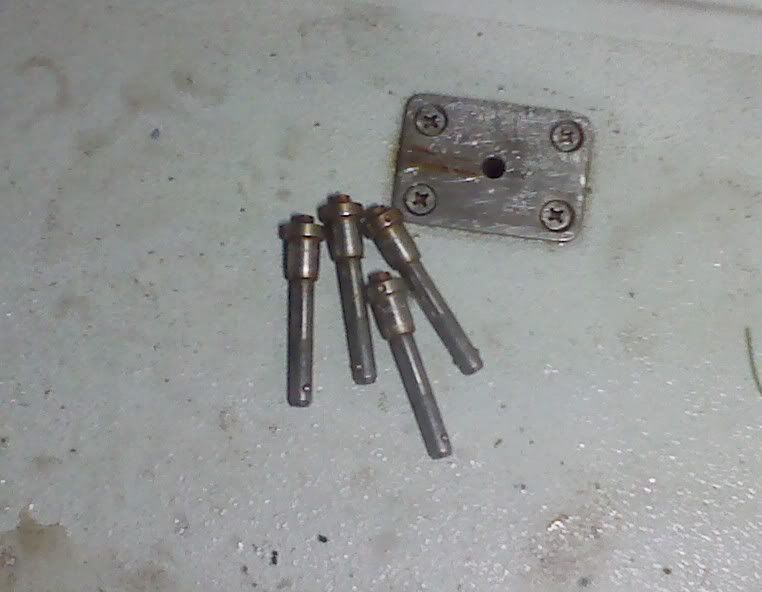
The pins have a button to release the ball bearings the hold the pins into the floor mounts.
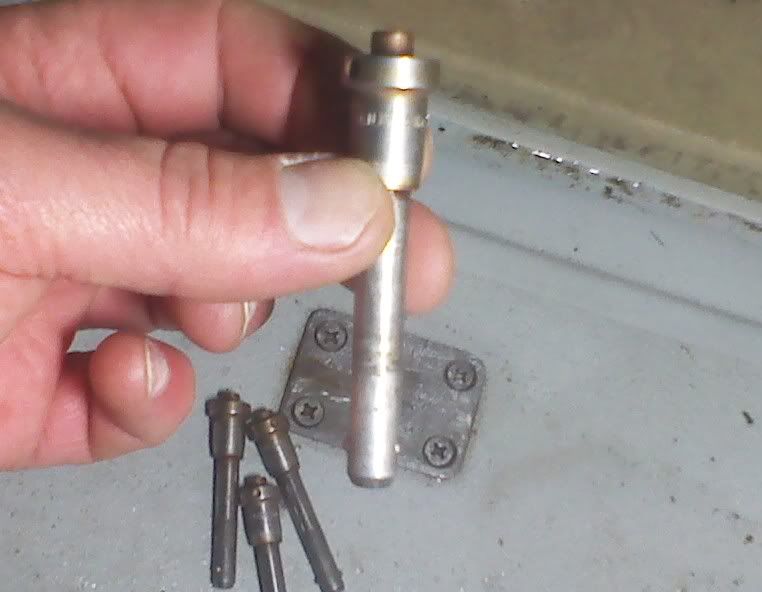
The pins would slide through the frame of the seat and into the floor mount.
Thanks for the suggestion on the Sikken. I have a good bit of Helmsmen left over from doing the Whaler wood work last summer. However it would probably a better idea to use something of better quality.
I took a few photos of the mounting pins that hold the bench seat to the floor.
The pins have a button to release the ball bearings the hold the pins into the floor mounts.
The pins would slide through the frame of the seat and into the floor mount.
reelapeelin
God
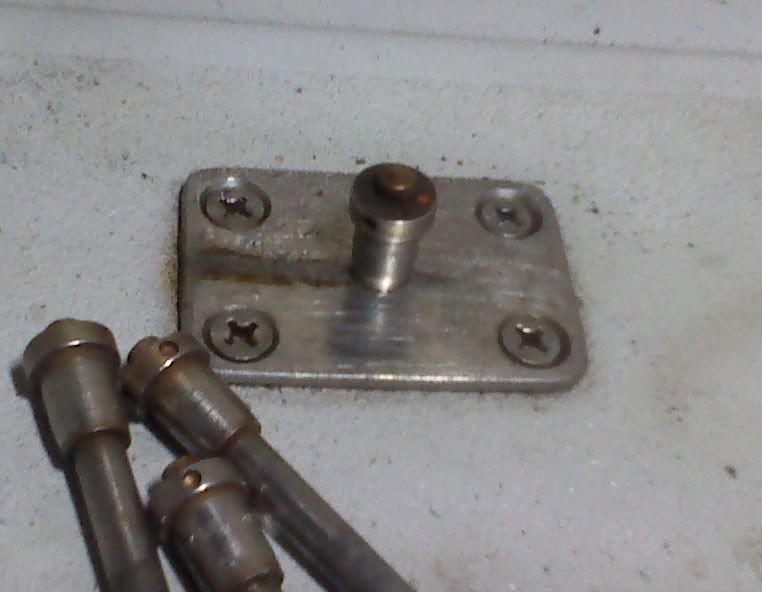
Hate to bring up a negative, but it's a reality around here...how did Wellcraft keep water from entering the center hole of the bracket?... 
willy
God
I have the same set up for my 92, and Wellcraft did not do anything to prevent water going in when the seat is not mounted. It would just drip into the bildge below if water got on the deck.
Inaforty I would recommend also you pull the screws and plate and put some 4200 on the back side of the plate and the screw holes and re-bed. Wellcraft did not seal them well from what I could see on other boats as well.
Inaforty I would recommend also you pull the screws and plate and put some 4200 on the back side of the plate and the screw holes and re-bed. Wellcraft did not seal them well from what I could see on other boats as well.
reelapeelin
God
I have the same set up for my 92, and Wellcraft did not do anything to prevent water going in when the seat is not mounted. It would just drip into the bildge below if water got on the deck.
Inaforty I would recommend also you pull the screws and plate and put some 4200 on the back side of the plate and the screw holes and re-bed. Wellcraft did not seal them well from what I could see on other boats as well.
That's why I brought it up...seal not only the screw-holes, but check and see if Wellcraft sealed the sides of the holes the pin goes through as well?...the good news is from the pics he's postin' the deck appears to still be solid, so they musta done somethin'...
inaforty
Senior Member
Reel and Willy,
Thanks for the input on the unsealed coring. I will pull the plates and try to remove the coring around the holes. Then I fill with West system epoxy with filler and redrill to correct size. I'll be sure 4200 the screws. It will have to warm up a bit to do any of those outside jobs. It's around 25 degrees outside right now. Brrrrrrrrrrr!!
When I removed the frame for the cuddy door I notice that the plywood in the bulkhead was a bit damp. I tried to force a screwdriver into the plywood but it wasn't soft. I do have two screws that hold the frame of the door that need to be rebedded (sp?).
Anyone have any luck with removing mold and mildew from the monkey fur in the overhead in the V berth? Looks like it's going to be a fun job.
Looking into replacing the steering with a NFB assembly from Teleflex. Anyone have any idea what the correct cable length for an 87 with a 200 Yamaha? Have a good friend that had a V 20 a few years back that replaced his steering cable and he said he had to lift the motor (150 Black Max Merc) out of the way to get the radius of the cable worked around and installed. Anyone with any experience doing this? Just wondering if I can do the cable install in the backyard with the boat undercover or wait an move it to the driveway in the spring so I can get the cherry picker to lift the motor up.
Road King Cole,
Your inlaws live on Mendon rd or Mendall Rd?
Last edited:
")
chumbucket
God
Yes, the motor needs to be pulled away from the transom in most cases in order to get the cable in without over stressing the bend.
phatdaddy
God
not sure about the 87, but i've changed the cable on my 83(150 mariner) without lifting the motor. i pull the rod box on the starboard side. this allows me to feed the cable from the middle to both ends. also the previous owner cut a oblong shaped hole in the splashwell to allow the steering rod to align with the tube on the motor...
i believe the correct length is 17' or 18', but your old cable has a number cut in the housing with the length of it.
i believe the correct length is 17' or 18', but your old cable has a number cut in the housing with the length of it.
reelapeelin
God
Easy enough to measure...from center of gunwale to center of steering helm, then from center of gunwale to center of motor, then down the gunwale from helm to front of engine...add the three measurements and yer there...several years back I changed my old '74 and it took a 17' NFS and did not require an engine lift...but keep in mind the splashwells in yours and mine are quite different...good luck and don't forget the pics...
inaforty
Senior Member
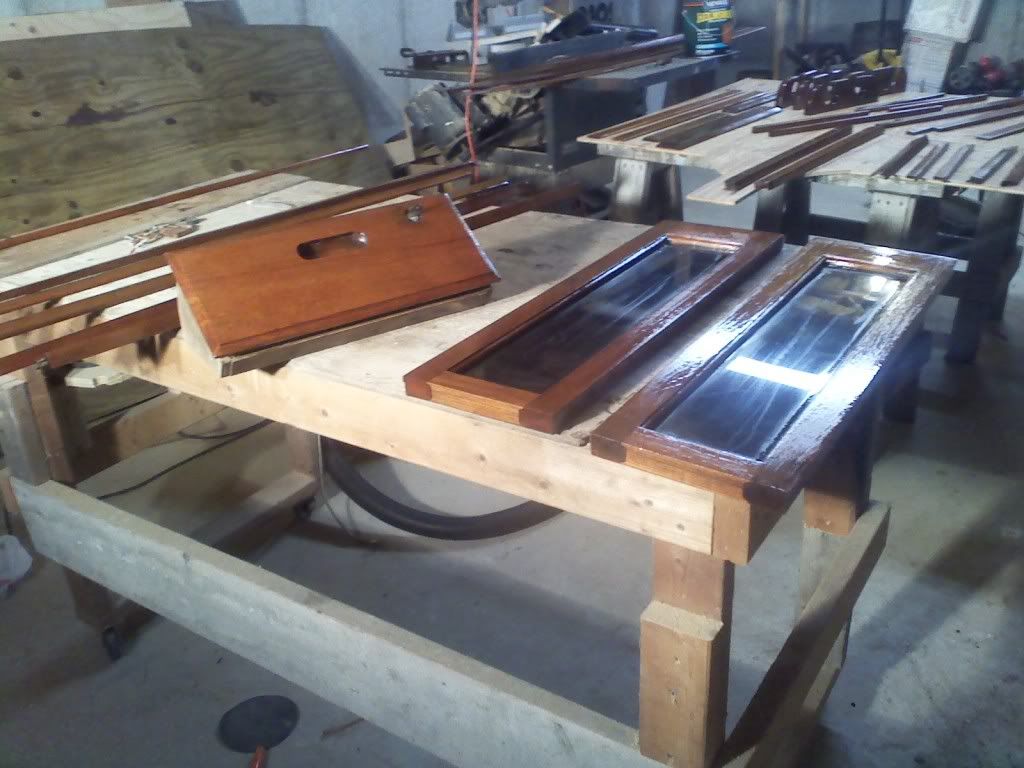
Been working on the woodwork. I had almost a full gallon of Minwax Helmsmen so I used that. I looked at the Sikkens products but at $109 a gallon I thought I would just put a few extra coats of the cheap stuff. Something to keep me busy with all the snow on the ground outside.
lumberslinger178
God
looking good ...... take lots of pics