Well I did one of those bone head things I can kick myself over it.
I went to pull my plugs this weekend for a close examination and replacement.
Using a torque wrench from Sears I stripped the threads out from the head (completely out) I should add.
Lesson learned? Always read the instructions before using a new tool.
I never heard or felt the "Click" I kept pulling! Stupid Stupid Stupid mistake.
Good news I launch a massive web exploration on this topic. What I found was a tons of useful information and tools for fixing such an issue. Man was I relieved ....
After reviewing a number of scenarios I settle on fixing the head on the engine, then remove it and clean the cylinder. This will cost me a head gasket so be it.
I know in a pinch I could have grease the tap to catch most of the metal shavings from falling into the cylinder, turn the flywheel by hand and position the piston to BDC and use compress air and blow it out the exhaust port etc.
I was going to pull the heads for a close examination of my cylinder walls anyways it was on my to do list. It just got bumped up on the list.
I have seen tools on the web starting at 40 to 300 dollars..All boasting various advantages etc...
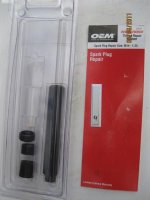
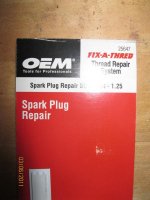
I woke up this morning brew some coffee and decided to visit Auto Zone on a hunch looking for a special tool, low and behold I came across a economical tool for the the job. $29.99
Purchase it came home call my buddy Curt over and we went to work.
Using the tool and following the instructions we finished in less than 20 minutes re-treading the hole and installing the "insert".
I will pull the head when the gaskets arrives to fully complete the job next Saturday or during the week maybe.
Scope of work...
Rotate the flywheel by hand and position the piston to the bottom of the cylinder.
Exhaust port is now fully open not like it matters to me anyways since I am going the remove the head later.
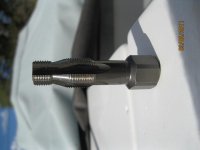
Lube the special tap with cutting oil or grease.
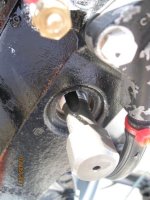
Insert the tap into the hole and hand tighten, use the appropriate socket and slowly start to work the tap in using fluid motion, do not back out until the tap is completely threaded in. In the picture it was not all the way in ...
Stop use a little paint brush and clean around the outside of the tap.
Slowly back the tap out completely and set it aside you are now done re-treading the hole for the insert.
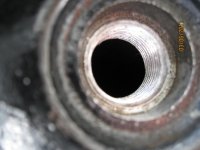
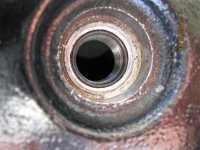
Brush out all excess metal shavings away, you now have a perfect threaded hole for the insert as shown in the picture.
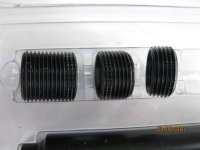
Observe the correct orientation for the insert corrugated end up as per instructions.
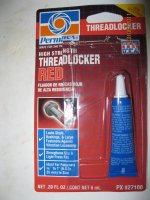
I use permex lock-tight for the sealant, Type shown is specially design for this type of use, permanent lock if so to speak and heat tolerance to 500 degrees. Its all posted at the back of the product, many to choose from.
Use a cloth with generous amount of rubbing alcohol or acetone and clean the new treads of all the grease or oil use previously.
Use a old plug and screw on the insert all the way up on the treads of the plug. You will be using the plug the screw the insert into the head.
Lube the outside treads only with the tread locker be careful cover the treads completely but not dripping etc.
Holding the plug slowly screw the insert into the head and tighten ever so gently, Wait a few minutes and slowly remove the spark plug.
Clean up around the top of the insert of any excess tread locker.
Use the drift punch or swage tool provided with the kit and tap the insert into head gently. This is actually spreading (expanding) the insert in such a way the corrugated part into the head.
The objective here is not to have the insert unscrew on the plug during future plug changes.
Let the tread locker cure per instructions, in my case the type used called for 24 hours to a full cure. Mine will be all week since I will be removing the heads next weekend to clean up the inside.
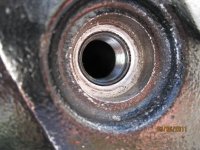
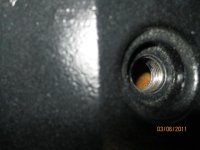
Here are the pictures , Sorry I did not snap a picture of the stripped treads let me assured you it was all gone!

