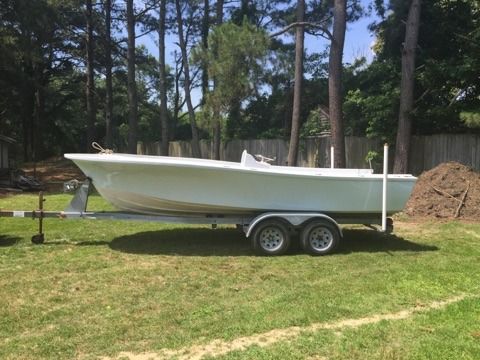
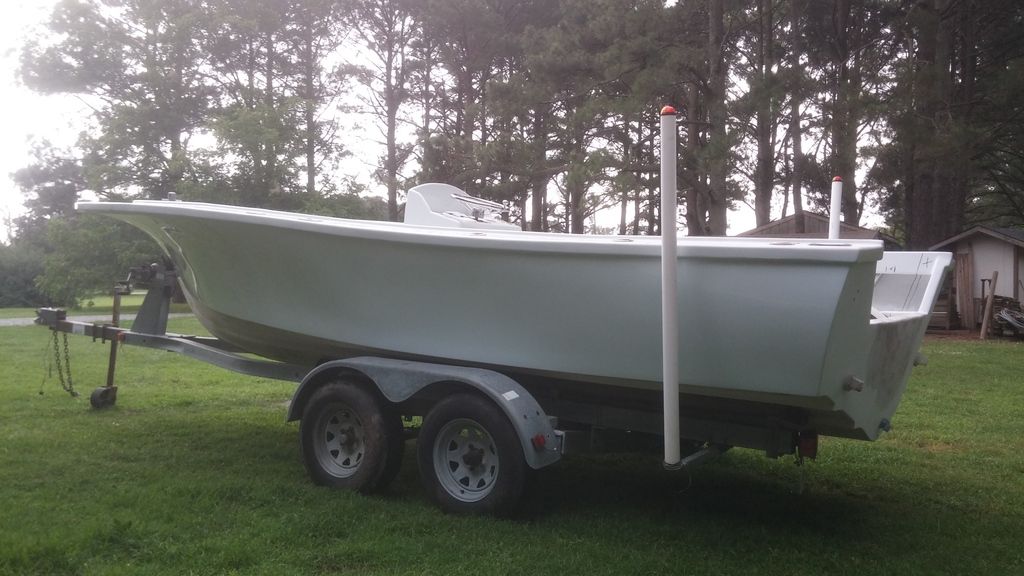
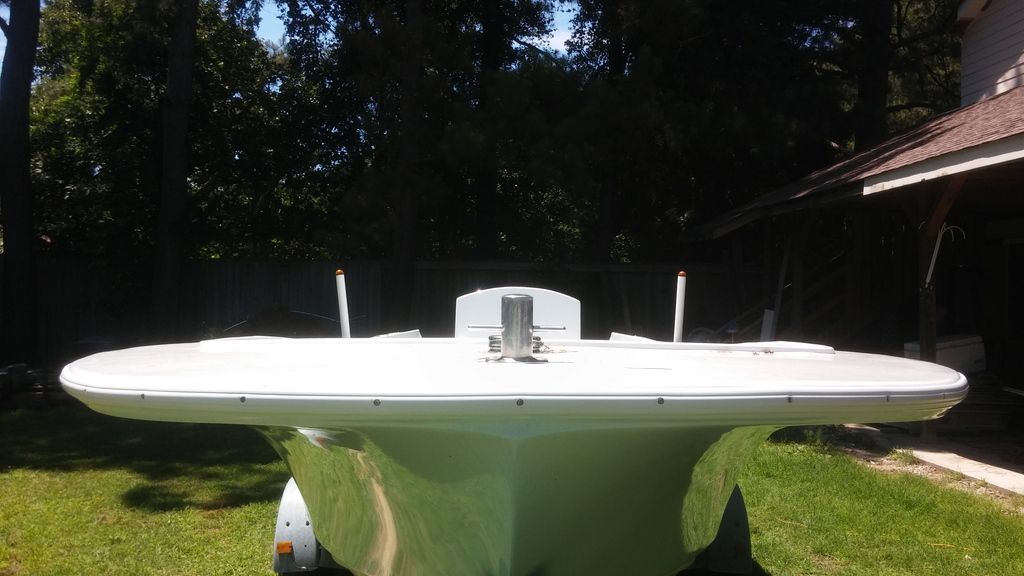
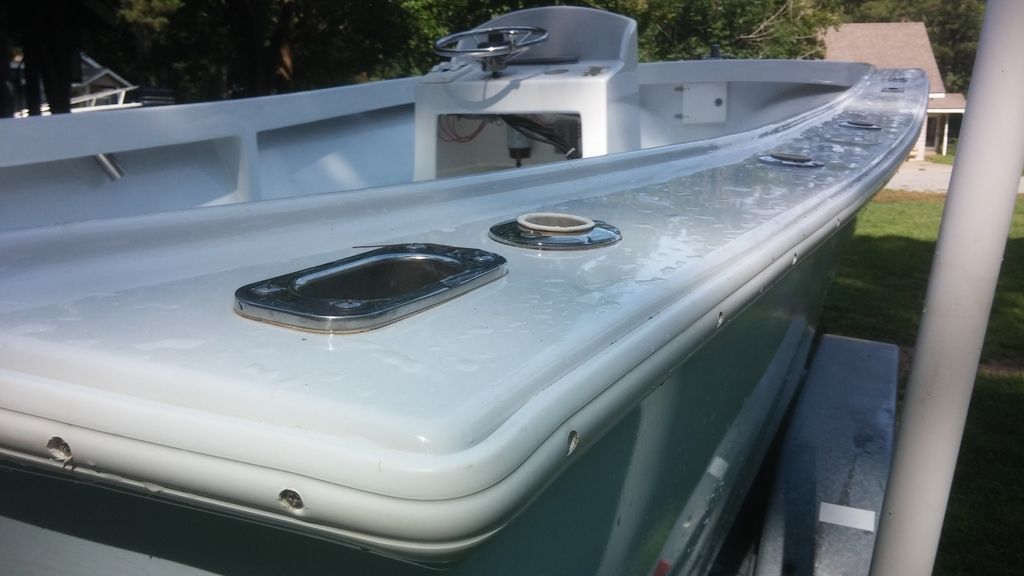
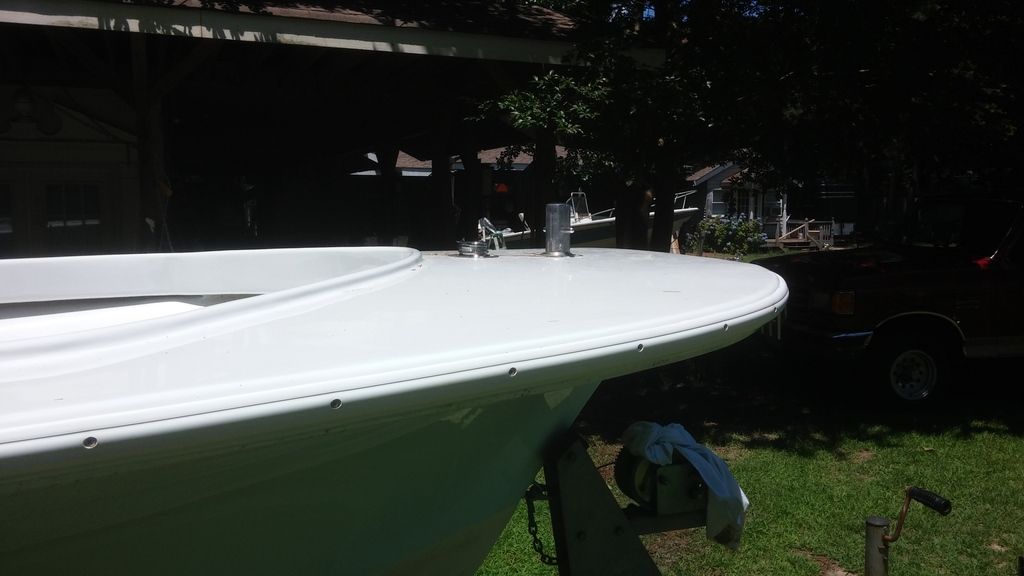
Va Beach v20 project

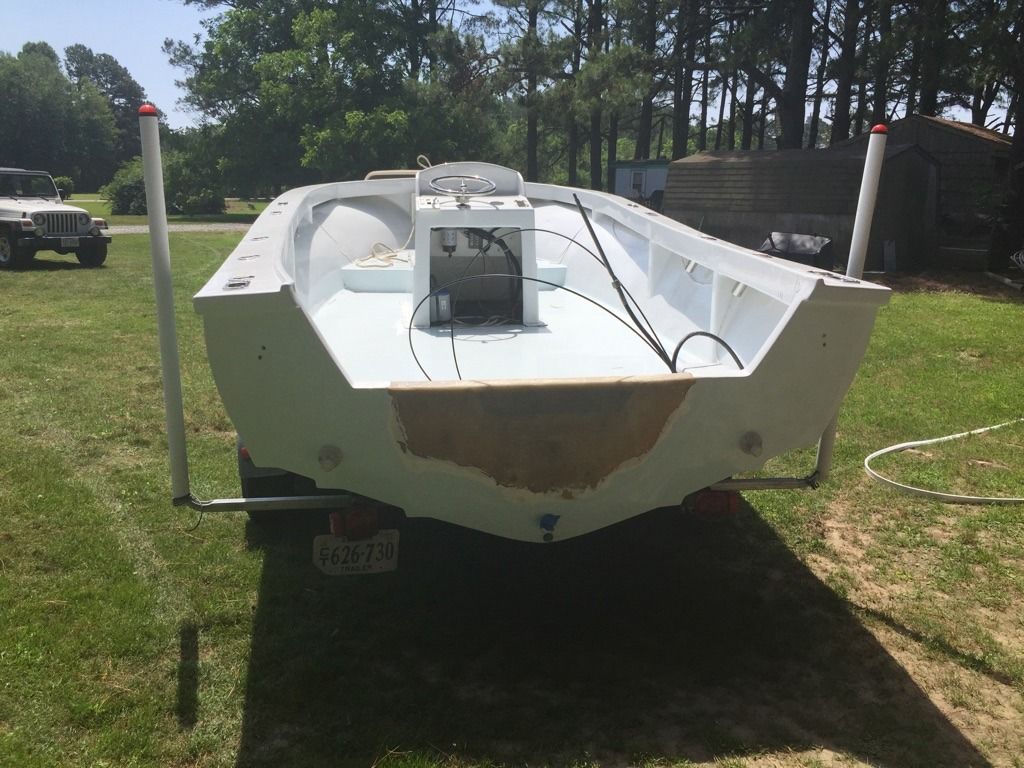
The trick to the clear bubble free 90 degree curves is to build up some thickened (fumed silica,cabosil) resin on the outside corners then lay your cloth down and wet it out like usual when you hit the corners with the bubble popper (roller) its like magic when spread the thickened resin under the cloth.
 
do you use fairing compound over it before paint?

Yes it will need to be faired before primer and paint. I just barely bump grind the cloth then apply fairing compound as needed. Dont grind out to much you will lose strength. On this repair i had some thickened resin left so i slicked the repair with what i had left just to use it up.
 
Yes it will need to be faired before primer and paint. I just barely bump grind the cloth then apply fairing compound as needed. Dont grind out to much you will lose strength. On this repair i had some thickened resin left so i slicked the repair with what i had left just to use it up.

What I have done that works really well to not sand into the 1708 is to put some 1.5 CSM down as your last layer. Just so you have something that's easy to sand and you don't have to worry about cutting the fibers on the 1708.
 
How many layers of glass did you lay on the outside of the repair to bring it even? I'm going to be raising the transom on my Grady to 25" as well.
 
The last layer of 1708 is the only layer thats meets the edge were i stopped grinding. Every other layer is progressive. Meaning i have 4 layers that build up the ply veneer then 2 final layers......the first of the final outside layer falls short from the grinding by like 4 inches....the last and final layer is the only one that meets the grind edge. It lets you progressively build up your thickness with out having all the thickness at the imediate edge. Hopefully that makes sense.
 
The last layer of 1708 is the only layer thats meets the edge were i stopped grinding. Every other layer is progressive. Meaning i have 4 layers that build up the ply veneer then 2 final layers......the first of the final outside layer falls short from the grinding by like 4 inches....the last and final layer is the only one that meets the grind edge. It lets you progressively build up your thickness with out having all the thickness at the imediate edge. Hopefully that makes sense.

I think I understand. You have 6 layers total to match the thickness of the original outer skin, including overlap.
 
3 total layers on the inside of the boat total about 3/16 +- thick on the inside. Only one layer wraps the outside of the transom (the seamless piece pictured)and it simply builds the thickness grinded off and completely wraps the entire repair. The other 3 layers are between the ply veneer as i build up the ply layers.
 
I'll be raising mine when I replace the transom so it'll be a little different. I also plan on glassing the seem between the cap and transom, getting rid of the aluminum transom cap.
 
Yea i never understood the aluminum cap to finish out transoms. A many rotted out due to not having proper sealant from factory. I glassed mine completely and add 7 or 8 layups of csm on top of that to build up thickness
 
.
Yea i never understood the aluminum cap to finish out transoms. A many rotted out due to not having proper sealant from factory. I glassed mine completely and add 7 or 8 layups of csm on top of that to build up thickness

The only thing I figure is it was quick and easy when putting together a mass produced boat with the cap and splash well being separate from the hull.
 
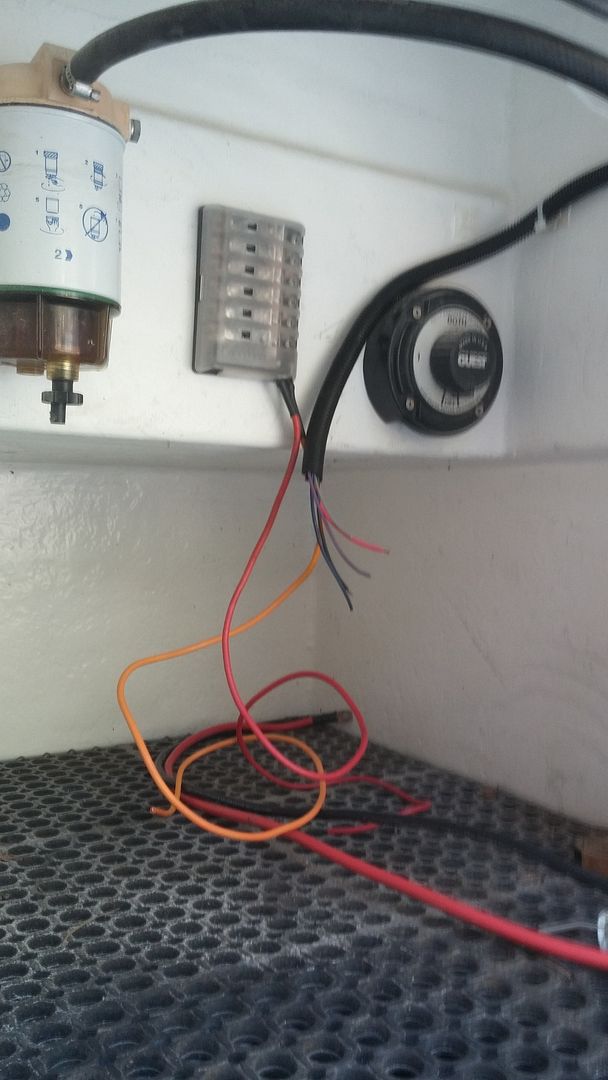
I would caution you putting your filter/separator under the console. Hate to have it leak some fuel or fumes and get a spark. Might mount it on the inner transom between the engine bolts?
 
Back
Top