Here are some pics:
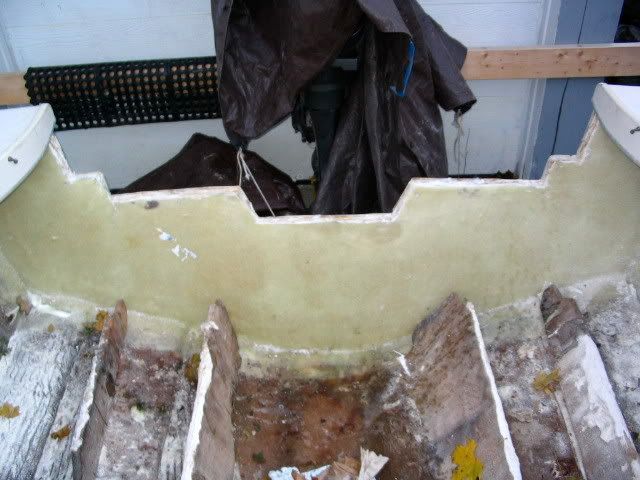
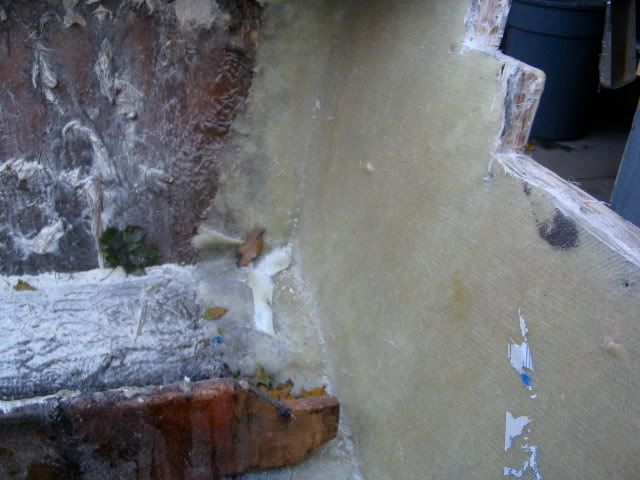
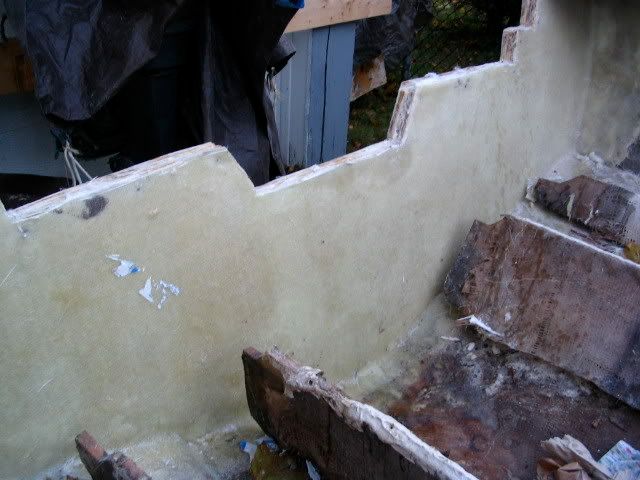
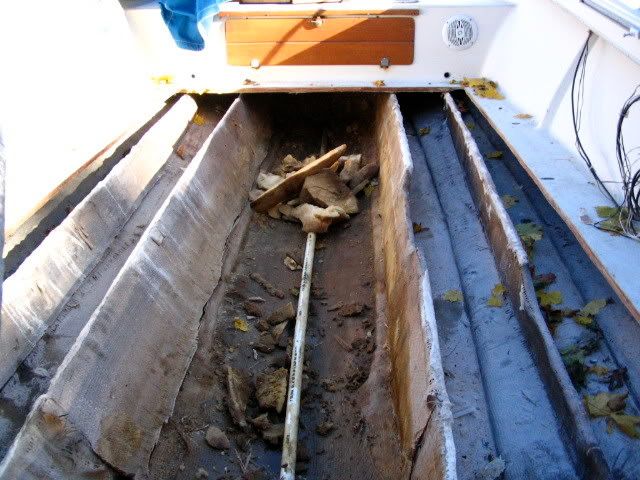
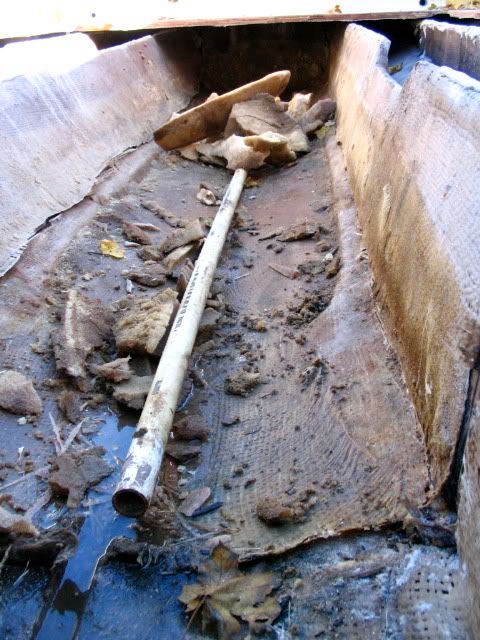
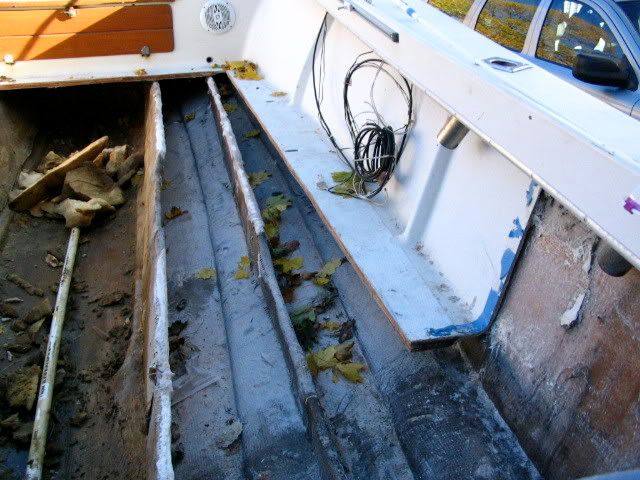
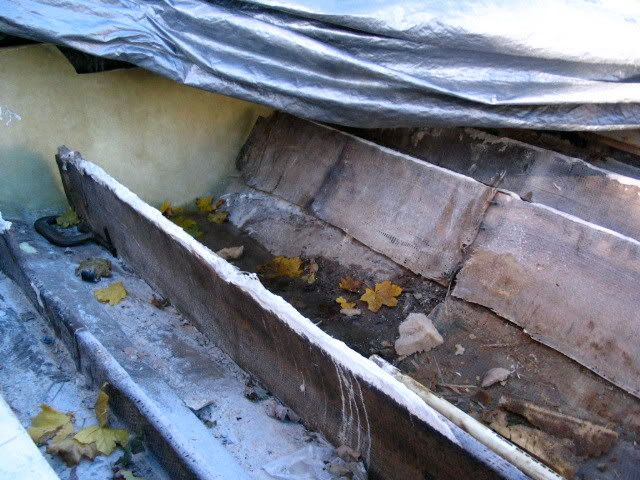
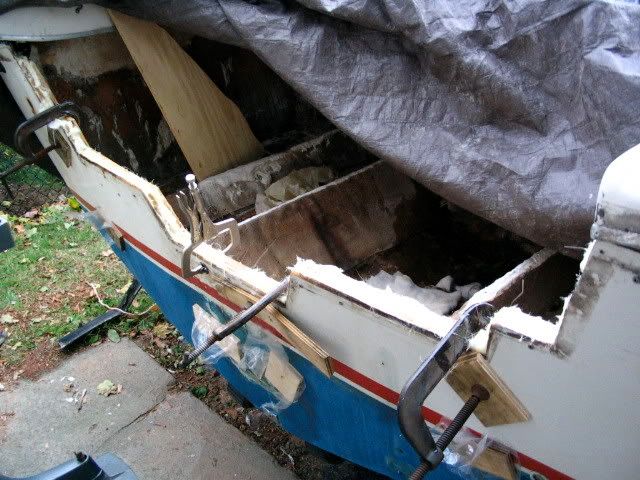
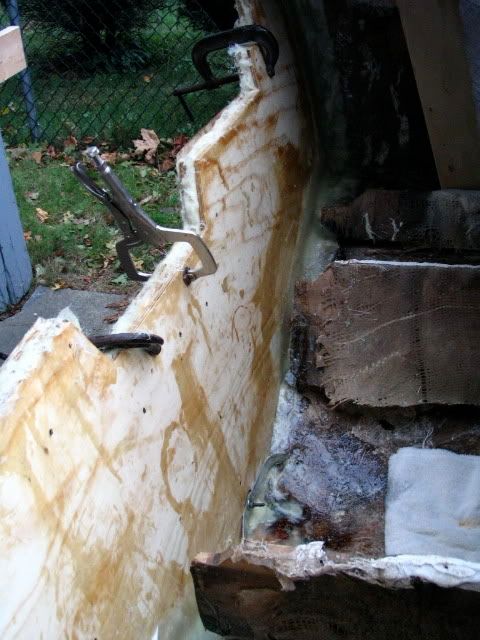
Cleaned up with grinder, cut out all voids, wiped down with acetone
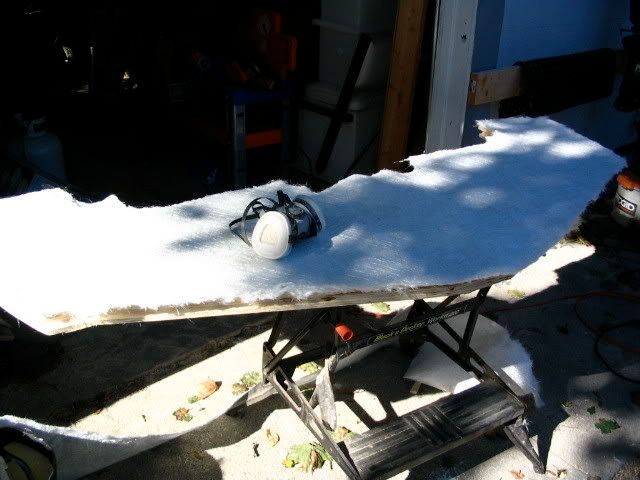
Made a cardboard template, traced onto 3 pieces of 1/2" ply, cut ply, then started trimming the glass mat, 3 layers of 1.5oz mat, 2 layers of 0/90 1808 biaxial stitch mat, and two layers of +/- 45 1808 biaxial stitch mat
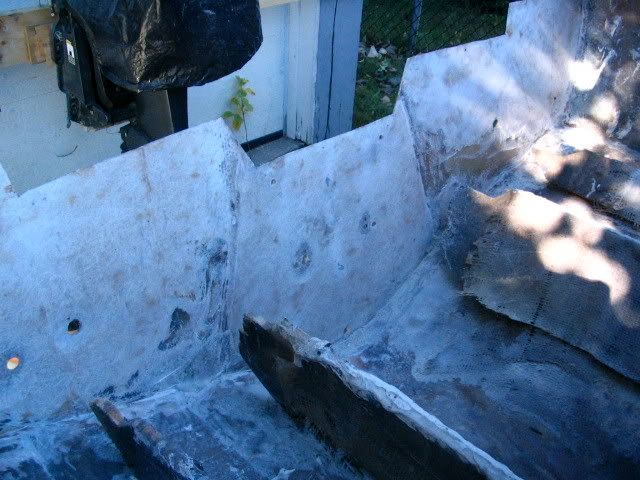
On the boat I laminated pieces into ground out voids, then applied epoxy, wet out 1 layer of 1.5oz mat and let that sit while I went to work on the core.
On a bench I wet out one sheet of plywood, laid down one sheet of 1.5oz mat, rolled/wet out, laied second sheet of plywood, wet/rolled out 1.5oz mat, laid third sheet of 1/2"ply. Now I had a 1.5" thick sandwich of ply/mat/ply/mat. Took this over to the boat, troweled on a thickened mixture of cabosil/epoxy to the transom perimeter and the inside face of my transom slab ( the face that will be laminated to the Hulls skin. Everything is still wet and sticky at this point.
Dropped the transom core in and began clamping and screwing. I should be able to remove all screws as none are trapped in the core. I began clamping and screwing starting at the transom center line, hoping to get an even/equal bend
Everything seems to have pulled snug. I ran out of time and could not laminate my biaxial sheets onto the face of the ply. Will hit it all with a grinder and finish lay up hopefully this weekend if there is no rain. The overall lamination schedule is:
1.5oz mat
1/2"ply
1.5oz mat
1/2"ply
1.5oz mat
1/2"ply
0/90 1808 biaxial stitch mat
+/- 45 1808 biaxial stitch mat
0/90 1808 biaxial stitch mat
+/- 45 1808 biaxial stitch mat
Cleaned up with grinder, cut out all voids, wiped down with acetone
Made a cardboard template, traced onto 3 pieces of 1/2" ply, cut ply, then started trimming the glass mat, 3 layers of 1.5oz mat, 2 layers of 0/90 1808 biaxial stitch mat, and two layers of +/- 45 1808 biaxial stitch mat
On the boat I laminated pieces into ground out voids, then applied epoxy, wet out 1 layer of 1.5oz mat and let that sit while I went to work on the core.
On a bench I wet out one sheet of plywood, laid down one sheet of 1.5oz mat, rolled/wet out, laied second sheet of plywood, wet/rolled out 1.5oz mat, laid third sheet of 1/2"ply. Now I had a 1.5" thick sandwich of ply/mat/ply/mat. Took this over to the boat, troweled on a thickened mixture of cabosil/epoxy to the transom perimeter and the inside face of my transom slab ( the face that will be laminated to the Hulls skin. Everything is still wet and sticky at this point.
Dropped the transom core in and began clamping and screwing. I should be able to remove all screws as none are trapped in the core. I began clamping and screwing starting at the transom center line, hoping to get an even/equal bend
Everything seems to have pulled snug. I ran out of time and could not laminate my biaxial sheets onto the face of the ply. Will hit it all with a grinder and finish lay up hopefully this weekend if there is no rain. The overall lamination schedule is:
1.5oz mat
1/2"ply
1.5oz mat
1/2"ply
1.5oz mat
1/2"ply
0/90 1808 biaxial stitch mat
+/- 45 1808 biaxial stitch mat
0/90 1808 biaxial stitch mat
+/- 45 1808 biaxial stitch mat
")
 .
.