cliffpaul2
Junior Member
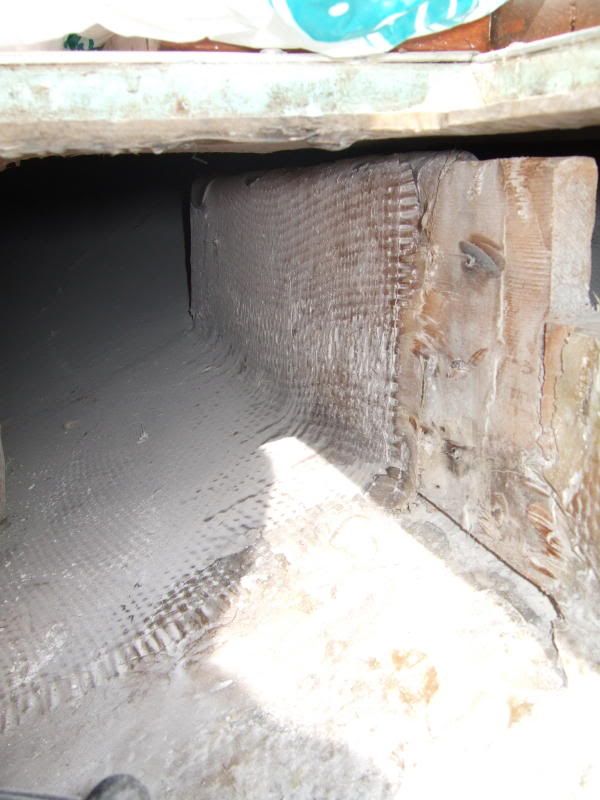
I pulled my burned up motor a few months ago and I'm working on putting a remanufactured long block together. In the process, I figured I should check out the stringers that the motor mounts on. A buddy came over and we started by drilling a hole between the old mounting holes, and the wood was dark and soft there. The next step was to cut a strip out of the fiberglass on top, which exposed even more soft (rotting) wood. So the cutting continued:


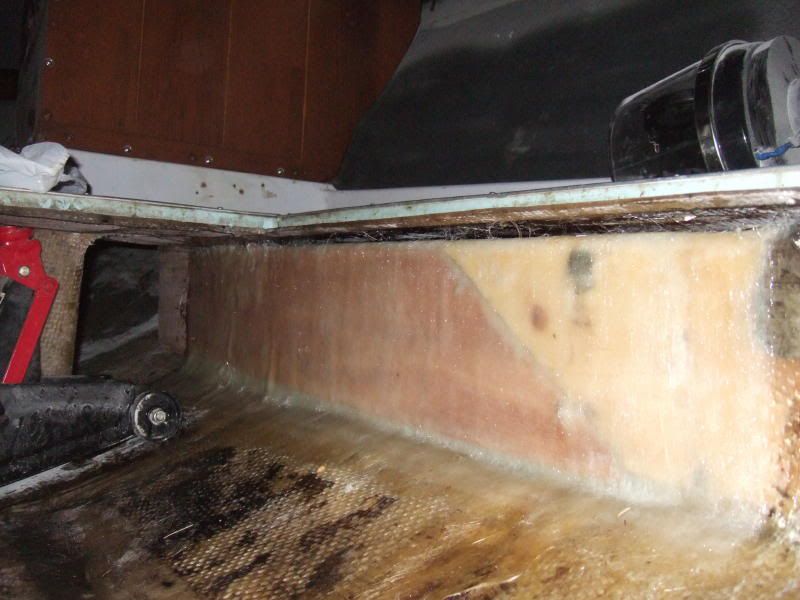
The next thing we did was cut a cross section about 15" forward from the transom, and my worst fears came true:

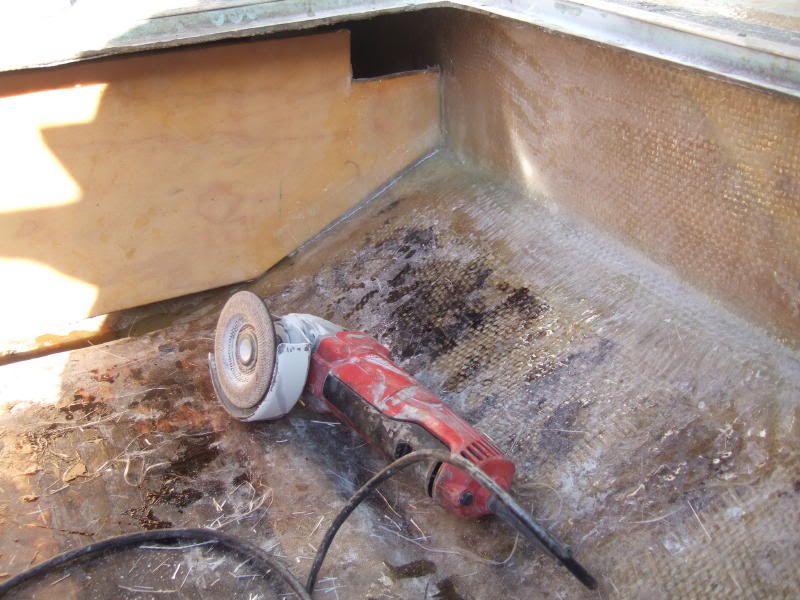
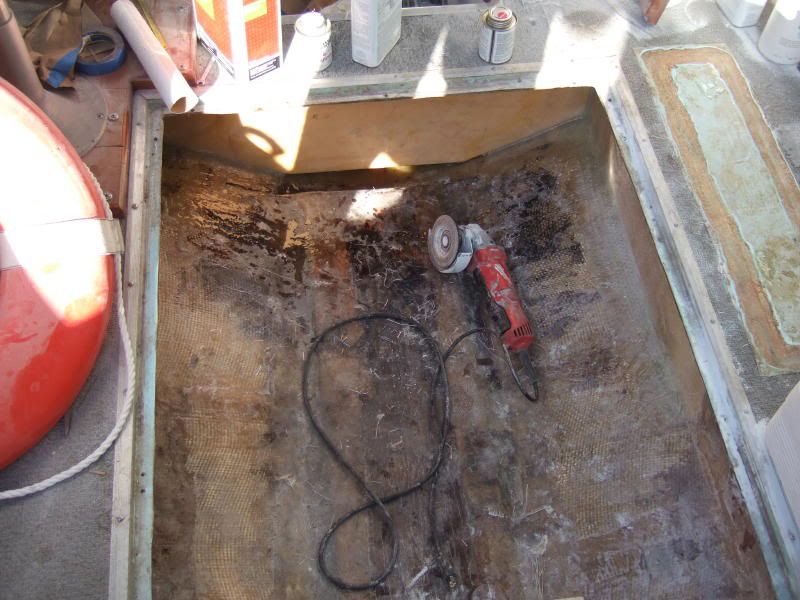
These things are a total loss. Luckily, these pieces are fairly short (they stop at the first bulkhead), so we completely removed both of them, and will start from scratch.
I bought a beam remnant at the lumber yard that I think is perfect. It is a product called "glue lam", which is basically several 2"x4" boards stacked on top of each other and glued together to form a beam. They are cured before they are glued, so there shoudn't be any warping later. The piece that I bought had been exposed to a little rain this winter, but it was wrapped with plastic, so it held up pretty well.
Here is the question: Should I cut the new stringers should to fit tightly between the transom and the bulkhead? When I removed the old stringers, I noticed that they were both about an inch too short. Was this intentional? I don't think they shrunk after they were glassed in. They look like they were installed that way, because on both ends there was a gap where they attached and there was an indentation where the fiberglass cloth had been contoured around it. Maybe this is a structural thing that I don't understand? Maybe this allows the stringers to expand? Any ideas?
Note: The stringers that I removed were made of two 2"x8" boards that were nailed together. As you can see from the photos, this put the mounting screws right in the seam between the boards. I think this is a really poor design, because the worst rot was between them. You can also see that from the cross section photo. However, most of my rot came from the bottom, so I think there were some voids in the fiberglass too, and too much water in the bilge (the previous owner didn't even have a bilge pump installed!).
Thanks in advance for your advice.
The next thing we did was cut a cross section about 15" forward from the transom, and my worst fears came true:
These things are a total loss. Luckily, these pieces are fairly short (they stop at the first bulkhead), so we completely removed both of them, and will start from scratch.
I bought a beam remnant at the lumber yard that I think is perfect. It is a product called "glue lam", which is basically several 2"x4" boards stacked on top of each other and glued together to form a beam. They are cured before they are glued, so there shoudn't be any warping later. The piece that I bought had been exposed to a little rain this winter, but it was wrapped with plastic, so it held up pretty well.
Here is the question: Should I cut the new stringers should to fit tightly between the transom and the bulkhead? When I removed the old stringers, I noticed that they were both about an inch too short. Was this intentional? I don't think they shrunk after they were glassed in. They look like they were installed that way, because on both ends there was a gap where they attached and there was an indentation where the fiberglass cloth had been contoured around it. Maybe this is a structural thing that I don't understand? Maybe this allows the stringers to expand? Any ideas?
Note: The stringers that I removed were made of two 2"x8" boards that were nailed together. As you can see from the photos, this put the mounting screws right in the seam between the boards. I think this is a really poor design, because the worst rot was between them. You can also see that from the cross section photo. However, most of my rot came from the bottom, so I think there were some voids in the fiberglass too, and too much water in the bilge (the previous owner didn't even have a bilge pump installed!).
Thanks in advance for your advice.
")


