Damn guys, I ain't ever going to get this thing back on the water. I spend more time figuring out where to put led lights and water tanks, things I never even considered when I embarked on this "transom" rebuild.
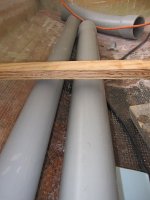
I like the PVC tube idea, but my model doesn't have recessed rod boxes so the clearance just isn't there. I went with a larger fuel tank so the clearance isn't there either. I could probably go under the forward fish box along with the spare 20 gallon gas tank. Not a fan of putting another 200 lbs that far forward but heck, when I hit the gulf stream I typically have (6) 5-gallon tanks of gas in the bow and it hasn't been a problem yet.
Crap, I don't want my auxiliary fuel tank near my batteries. Gotta keep thinking.
Really though, its alot of fun. I tell her "leave me alone," I'm going to work on the boat like its my job or something, gotta remind myself its a hobby.
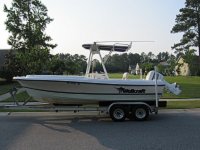


 Keep up the good work...It's looking nice...and looking at some of those 'before" shots, she most definately needed what you are doing. Well Done Sailor!!!