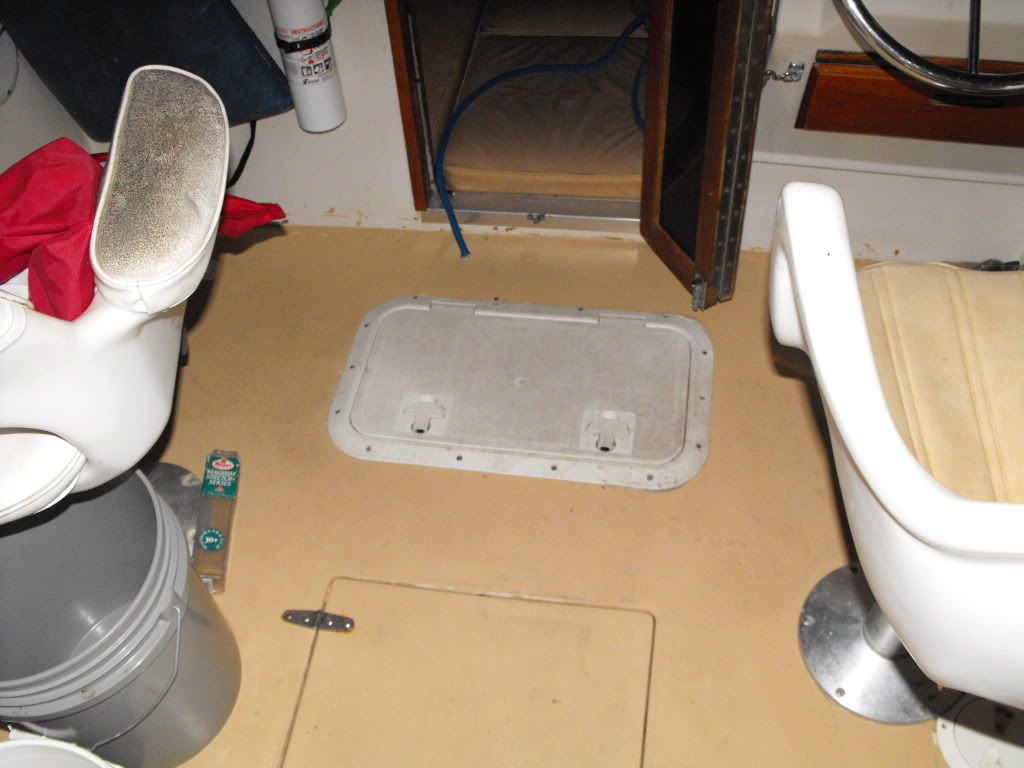
Took the boat out today and it got pretty rough. The family was fishing and i was just relaxing in the captains chair when all of a sudden the chair ripped out of the floor. The floor of the entire boat is solid, even where the chair used to exist. Has anyone else had a problem with this and what kind of fixes do you guys have?
Wellcraft, V20 and Steplift remain the property of the Wellcraft Company
Install the app
How to install the app on iOS
Follow along with the video below to see how to install our site as a web app on your home screen.
Note: This feature may not be available in some browsers.
You are using an out of date browser. It may not display this or other websites correctly.
You should upgrade or use an alternative browser.
You should upgrade or use an alternative browser.
Seat problem
- Thread starter Jack
- Start date
reelapeelin
God
Took the boat out today and it got pretty rough. The family was fishing and i was just relaxing in the captains chair when all of a sudden the chair ripped out of the floor. The floor of the entire boat is solid, even where the chair used to exist. Has anyone else had a problem with this and what kind of fixes do you guys have?
What let go??...did the floor shred or did the fasteners let go...when you say the floor is still solid, sounds like the fasteners may have corroded, fatigued and released...
If the floor is still solid around the holes the screws/bolts, whatever went thru, pick up a set of floor toggle bolts to reinstall the pedistal...
A couple of pictures would help us help you tremendously...whip that camera out...

Try using the same holes or just rotate the base and drill new holes use toggle bolts like this to secure it
http://www.shipstore.com/SS/HTML/GAR/GAR21021.html
http://www.shipstore.com/SS/HTML/GAR/GAR21021.html


Destroyer
God
What the hell??????? I took like an hour, figured out how to make an invisable repair with a backing plate without cutting an inspection hatch, typed it all up on here and posted it...and now it's not here???!!! Typed out a complete discription on how you could repair the seat, what parts you would need, etc. Posted it on Sunday night... and now it's missing!!!! FraK!!!!
I'm in Fl now, drove down on Monday and Tuesday. I'll retype the entire thing for you when I get back home Fri or Sat.
I'm in Fl now, drove down on Monday and Tuesday. I'll retype the entire thing for you when I get back home Fri or Sat.
Destroyer
God
Ok.. Back home now...
The engineer in me got to wondering on how you could do this repair using a much stronger backing plate rather than toggle bolts. This is what I came up with.
You will need:
A tape measure
A set of machinist transfer punches
A 1/4x20 tap
A number 7 drill bit and a drill motor.
Some heavy string, masion twine, etc.
A scrap 1/4x20 nut.
Two additional 1/4x20 nuts
(2) 1/4x20 threaded rods about 3 feet long
(6) Stainless steel 1/4x20x2 flat head or round head machine screws.
A round metal plate the same size as the bottom of your pedistal bottom plate, 1/4 inch thick, made out of your choice of stainless steel, aluminum or regular cold rolled steel. (If you use regular steel make sure you prime and paint if first).
Some Loctite 242 (Blue)
On a flat workbench place the round plate exactly under your pedistal bottom and, using a tranfer punch the same size as your pedistal mounting holes, transfer the hole locations into the new plate. (Try and be as exact as possible in this step since the ease of your repair depends on your accuracy here.)
Use a number 7 drill bit and drill out the 6 transfered hole locations.
Use the 1/4x20 tap and tap the 6 holes.
In the center of the plate drill one additional hole with the drill bit .
Thread the string through the center hole and tie the scrap nut to the back side so the nut cannot come thru the hole.
Now comes the fun part.
In your deck, exactly under the place where the seat was, cut a diagional 1/4 inch slot from one end of the bolt circle to the other end, being careful to make the cut between the existing holes. Do not cut into the holes.
Slide the plate through the slot and, using the string, pull the plate up into position so the holes line up with the existing holes already in your deck.
On opposite sides of the bolt circle thread the two pieces of threaded rod into the plate thru the holes in your deck. Let the plate fall to the bottom of the hull for now.
Line up and slide the bottom of the pedistal over the threaded rods.
Lift the rods with the plate now attached and thread the 2 nuts down them until they snug up the plate to the bottom of the deck.
Take each machine screw, place a tiny drop of LocTite 242 on the threads of them and thread them through the pedistal and into the other 4 holes in the plate, then unscrew the threaded rod and screw the remaining 2 machine screws with Loctite 242 into those holes.
Tighten the 6 screws up and your seat is now secure, with a backing plate under the deck that will never come out, with a repair that is invisable and much stronger than toggle bolts.
If you have any questions about these directions feel free to ask.
Ok.. Back home now...
The engineer in me got to wondering on how you could do this repair using a much stronger backing plate rather than toggle bolts. This is what I came up with.
You will need:
A tape measure
A set of machinist transfer punches
A 1/4x20 tap
A number 7 drill bit and a drill motor.
Some heavy string, masion twine, etc.
A scrap 1/4x20 nut.
Two additional 1/4x20 nuts
(2) 1/4x20 threaded rods about 3 feet long
(6) Stainless steel 1/4x20x2 flat head or round head machine screws.
A round metal plate the same size as the bottom of your pedistal bottom plate, 1/4 inch thick, made out of your choice of stainless steel, aluminum or regular cold rolled steel. (If you use regular steel make sure you prime and paint if first).
Some Loctite 242 (Blue)
On a flat workbench place the round plate exactly under your pedistal bottom and, using a tranfer punch the same size as your pedistal mounting holes, transfer the hole locations into the new plate. (Try and be as exact as possible in this step since the ease of your repair depends on your accuracy here.)
Use a number 7 drill bit and drill out the 6 transfered hole locations.
Use the 1/4x20 tap and tap the 6 holes.
In the center of the plate drill one additional hole with the drill bit .
Thread the string through the center hole and tie the scrap nut to the back side so the nut cannot come thru the hole.
Now comes the fun part.
In your deck, exactly under the place where the seat was, cut a diagional 1/4 inch slot from one end of the bolt circle to the other end, being careful to make the cut between the existing holes. Do not cut into the holes.
Slide the plate through the slot and, using the string, pull the plate up into position so the holes line up with the existing holes already in your deck.
On opposite sides of the bolt circle thread the two pieces of threaded rod into the plate thru the holes in your deck. Let the plate fall to the bottom of the hull for now.
Line up and slide the bottom of the pedistal over the threaded rods.
Lift the rods with the plate now attached and thread the 2 nuts down them until they snug up the plate to the bottom of the deck.
Take each machine screw, place a tiny drop of LocTite 242 on the threads of them and thread them through the pedistal and into the other 4 holes in the plate, then unscrew the threaded rod and screw the remaining 2 machine screws with Loctite 242 into those holes.
Tighten the 6 screws up and your seat is now secure, with a backing plate under the deck that will never come out, with a repair that is invisable and much stronger than toggle bolts.
If you have any questions about these directions feel free to ask.
Awesome post , he can also insert the plate under the floor by removing the rod box and slide the plate into position and pull it up with a string or magnet ...I did it on my old hull with no problems ..
Fishwhisperer 180
New member
You will need:
A tape measure
A set of machinist transfer punches
A 1/4x20 tap
A number 7 drill bit and a drill motor.
Some heavy string, masion twine, etc.
A scrap 1/4x20 nut.
Two additional 1/4x20 nuts
(2) 1/4x20 threaded rods about 3 feet long
(6) Stainless steel 1/4x20x2 flat head or round head machine screws.
A round metal plate the same size as the bottom of your pedistal bottom plate, 1/4 inch thick, made out of your choice of stainless steel, aluminum or regular cold rolled steel. (If you use regular steel make sure you prime and paint if first).
Some Loctite 242 (Blue)
Destroyer,
You are really a fixer. Great mod! I especially like the 1/4" slot to pass the plate through the deck (no need for access plate. Slick!).
If you don't mind I would like to add 1 item to the kit list. That would be some type of sealant or epoxy to close the end-grain exposed by the holes and slot that had to be cut in the deck.
That said you've outlined a great fix.
Good luck Jack.