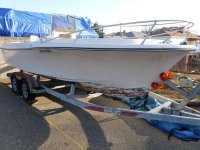
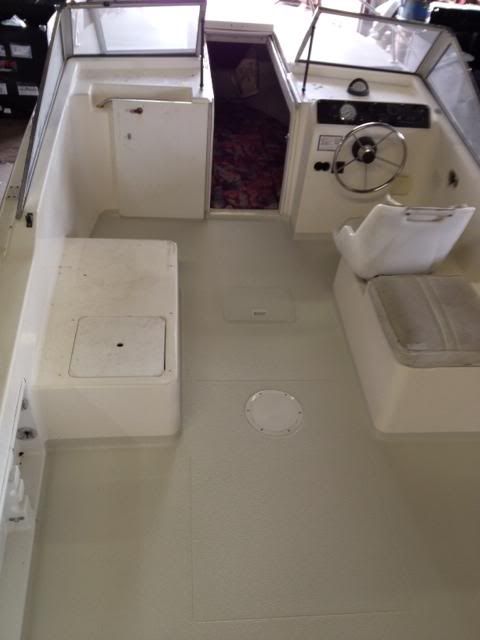
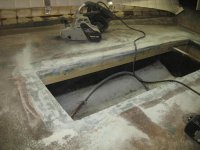
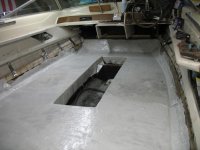
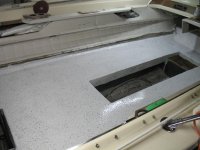
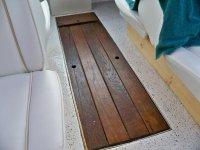
The entire underside of the floor was soft due to the PO not venting the area after use and during the winter. So the wood that is just glued to the underside rotted out. I left about a 4 inch border all around and cut the floor out, (4" mini grinder is your best friend) then scraped and sanded the underside of the floor bare, then glued new irregular shaped marine plywood pieces to the underside, then fiberglassed everything with a thin coat of woven glass to seal the wood against further rotting. (The reason for the irregular shaped pieces (think of a jigsaw puzzle) is that it's stronger than large squares or rectangles since there are no transverse running joints). Once that was done I discovered that all the foam flotation was waterlogged, so removed that, cleaned out everything, ran new hoses for the gas tank (since it was open it just seemed like the logical thing to do) and re-foamed the voids. But instead of foaming just to the void lips, I foamed all the way to the underside of the deck, so the deck actually rests on a bed of foam. (nice and solid as a rock) To attach the deck back on, I glued and screwed strips of plywood to the underside of that previously mentioned 4" border, leaving them about 2 inches proud , then spread glue on the shelf that created, laid the deck onto it and screwed it down. Filled the cracks with thickened resin, sanded everything, masked it all off and applied the U-Pol, tinted to a very light shade of tan, almost white. No, it doesn't get any hotter than a regular painted deck, and the rubbery feeling on the feet is actually soothing, with great anti-slip properties.
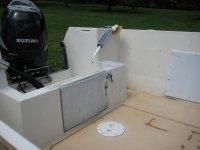
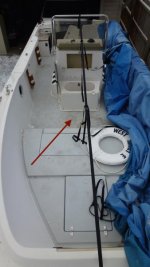
One of the really nice things about the truck bed liner material is that it's so thick that it completely hides all cracks and screwheads, giving the finished project a seamless look to it. The only bad thing about the stuff is that it's going to be a bear if I ever have to remove it. The last thing I did was cut out the floor and installed that hatch you see in the second picture between the captains chair and the mates chair area. There's a huge void there that Wellcraft never did anything with, and it makes a perfect storage area. ( I may move my batteries up there come springtime, but that's just a dream for right now.


 .
.