awthacker
Junior Member
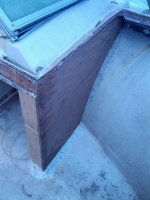
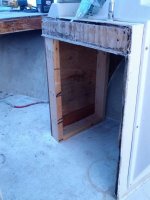
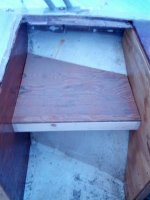
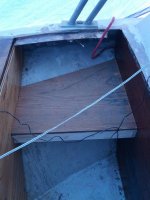
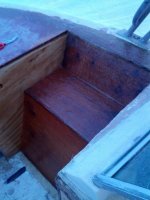
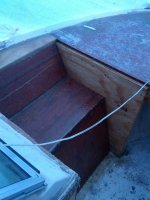
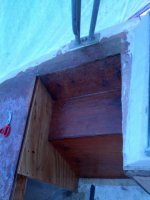
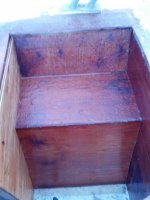
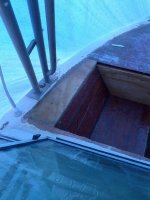
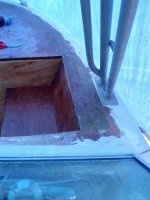
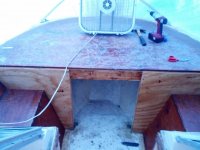
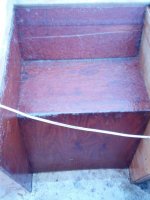
Your work looks good. I think destroyers right though. Usually you set saw depth to cut wood but leave the bottom skin, then glue your new wood to the skin, that way it's protected underneath. I doubt much water will touch the underside of your floors, though and it should be good for 10+ years. It looks awesome!