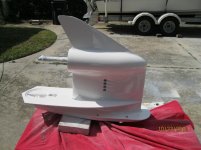
That is coming out nice! My 1987 140 has had everything rebuilt also. Makes it interesting to get parts. Everything under the cowling is a 1994...so you have to be creative buying parts. The only thing I needed to change was a rectifier, which e-bay helped also. Keep the photos coming.

Wellcraft, V20 and Steplift remain the property of the Wellcraft Company
Install the app
How to install the app on iOS
Follow along with the video below to see how to install our site as a web app on your home screen.
Note: This feature may not be available in some browsers.
You are using an out of date browser. It may not display this or other websites correctly.
You should upgrade or use an alternative browser.
You should upgrade or use an alternative browser.
Evinrude 1987 140 v4 Rebuild
- Thread starter nymack66
- Start date
Skools Out
God
clean the paint out of the reed holes and off the upper main bearing or you'll have issues. never paint fuel passages the fuel breaks down the paint and then the paint gums up the cylinders on 2 strokes and can result in burnt pistons. clean the intake inside where you got paint in it.
clean the paint out of the reed holes and off the upper main bearing or you'll have issues. never paint fuel passages the fuel breaks down the paint and then the paint gums up the cylinders on 2 strokes and can result in burnt pistons. clean the intake inside where you got paint in it.
Thanks very good point ..I will use some acetone and wipe it off ..
THEFERMANATOR
God
Also if you redo the lower don't get any paint inside where oil is at or else it will come off as well.
Oh well the hot days of summer are over, I am back working on this engine.
I have since fill in the holes the previous owner drilled on the lower unit, I filled it with JB weld and sanded it down, zinc applied and this weekend is painting time.
I will have the entire MID & LU painted and fully assembled by next weekend. It was way to hot for me to work on this engine in the summer, the excuse is now over back to work.
Holes shown

JB WELD neatly applied
Nice new camera to snap pictures to boot ...

Little sanding and re shoot looks awesome

I have since fill in the holes the previous owner drilled on the lower unit, I filled it with JB weld and sanded it down, zinc applied and this weekend is painting time.
I will have the entire MID & LU painted and fully assembled by next weekend. It was way to hot for me to work on this engine in the summer, the excuse is now over back to work.
Holes shown

JB WELD neatly applied
Nice new camera to snap pictures to boot ...

Little sanding and re shoot looks awesome

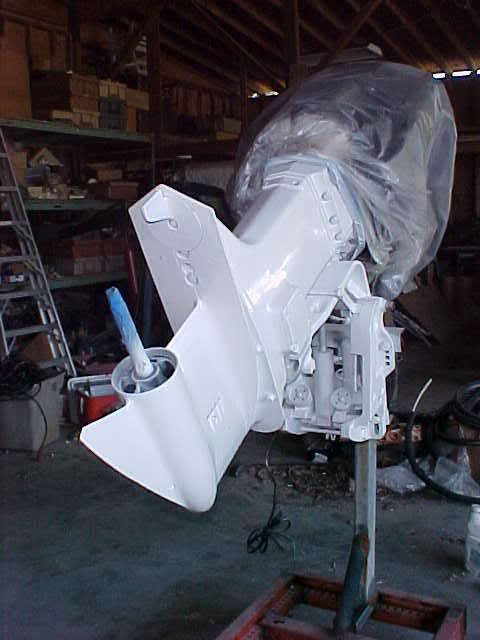
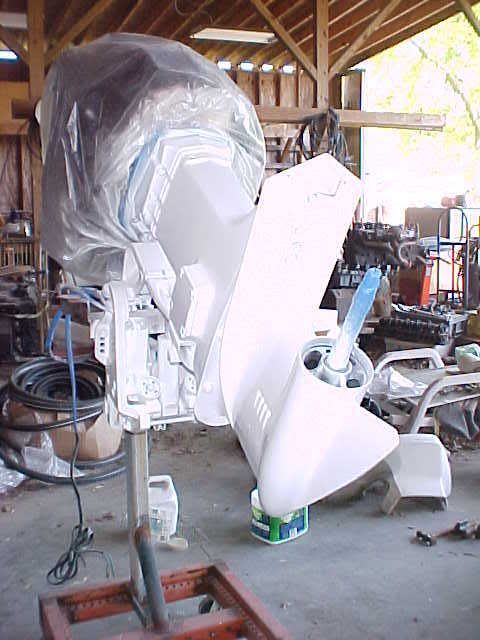
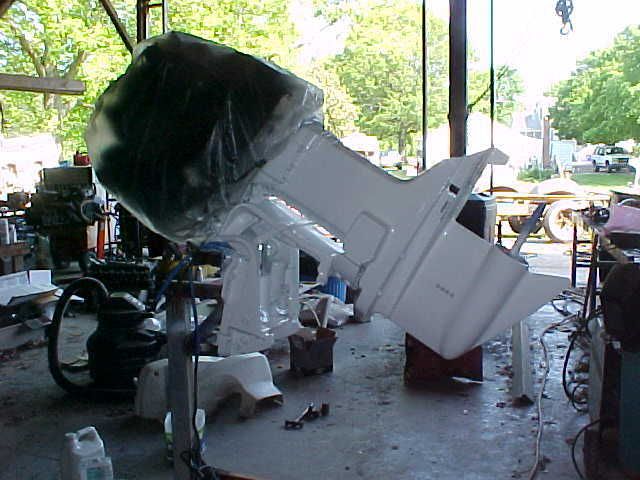
Oh well technical difficulties, the bloody paint refuses to dry, hopefully it cures in a couple of days. I may have laid it on too thick?
I could have sworn I did it correctly per instructions, low humidity nice 80 plus degrees..Who knows technical support promise me it will cure over a couple of days...
Sure self levels as promise ...
I could have sworn I did it correctly per instructions, low humidity nice 80 plus degrees..Who knows technical support promise me it will cure over a couple of days...
Sure self levels as promise ...
Attachments
RidgeRunner
God
Looks like a new one to me. I need to get to the Merc and do the same thing. My cowl needs help. Last time it was painted by previous owner they painted over the decals. They painted over the barnacles on the mid and lower too. No sanding, no filler, no joke a really crappy job. But they purchased the really expensive automotive paint, I just don't get why they didn't spend an hour to prep it right. Keep up the good work NYMACK.
Thanks for the kind words Ridge, Its Official my rookie mistake cost me time and money. I have all the parts back into the media blasting shop. This paint turns out to be a lot of bologna after all. I am mad at myself for NOT painting one part first and test, with that said, who ever dream a paint will NOT dry?
http://supermarinepaint.com/bottom-revolution-SM-1000.asp
http://supermarinepaint.com/bottom-revolution-SM-1000.asp
Skools Out
God
?????????? why don't you just use motor paint from Advance Auto? also use there green self etch primer in spray cans. that's what i painted my last 225 Johnson with.
Before


just sanded


Hood Paint


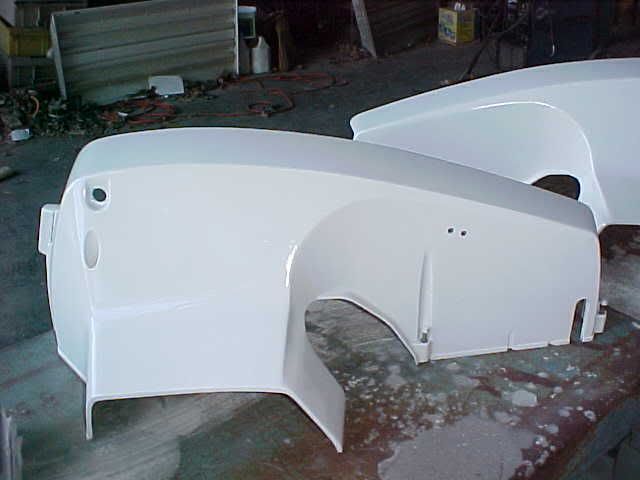
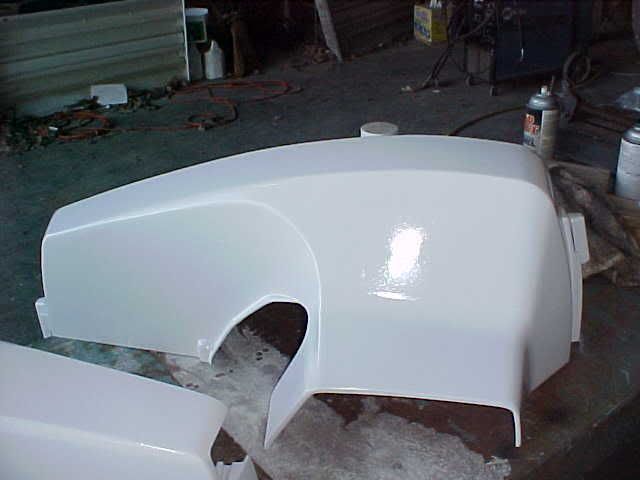
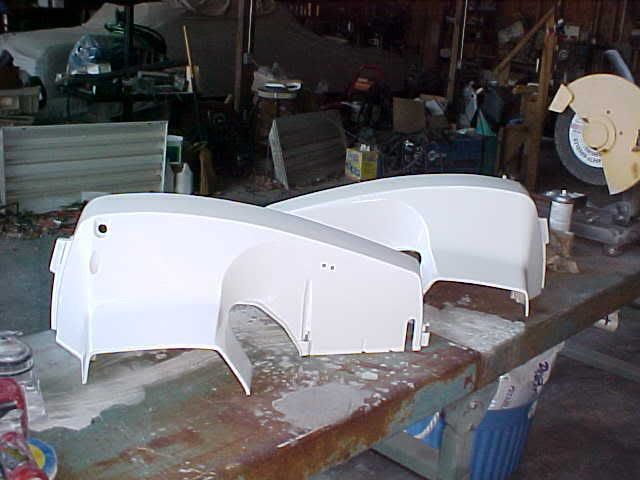
Hood after painting up. these are not decals that is all paint and yes MJ the lines aren't perfect lol.


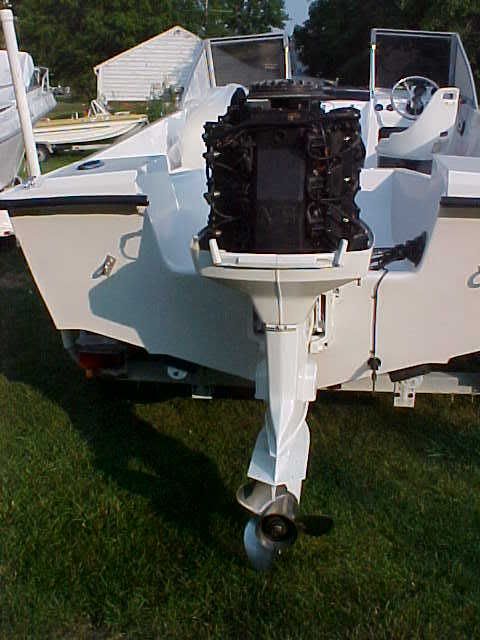
on the boat painted
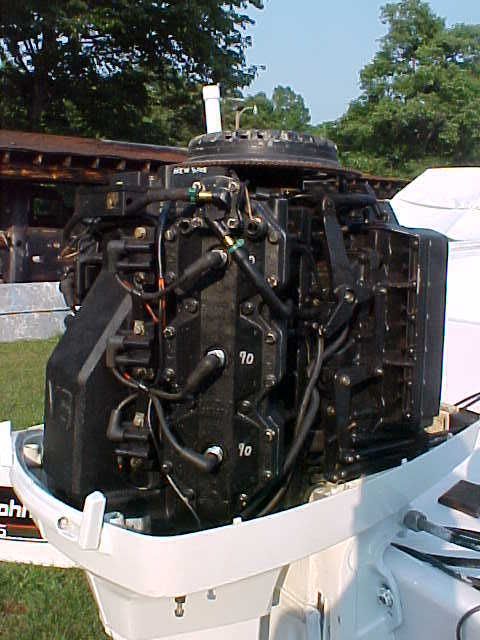
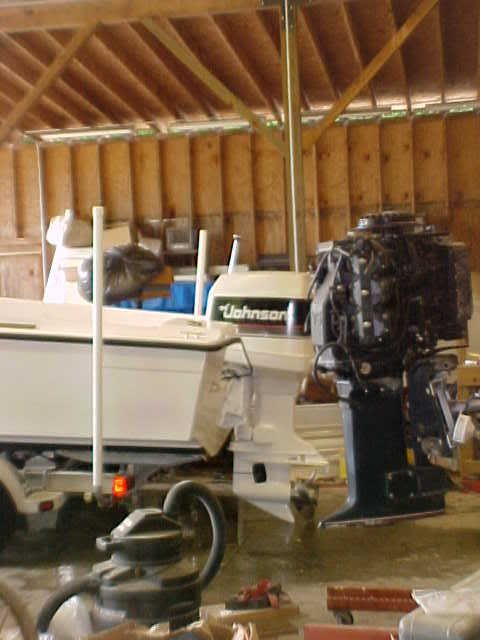
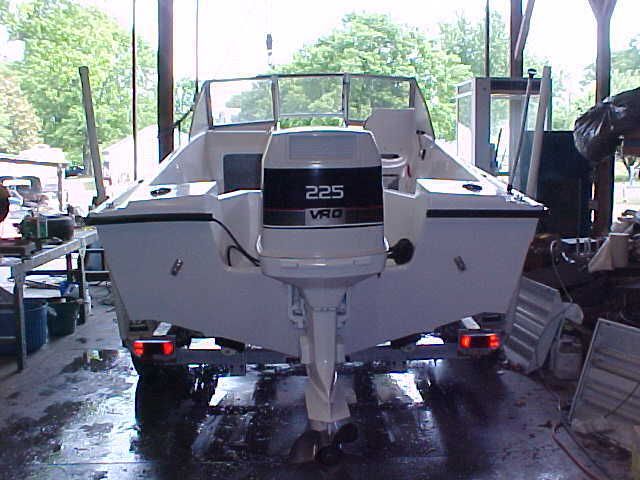
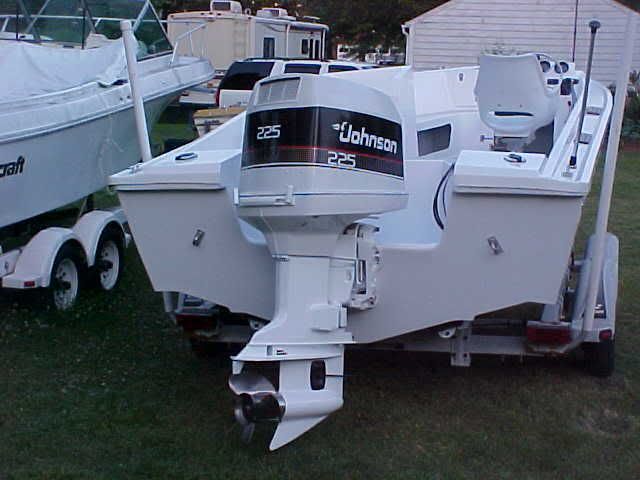
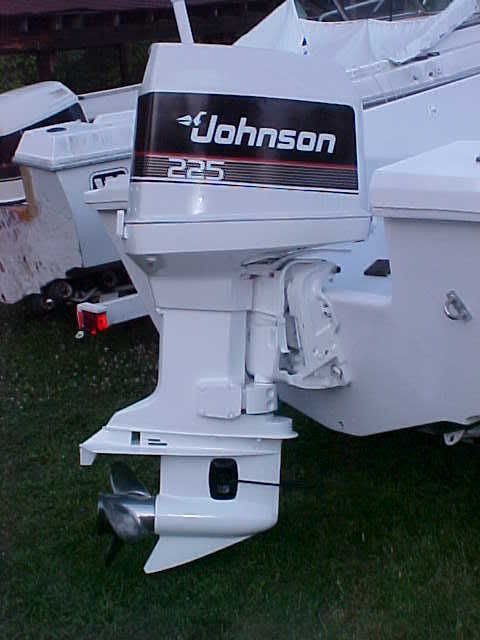
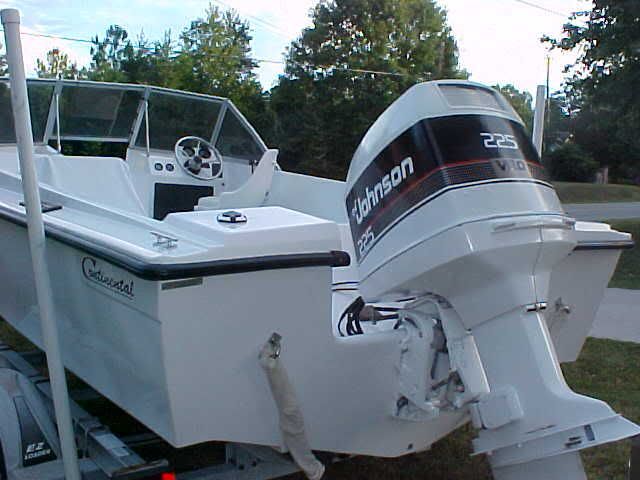
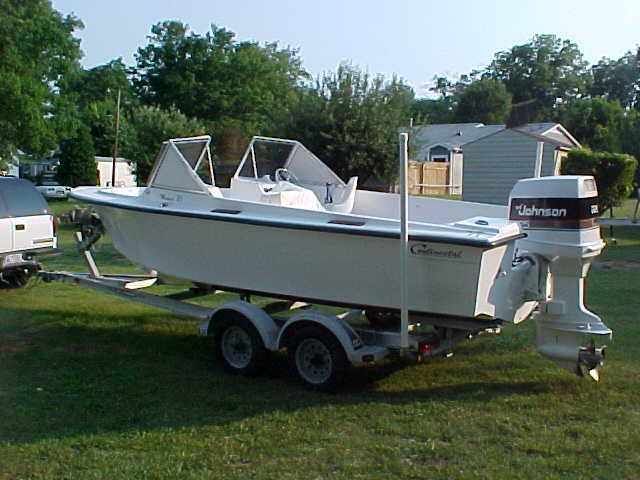
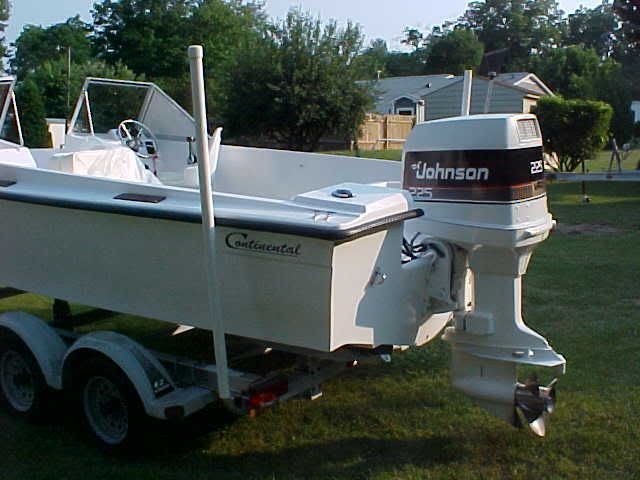
Before


just sanded


Hood Paint


Hood after painting up. these are not decals that is all paint and yes MJ the lines aren't perfect lol.


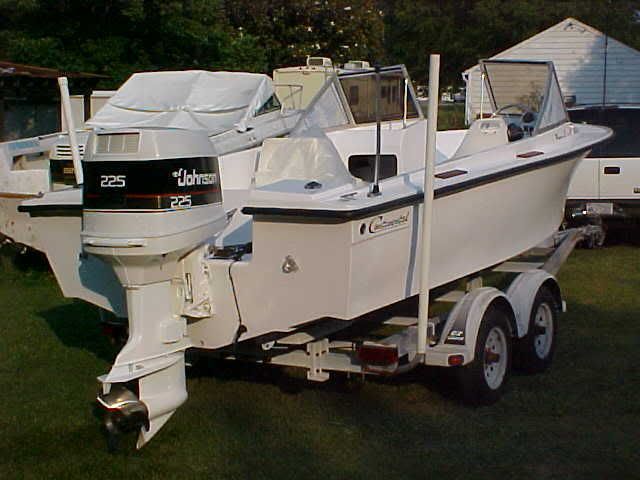
on the boat painted


Last edited:
THEFERMANATOR
God
The only drawback to engine paint is that it doesn't have alot of UV resistance to it. I've done a few with it, and after a year or 2 it was fading pretty noticeably. I've had real good luck with the TEMPO engine paint that most marine stores carry though. If you do use engine paint, shoot some clear over it to help it with the sunlight fading.
Skools Out
God
here's a 140 i changed to Evinrude in color
i did paint the inside in white to make it easier to find leaks


If you want to colors i found in spray cans at Advance Auto to do Evinrude blue let me know i have the cans so i could have the paint codes.
i did paint the inside in white to make it easier to find leaks


If you want to colors i found in spray cans at Advance Auto to do Evinrude blue let me know i have the cans so i could have the paint codes.
Skools Out
God
oh yeah did you notice the cans of clear in the bag i cleared that motor 4 coats and it had 6 coats of white. the Evinrude was a base dark blue with a met. blue over it then cleared. it was marked 120 for 2 reasons the motor was a Johnson 140 and i have a 120 Evinrude with no use so i used the hood lettering plus the boat was rated for only 135 hp lol.
Here is an interesting spin ..I phone there technical support, which recommend I read the "manufacture" instructions.
Here is what I found just added..I know this because I NEVER saw this posted before! I will give it a shot again as test run. I bet I violated the WFT the reason its not drying.
Finish Coats: Fiberglass, Aluminum & Steel: Professionally applied spray coat applications yield superior results, however Revolution levels exceptionally well in brush and roll applications. Unless you are experienced with spray equipment the best way for the do it yourselfer is to apply Revolution is by roller coat. When properly thinned in appropriate temperatures (SM-101 Thinner 15%-25%) Revolution levels exceptionally well. It had a good defoamer “bubble popping additive” so the need for tipping is eliminated. Aside from spraying, which offers the best film thickness control, rolling is often the best way to achieve the recommended wet film thickness, 2 mils WFT (Wet Film Thickness). The recommended DFT is 3.4 mils. Applications applied too thickly may not adhere or level properly, run, sag and take days, or even weeks to cure. Always adhere to the manufacturers recommended WFT and DFT (Dry Film Thickness)!
Revolution must always be stirred or shaken thoroughly before use. It may be brushed, rolled or sprayed utilizing conventional and HVLP spray equipment. The solid content is exceptionally high so thinning will be necessary in most applications. The amount of thinner required will vary depending on ambient temperature, type of equipment used, method of application, humidity, color and amount of control desired and tip size in spray applications. We suggest beginning with minimum dilution at first and increasing dilution as needed subject to your individual application requirements.
Revolution may be built up to achieve a higher DFT where desired. Two, three or more thin coats are acceptable to achieve the recommended DFT. Boot and bottom stripes should always be applied over top of the recommended DFT. For best results recoat within 24-48 hours or sand between applications. Allow top coat film to cure thoroughly before allowing it to enter full service duty. The recommended minimum cure time is 7 days under most conditions. DO NOT allow newly applied paint to get wet for a minimum of 48 hours. The dry cured film may be wet sanded and buffed to remove runs and blemishes.
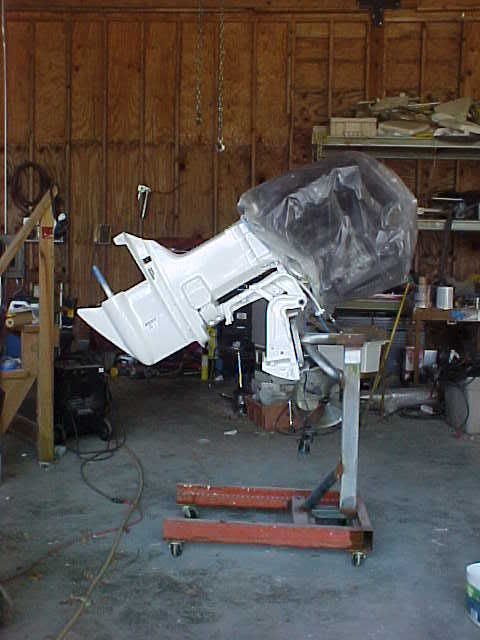
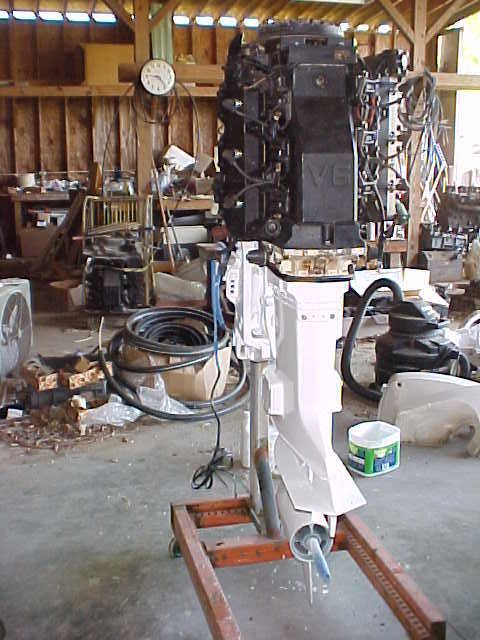
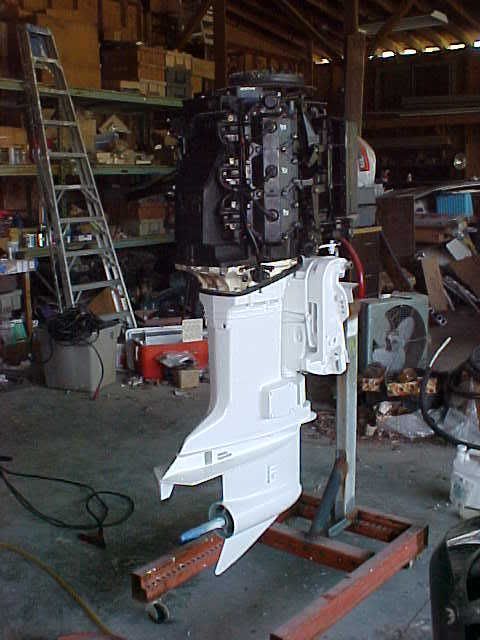
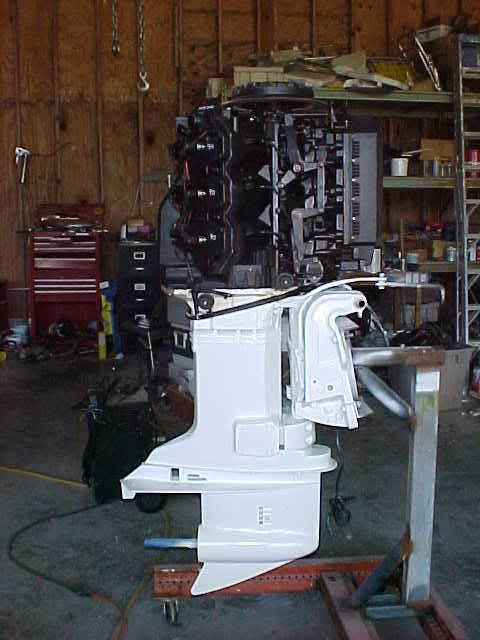
Moving along beyond painting. Here is where I am at the moment. I will have the cylinders hone, rods check at the machine shop.
Notice the scratches and miss spots on the paint? I will do final shoot this weekend. I have to clean up all the excessive grease off the bolts heads during the assembly process.
I ran taps through all the treads after the media blasting.
I am working on the Cowling and lower pans this weekend.
Some pictures ....


I am sure what the the deal is here with the primer coat but rest assured it will not be tolerated...

Notice the scratches and miss spots on the paint? I will do final shoot this weekend. I have to clean up all the excessive grease off the bolts heads during the assembly process.
I ran taps through all the treads after the media blasting.
I am working on the Cowling and lower pans this weekend.
Some pictures ....


I am sure what the the deal is here with the primer coat but rest assured it will not be tolerated...


