2ndchance
Junior Member
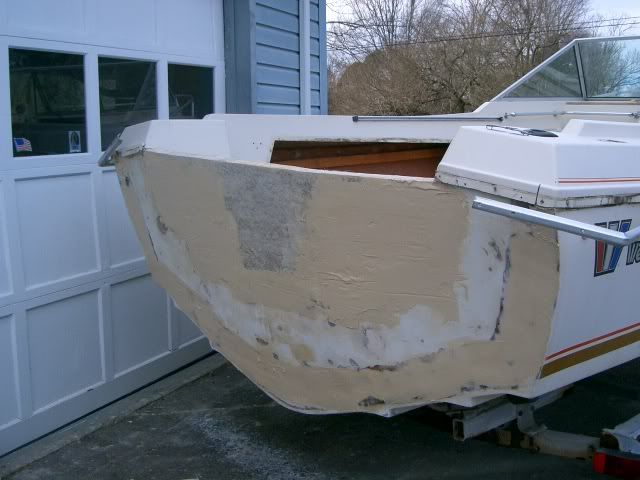
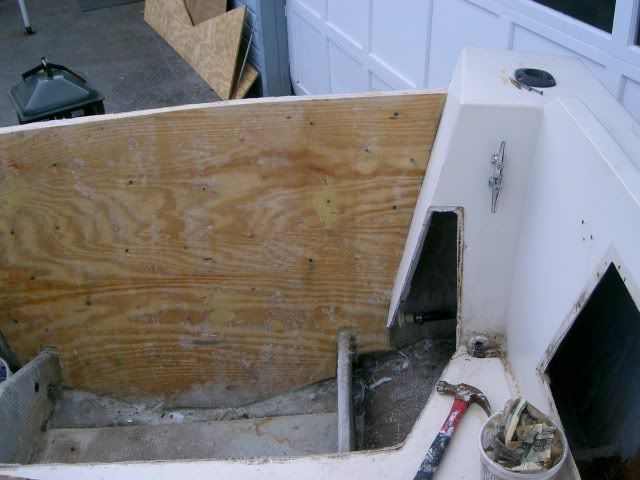
Well I finally got to go visit my V-20 in the daytime so I could get some good pictures of the transom mods that I am having done ;D.
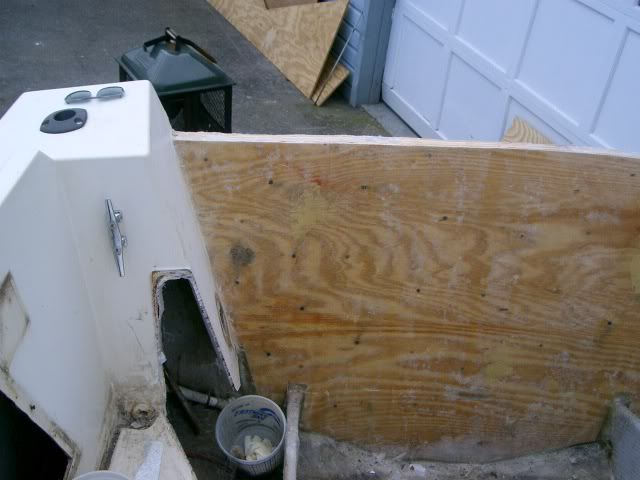
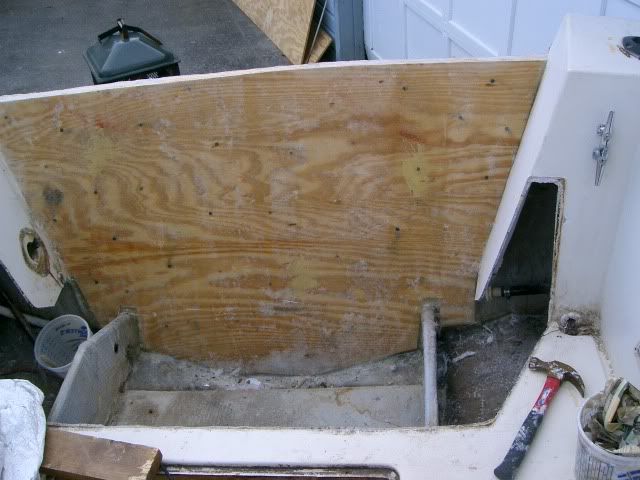
So far the the outerskin was removed and the rotted wood taken out. 2 layers of plywood were fitted into place and install with epoxy resin and SS screws. On the inside a third layer of plywood was installed where the notch used to be for extra strength. Right now all is being sealed in with fiberglass.
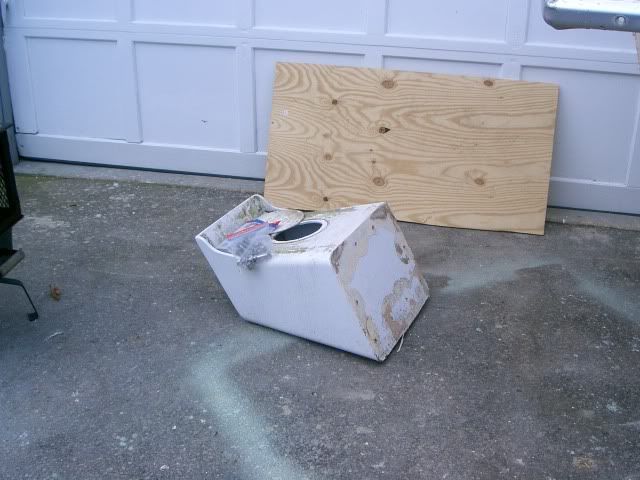
Next comes the deck and closing in the transom box to make a good place for the batteries and fuel filter.
So far the the outerskin was removed and the rotted wood taken out. 2 layers of plywood were fitted into place and install with epoxy resin and SS screws. On the inside a third layer of plywood was installed where the notch used to be for extra strength. Right now all is being sealed in with fiberglass.
Next comes the deck and closing in the transom box to make a good place for the batteries and fuel filter.
")