Reworking old wiring

inaforty

Senior Member
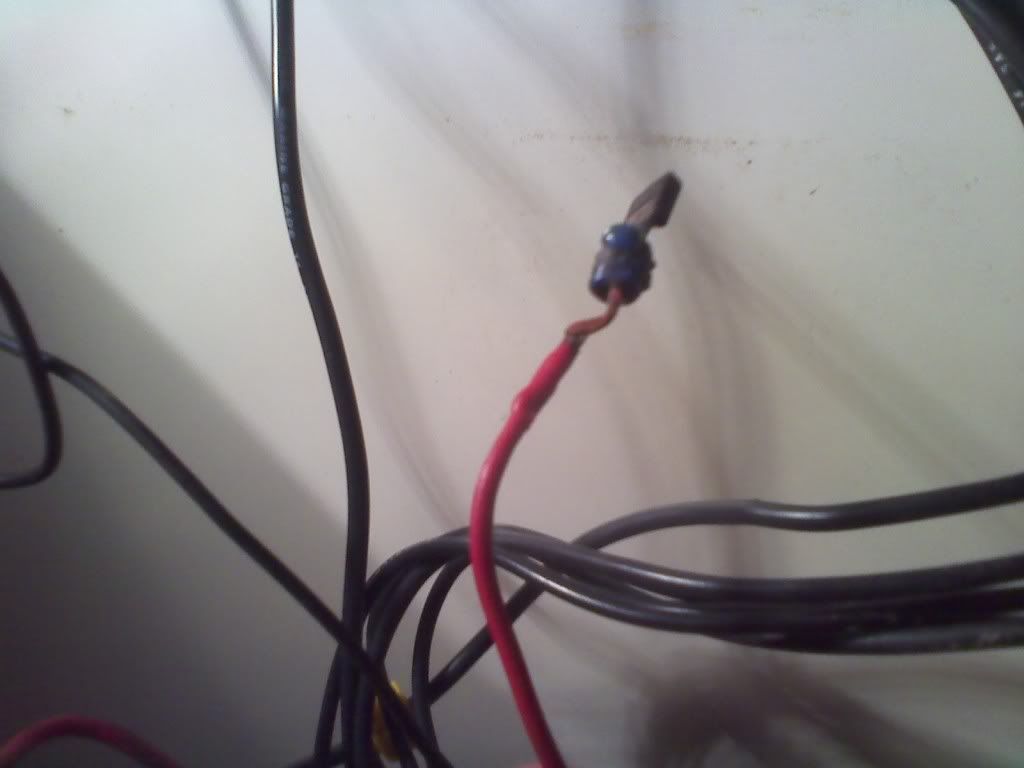
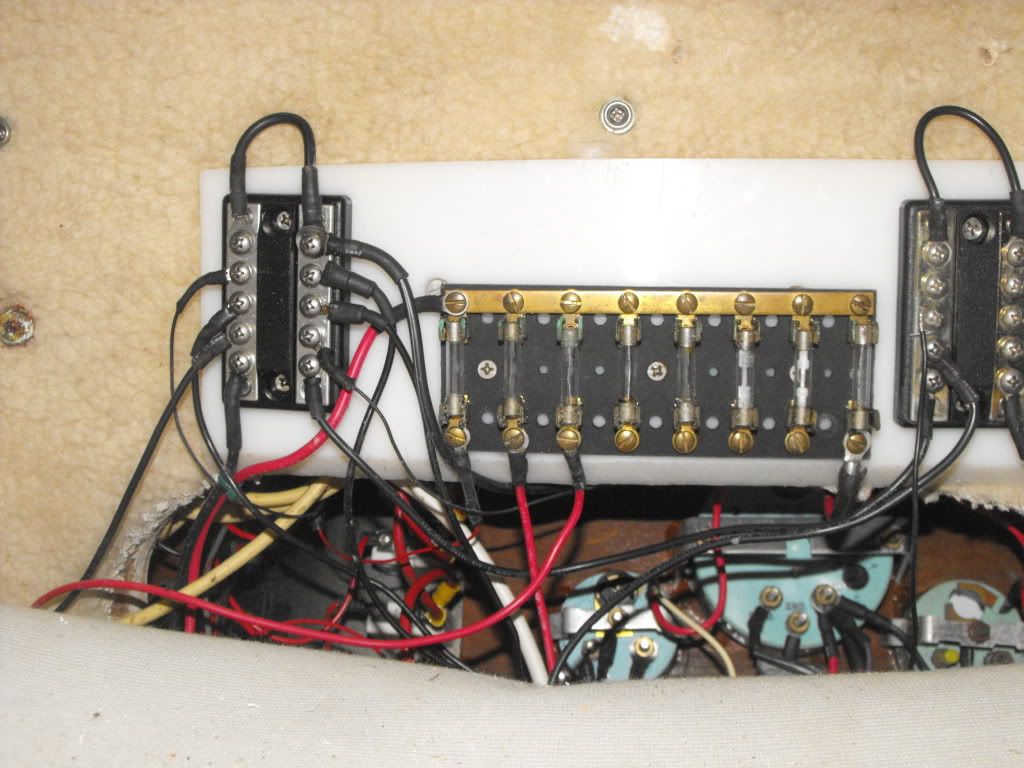
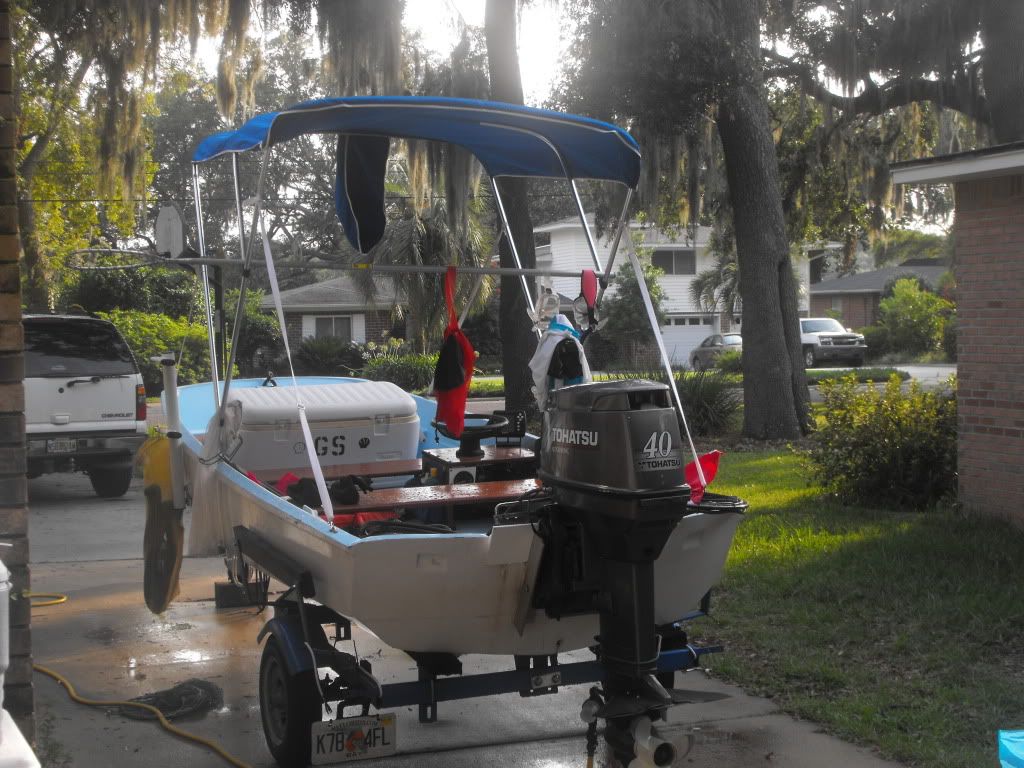
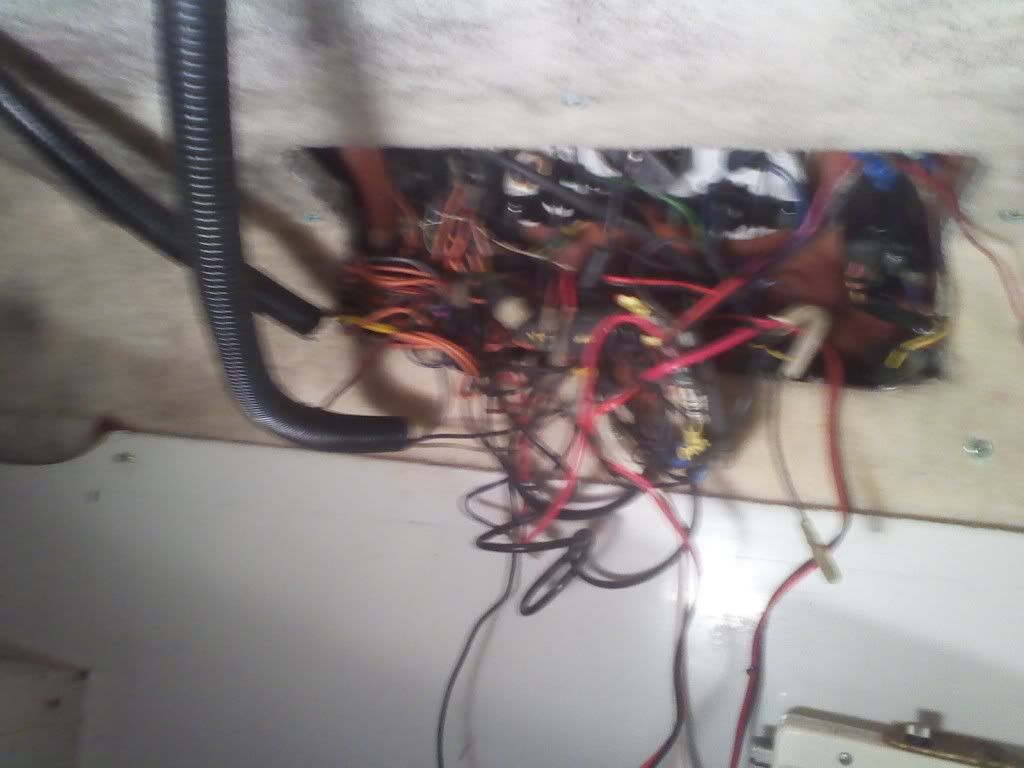
Got a warm afternoon and decide to remove all the old wiring from the old electronics from the boat. When I looked under the dash I saw a fuse board that was just hanging there under the dash. I assume this was attached somewhere at on time.

Without going to crazy I thought I would try to clean up the wiring while removing all unnecessary wiring. Bought a bus bar to run all the grounds to instead of use the very small ground on the fuse board.
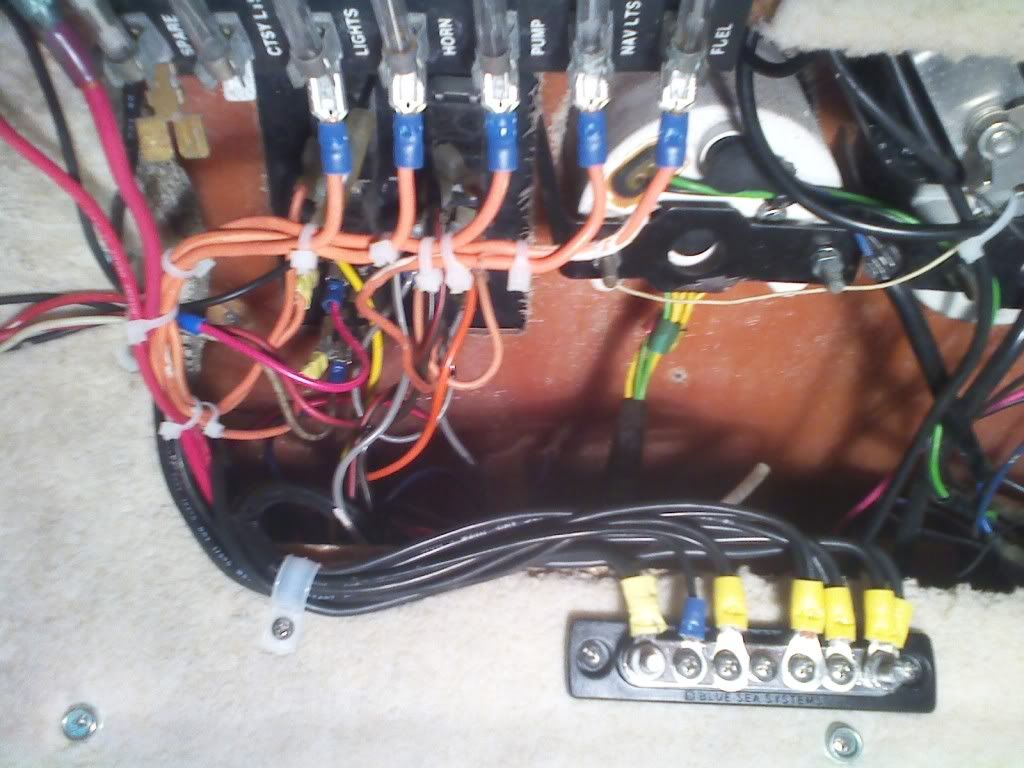
Before..
1227090947a.jpg


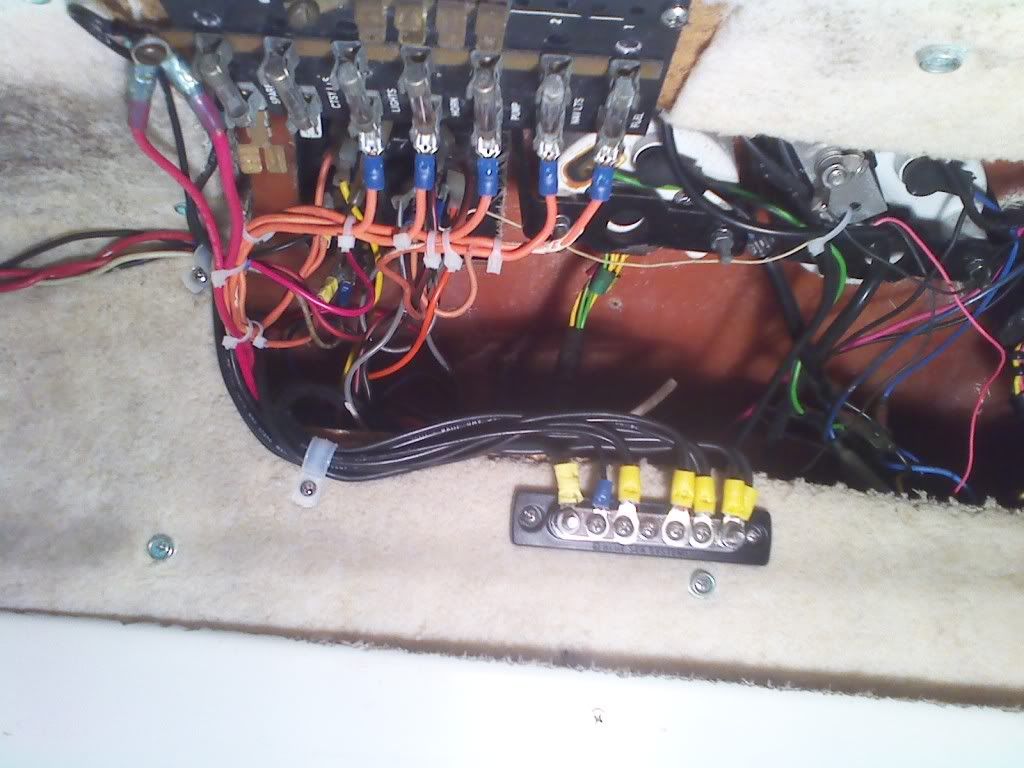
After.......haven't complete any of the negative connects to the bus bar.
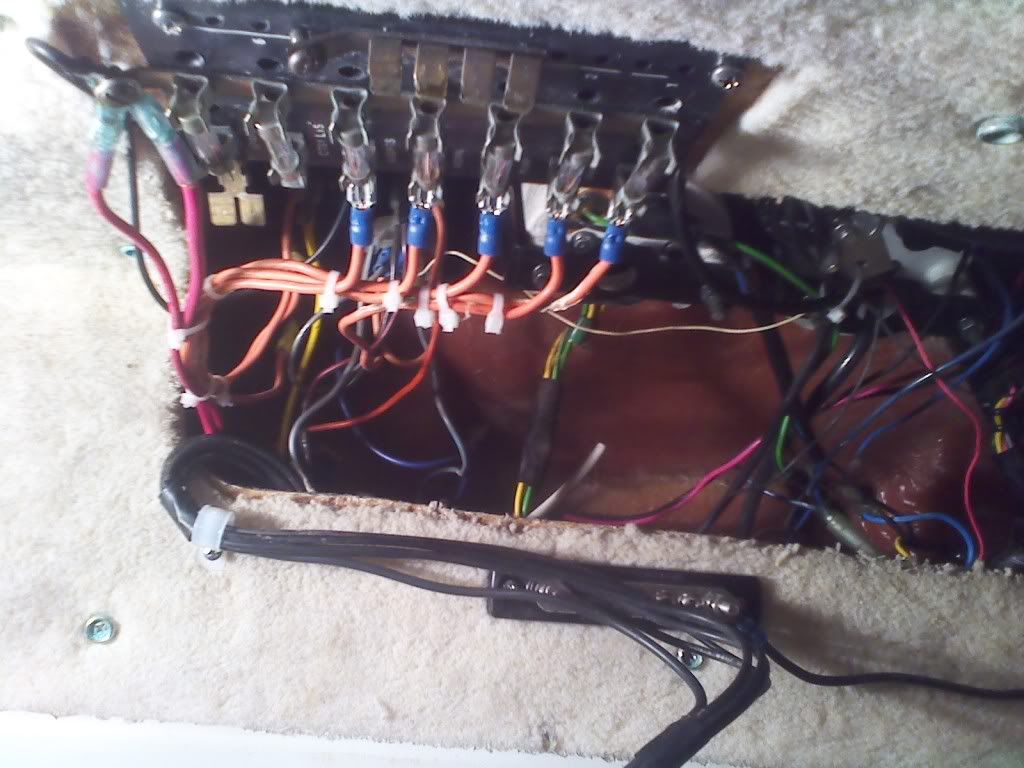
1227091547a.jpg
 
Last edited:
Great!! Now when you are done you can come over here and do mine! It worst then you have there I will tell you that!

Good Job
 
Macojoe,
Funny thing about the wiring is all the electrical components work. I first just wanted to get all the old wiring harnesses removed from previous electronics that were installed on the boat (I did get any of the old electronics when I purchase the boat). I removed 3 different lines running to the stern for transducers. One had a puck tansducer attached to the inside of the hull.

Whoever did install any components or improvements use marine tinned wire so they had some knowledge of what was correct but took little time to make things organized or neat (unless an owner got into the wiring after a pro did improvements or install).


I can't figure out if the fuse board was factory installed because it was just hanging there under the dash. I couldn't see where they would have mounted or attached it so I mounted it on the roof of the V berth. I guess I will add the wiring for the 192 Garmin that I have from the boat while I'm messing around with the wiring.

Hopefully I will get sometime today to finish the ground wiring to the bus bar.
 
Inaforty do a search on this site for Franco's posts about wiring, he re-did his and did a nice job, might give you some answers.
 
I will have to look that up also willy!!

Your doing a good job there inaforty, I hate wires and I am no good at it and know it!!
My boat has more wires going no were and more switches and stuff that do nothing, I don't know were to start??
I bought a BlueSea switch panale last season, after I installed it one of the switches went bad, I called them and they senmt me a new one, but now all the switches are seized?? I will be calling them soon.

Looks like a bowl of pasta was turned over in there! I have my work cut out for me thats for sure, and it all has to get done as I have to install all the new wires for the Yamaha this spring!

Want a job?? LOL Keep up the good work
 
Macojoe,
I think your 225 Yammie should be pretty much plug and play if you use the correct year factory harness and gauges/sensors, throttle/binnacle. I rigged and 25hp 4 stroker on my Whaler and it was pretty easy but of course a 25 hp is not a 225 either.. Once the pos and neg were attached the harness did the rest. I'm no expert or Yammie mechanic by any mean but that how it went for me. I also put in a Yamaha fuel management system on the Rosborough. Followed instruction and it was fairly easy.

Trying to find out where everything goes and what is need and not is time consuming but what the heck is there to do right now anyways.
 
I not worried about the motor cause at you say its all plug & Play, itys all the other crap I have to clean up!! I have to rip everything out EVERYTHING!!
And rewire all new, radar, GPS, FF, lights, pumps, salt water wash, all the other stuff. Is going to be a pain, But I have BS and CB to help me, I hope?? We are all buying new stuff that we are all going to be hard at work come spring fixing are own stuff!!.
 
All new stuff Macojoe!

WOW that sound like fun!

All that other crap....like this.
1228091238a.jpg


Here is the wiring all reworked so that everything is easily accessible etc.
I'm no pro installer but I'm much cheaper and when something goes wrong I know where to look. I turn the battery on after everything was completed and the only thing I missed was one ground going to the in dash depth finder.
1228091401a.jpg


1228091401b.jpg
 
Nice work, looks tons better. I will try to post some pictures of the switchplate, and terminal blocks I got to do from scratch for my center console. I like to use some electrolitic grease on all terminal ends to slow down corrosion and solder with heat shrink when the wire is fresh and new.
MJ posted about seized switches from Blue Sea? WTF? I never seen that one. They normally sell some nice quality stuff.
 
looks good, inaforty, i had to do pretty much the same thing, i also moved the fuse blocks and ground block outside the dash cavity. i relpaced the orignal canvas cover with one that was large enough tocover the new blocks outside on the cabin roof. it dosen't really do anything, justlooks neater.
 
Phat,
I like the idea of making a larger canvas to cover the fuse block/ bus bar mounted outside the dash cavity. I would like to do something like that.
I was thinking of making some sort of cabinet but that would probably take up to much space. Like the idea of just a larger canvas. Did you move the snaps mounted to the V berth ceiling.
I think I still have my Dad's snap installer that mount on the jaws of vise grips. Now I just need to clean the mold out of the monkey fur. Anyone have any tips on cleaning the monkey fur?
 
i just installed new snaps, the old ones were rusted. i'll try to get a few pics later,
i used to tell my kids the cabin was lined with llama skin (there favorite book was "Is your mama a llama"..
 
Yeah, I'm with RidgeRunner on the wiring. Soldering and heat shrinking is the best longest lasting connection ever made. I know it takes a lot of time and patience but it is best.
I have also found that doing what you are doing is fine as long as you coat the crimp-ons with Liquid Electrical Tape. I like to open a new bottle for a few minutes before using it so it gets a little thicker to work with. Makes a darn good seal and looks pretty good. Have real good luck using it in the bilge area. I have seen many times the wiring in the bilge work, but not have any solid copper left inside of the insulation. It will be all soft a squishy and nothing but green goo left in it where copper used to be. It will also walk up the wire to the other end. Really nasty situation only remedied by pulling new wire.
Salt water is a real b$@#!
 
Hooker,
I use the method you described with regular crimp connections and liquid tape with great success. I have yet to have a connection fail on the Rosborough or Whaler (yet!). The soldered and shrink wrapped connections I'm sure are far superior. I haven't applied the liquid tape on the V 20 due to the winter temps here.

Does anyone know if the under dash wiring on a V 20 is tinned? When working on the wiring on our 87' V 20 I didn't find any of the factory wiring tinned. The after market wiring used to add electronics is tinned.
 
inaforty,here's the pics:

DSCF0484.jpg

this is the oversized cover closed

DSCF0485.jpg

opened and looking at wiring

DSCF0486.jpg

laying on bunk & looking up at fuse blocks

hope this helps..
 
Hey Barry how do you like your Boston Whaler?
If you need any help with parts or drawing or what ever you might need let me know. I'm the Customer Relations Coordinator for Boston Whaler..
Doug
 
Back
Top