Need Some suggestions...Cap Removal/False Wall

BigHE

Member
I tried to post this a couple of times but could't really explain what I was trying to say. I figured I could do it better in a video. Not perfect but better, LOL.

http://www.youtube.com/watch?v=UDbzdBLa4lM&feature=youtu.be

Boat from Skools:

2012-05-17_05-59-51_219.jpg


2012-05-17_06-00-11_402.jpg


Thanks. Jay
 
The boat you have in the video is a 2 piece hull meaning that whole liner has to come out then you flip it over to replace the floor and then you do your transom repair with the liner out. then you set the liner back in the boat glued to the stringers with a putty. search our forum for some rack systems guys have built to remove heavy bulky liners.
 
Wow! I thought I was prepared to take this on. The liner has completely rocked my confidence. I don't have access to a forklift or any mechanical device, so that sucks.

If all early Vs were made with the same hull, why liners on some but not others?
After reading post that the liner is indeed structural, I am confused as to how all don't have liners.

I'm a little bummed right now, but not ready to give up. So, that has to be the reason for the shotty transom job by PO.

Still searching thread to find methods to remove liner...
 
My 74' is a three piece hull. Meaning that you remove the cap,then the liner. Your cap and "liner" is all one piece. Other guys on here know exactly what year they changed the insert im not sure, but they changed the insert so the floor could be raised to make it selfbailing. so they did this by raising the cap (hence the 5 to 6 inch curb look above the hull on your cap). And I take it that allowed them to keep proper free board when they raised the stringer height and ultimately raising the sole. the actuall hull design itself was untouched. somebody will chime in and give you some history on the v20 design as im not to sure.
 
Last edited:
BigHE where are you located? Maybe somebody is close that can help.

X2 what Kracker said. Remove the liner in one piece, flip it over then replace your plywood in the floor. The plywood that gives the floor its strength is laminated to the bottom of the liner. No cutting on the liner at all.

I have an 18 Fisherman that is junk because the PO cut the liner all the way across and removed the back half to do a transom replacement. Then they did a halfass patch job on the liner by just running fiberglass and tape over the seam. I could have removed the liner in one piece with just one winch but when i lifted on it, their patch job broke. I am about to pull the liner on my 83 V20. I plan to set up pipe scaffold on each side of the boat with 4x6s running across the top to lift from.

Here is a lift rack set up from another thread- http://www.wellcraftv20.com/community/showpost.php?p=188553&postcount=7
 
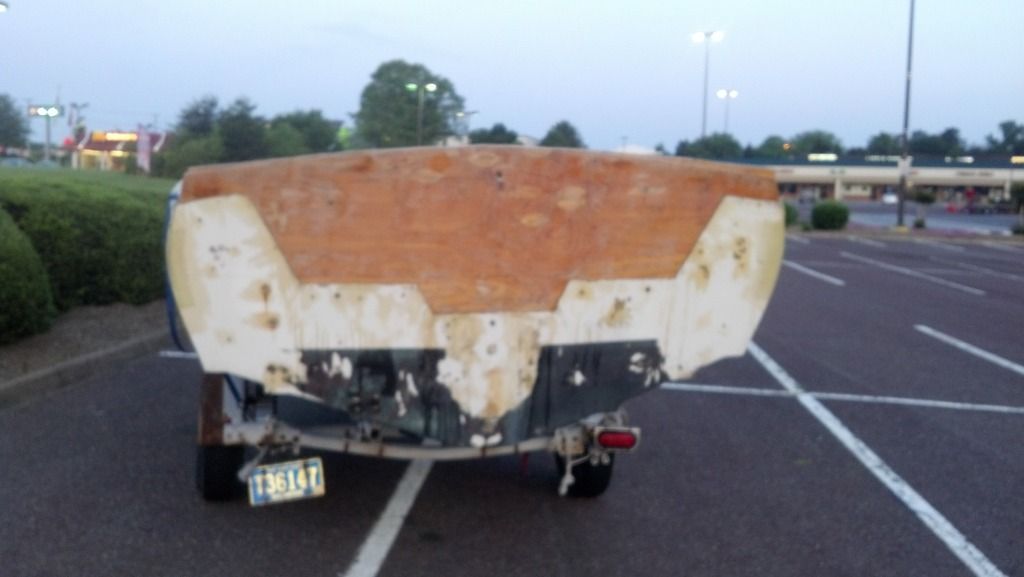
I must admit I was a little shaken earlier. I went out to the boat to take an actual look at the situation.

Its not so bad. In fact I think it may be better this way. The only thing that concerns me at this point is "puttying" the floor to the stringers and hoping to get a good bond. For some reason, I imagine its easier laying the wood right side up. It could all be in my mind.

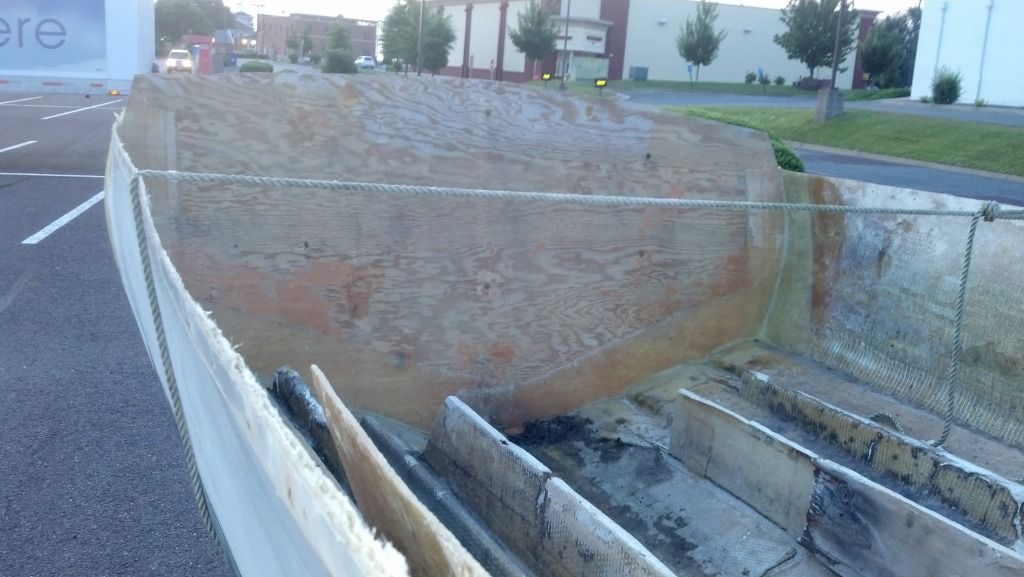
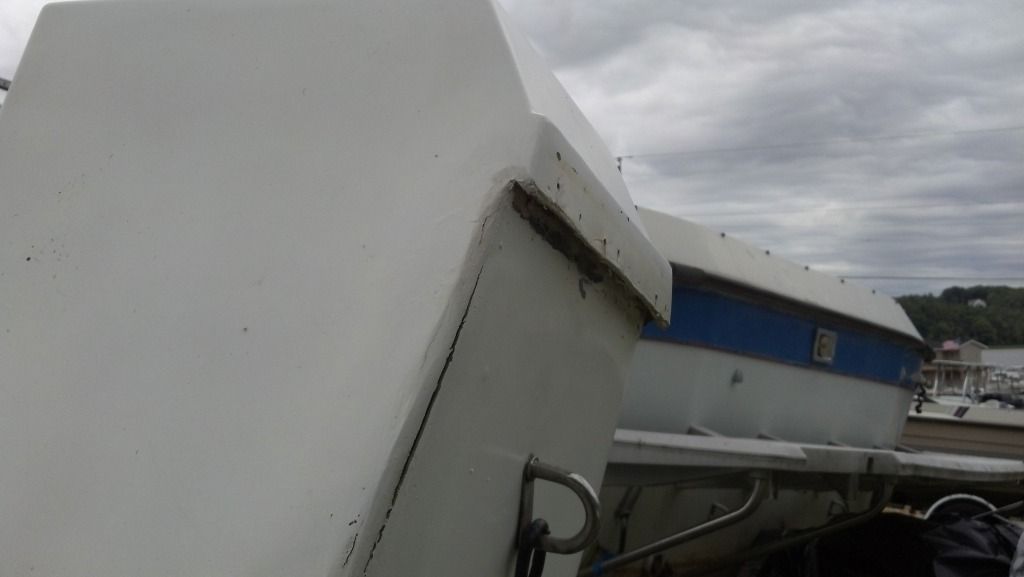
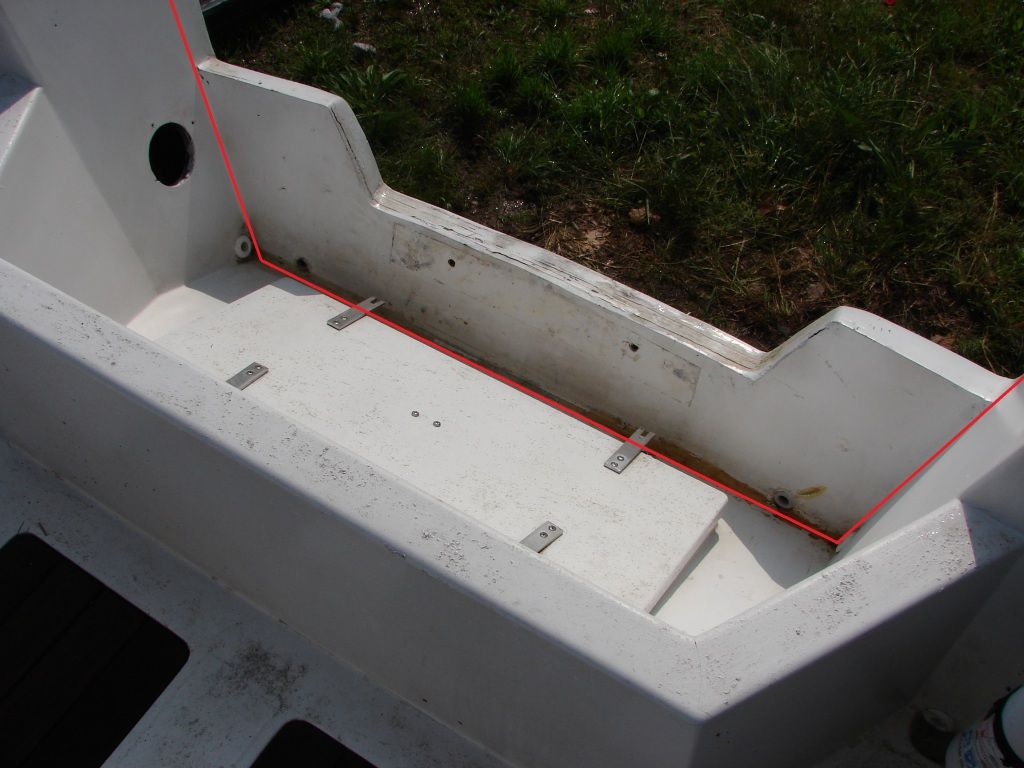
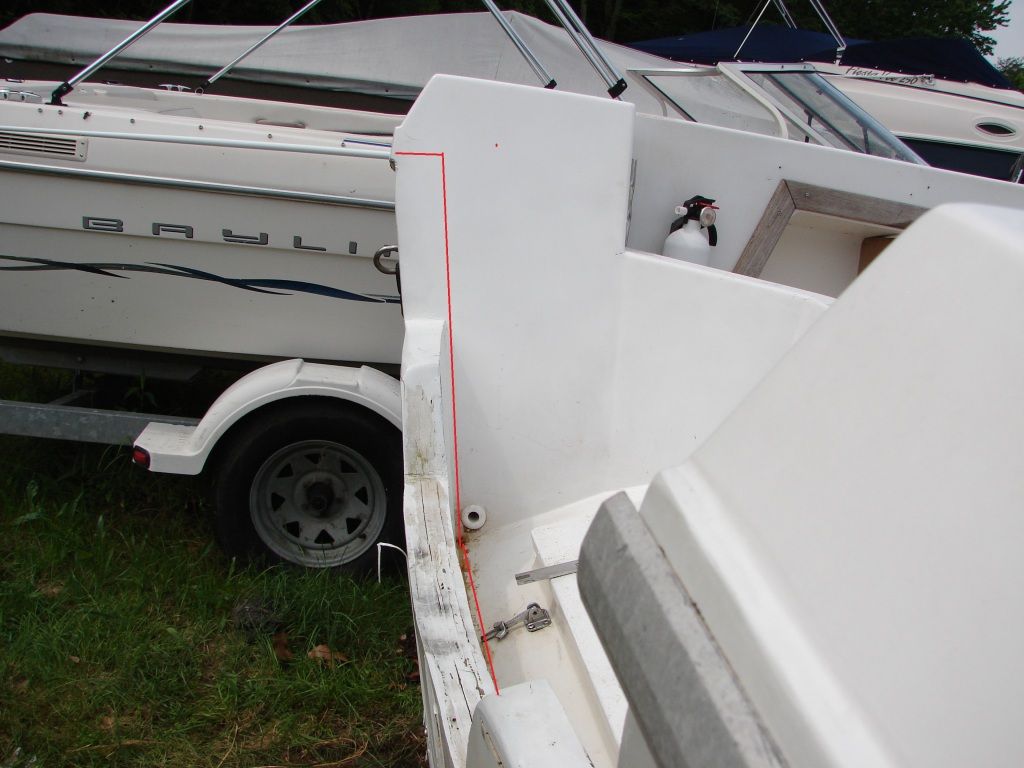
Anyway, I took off the remaining rubrail, took out all the screws and rivets that were holding the other side together (without the rubrail) and removed all the sealant holding the cap/liner to the hull. I can kinda lift the cap off the hull all the way around (except for the splashwell).

I spoke to a fella at the marina where I store my boats. He was driving by in a backhoe (smelling what I'm cooking :sun:) I asked if he would mind helping me pop the cap free from the hull with the backhoe. He said "No problem." I just have to let him no when. He'd be more comfortable using 2x4s than pulling directly on the boat cleats, so we'll just have to figure that out.

That hoist/rack is sweet. I'm going to look into building something like that at my rebuild location. I'm gonna have him pull the liner free and then lower it back into the hull. Then I'll move it to where I'm actually doing the rebuild. I wanted to have all the dirty work (foam and rotted wood) removed before I moved it. Not a big deal. Change of plans due to liner issue.

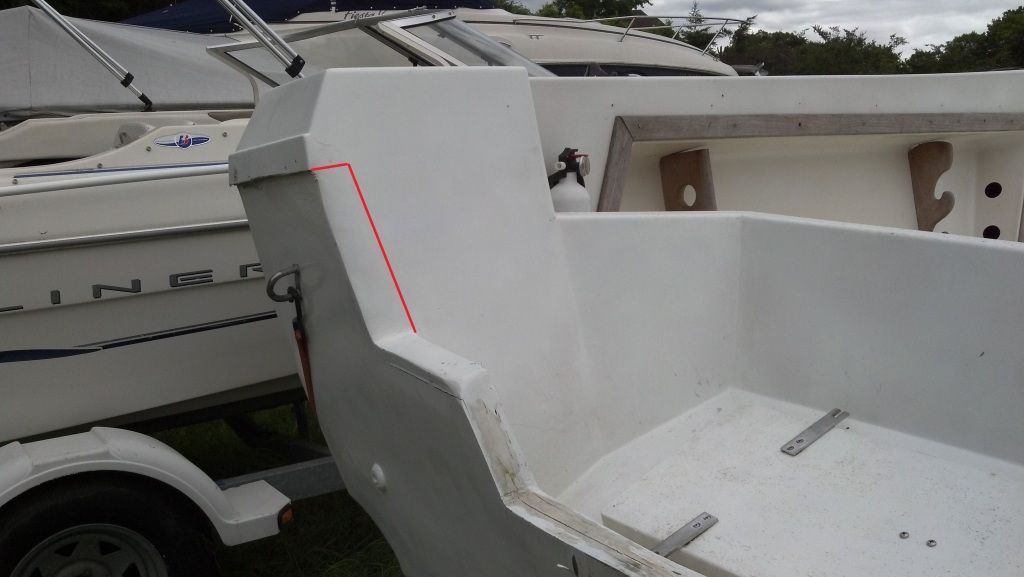
Should I remove liner with hatches attached? Will the hatches add stability to the liner once I remove the liner from the hull?

Thanks for the info and the tips.
 
Oh yeah. I am in Stafford, VA. The bulk of the rebuild will be done in Woodbridge.

If anyone is close and would like to give me a hand, I won't turn you away, lol.

Same goes if you need a hand. Let me know. I'd like to see other rebuilds and learn different things. Even if its just to lift, hold and pass things, I'm available. I do have some experience glassing though, just not boats.
 
bighe, how much of the deck is bad? i replaced the piece in my 83 cuddy from the cabin bulkhead back to the fuel tank, gunnel to gunnel. i never took the cap off, i just cut the area out and left 2 inches where the deck meets the side and replaced the rotten part.

if you will look at the pics of vics redo of the rear deck & stringers . he never removed the cap
http://www.wellcraftv20.com/gallery/v20_vic?page=1

Not really sure how bad it is down there. It may not be bad at all, but before I put my family on it I want to take a good look at the stringers and fix that transom. I'd feel like crap if I didn't and something happened ya know. Tanks gotta come up too. Gonna check it all out. The crappy transom job has me suspicious.
 
I built a jig to fit the cap when the liner was off and flipped upside down. It supported the liner well while I went after the bad core in the floor. Mine liner had plywood squares laminated from the bottom. Tools of choice, an angle grinder, hammer and chisel. It was rotten so bad the core removal was easy. The jig was framed with 2x12x24' as a base, 2x6's for uprights and some 2x4 for the cross braces and then plywood was screwed to the top of the frame where the floor would rest nice and flat. It took some time but made a simple job out of putting the core back plus I installed a 1/2" piece of allthread and a couple of pneumatic tires and made it easy to move around with a forklift.. If I only had pictures..

Once the liner is really loose at the gunnels, you will find the liner very flimsy. Pulling at the cleats could cause a bit of damage depending on how well the cap is stuck to the stringers. A 2x4 cut to length and placed side to side down low in one of the access holes with a rope pulling up and some carefully driven wedges of wood should do the trick on releasing the cap from the stringers.. I started in the front and put a piece of wood from side to side in the front compartment as my first lifting spot. Once it started to come loose it was over in a jiffy. Startling actually..

Any pics from the process?
 
I have two pictures that are non-digital, 4x6 glossy from a throw away 35mm. I have a scanner around here somewhere, luckily the jig is in one of the pictures and the whole arse end of the cap had been cut off. At least it would prove that my 83 model did start life as a notched down transom. I will get to work on scanning ASAP.
 
I have two pictures that are non-digital, 4x6 glossy from a throw away 35mm. I have a scanner around here somewhere, luckily the jig is in one of the pictures and the whole arse end of the cap had been cut off. At least it would prove that my 83 model did start life as a notched down transom. I will get to work on scanning ASAP.

Thanks. Looking forward to seeing that.
 
Ok. The cap/liner is free all the way around to the transom, but still connected to splashwell.

2012-05-20_15-00-19_856.jpg


How do I separate the splashwell with the liner from the hull? Do I cut on the red lines?

splashwellcut.jpg


Splashwellcut2.jpg


splashwellcut3.jpg
 
Back
Top