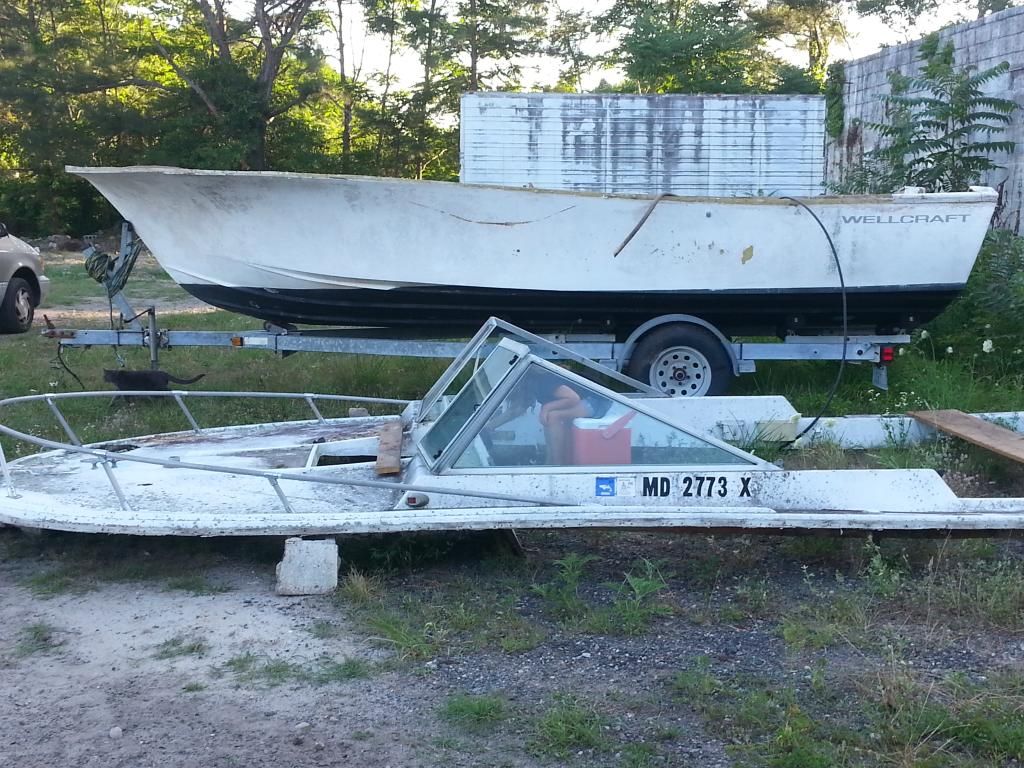
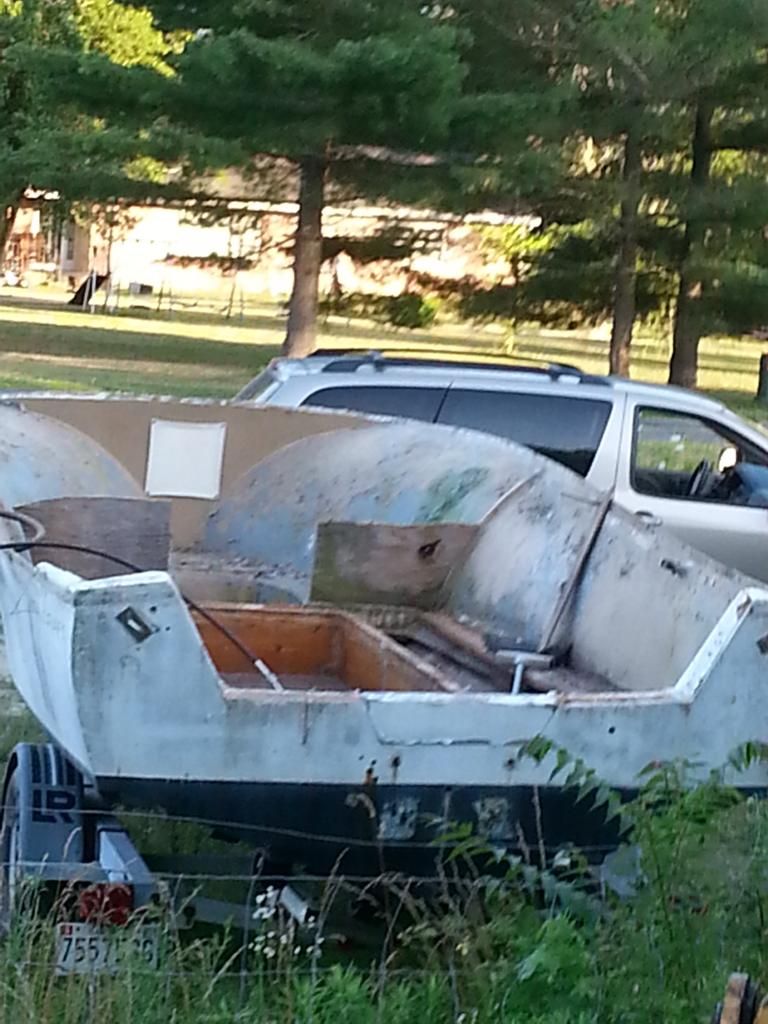
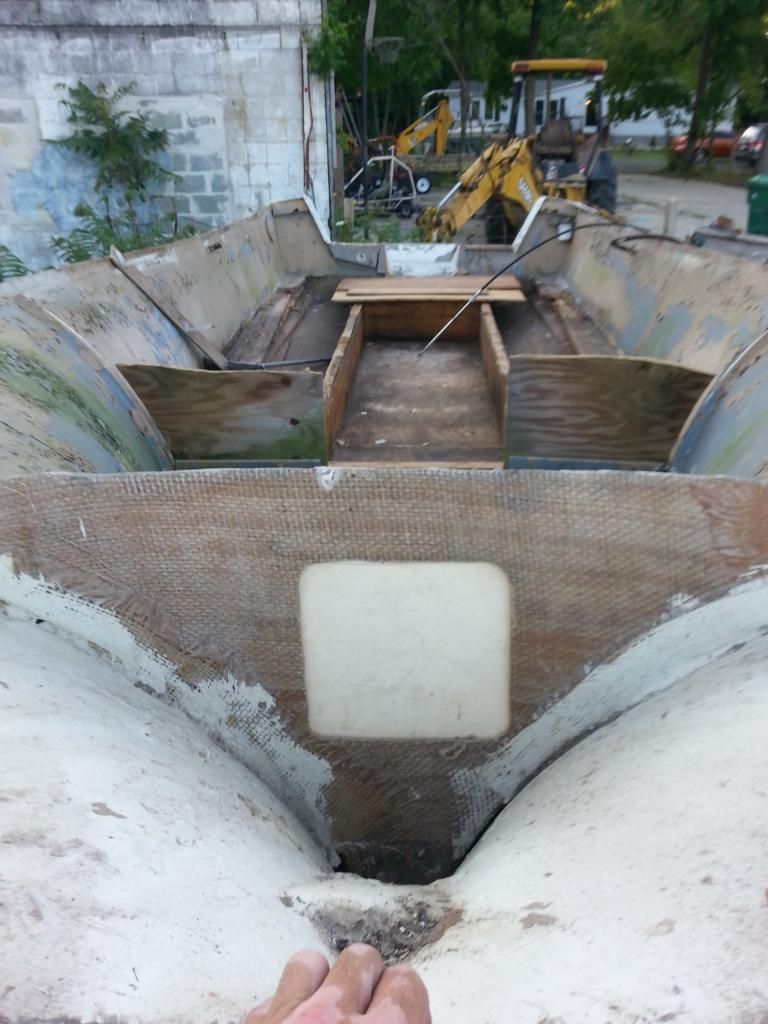
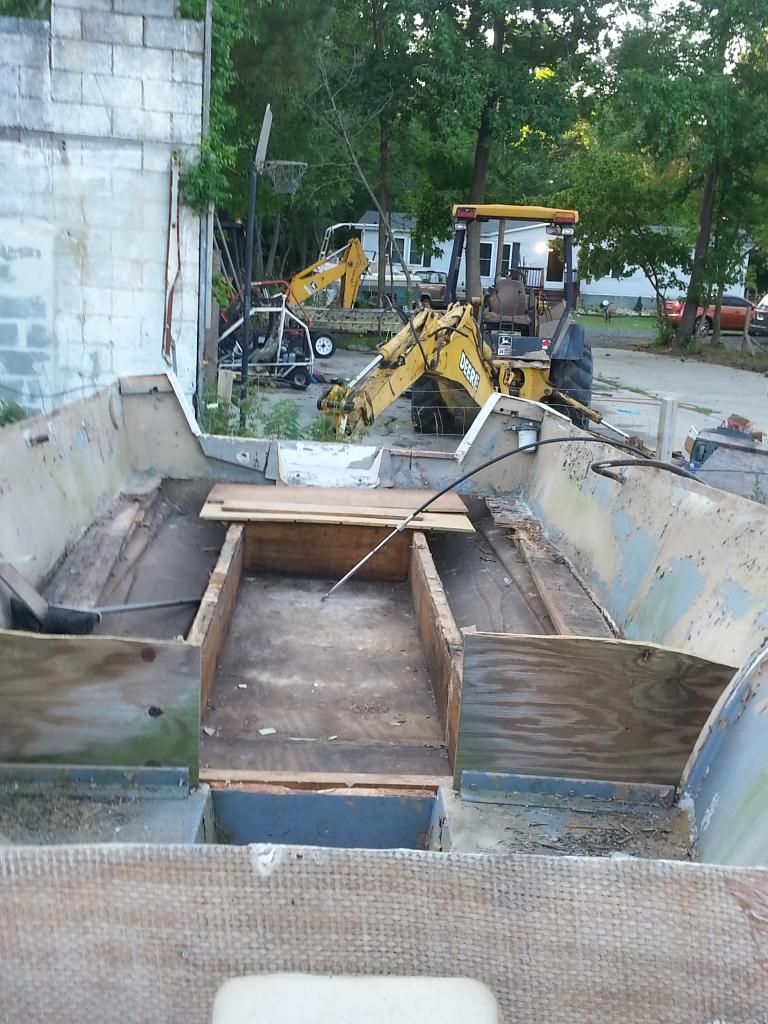
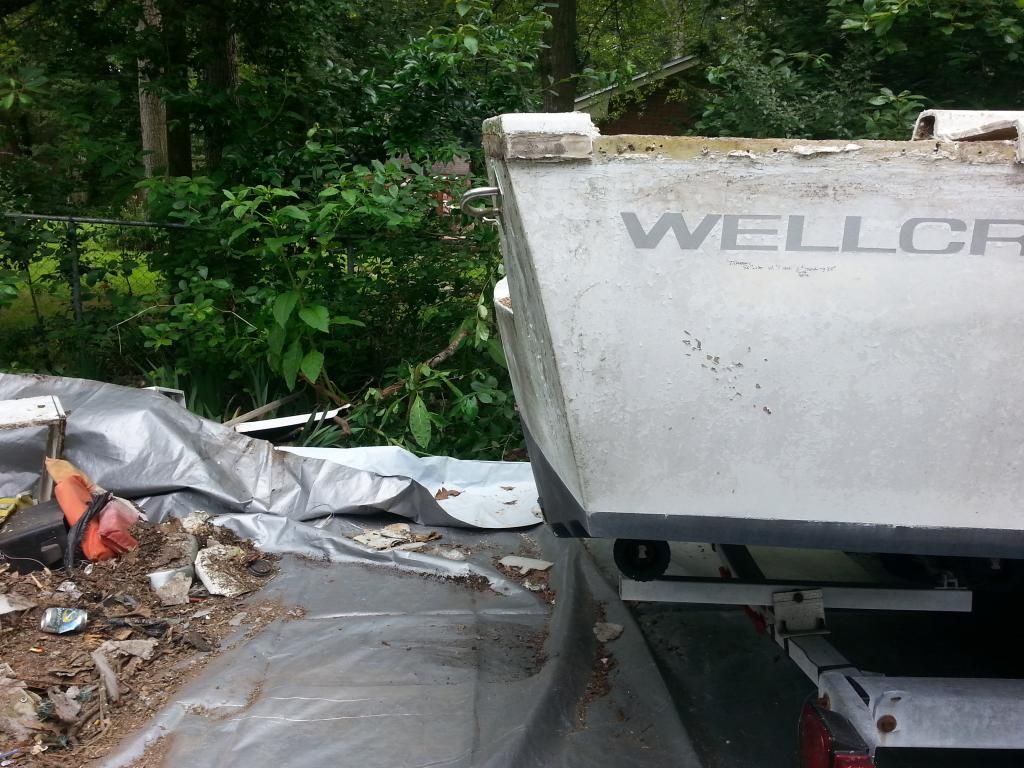
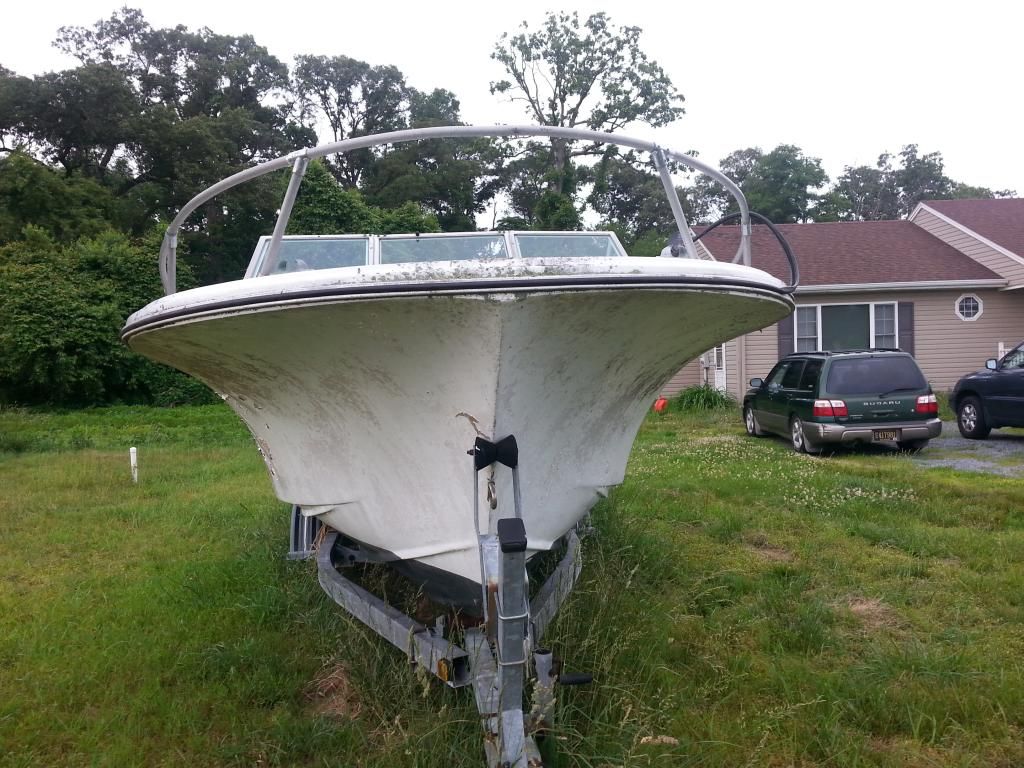
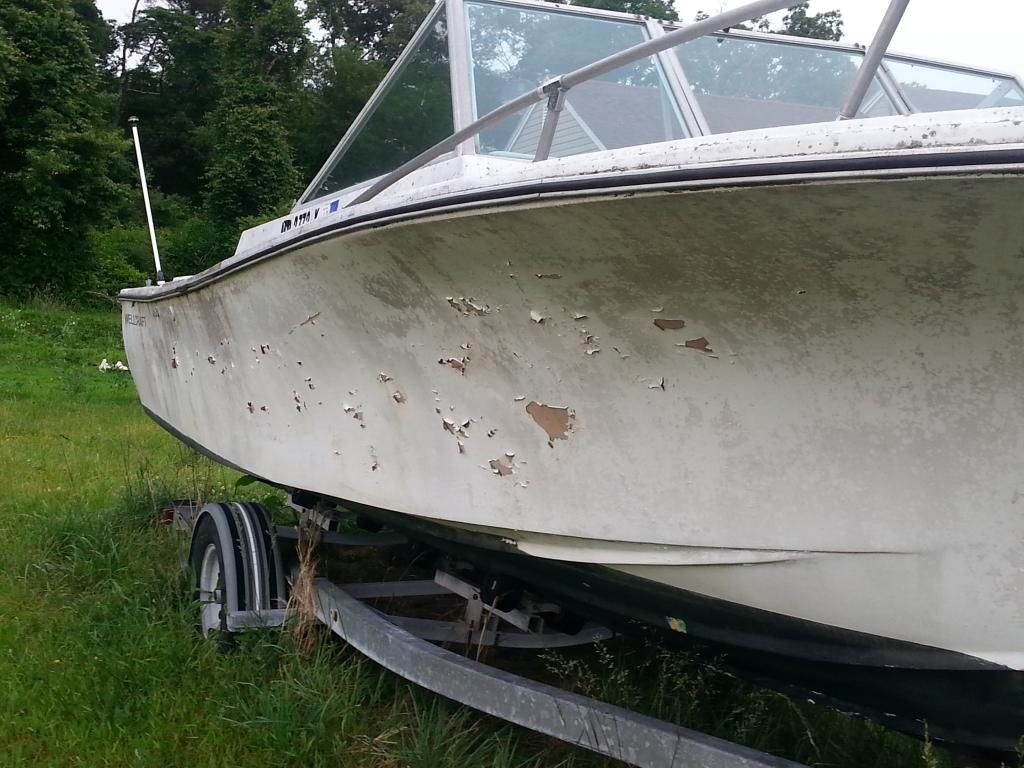
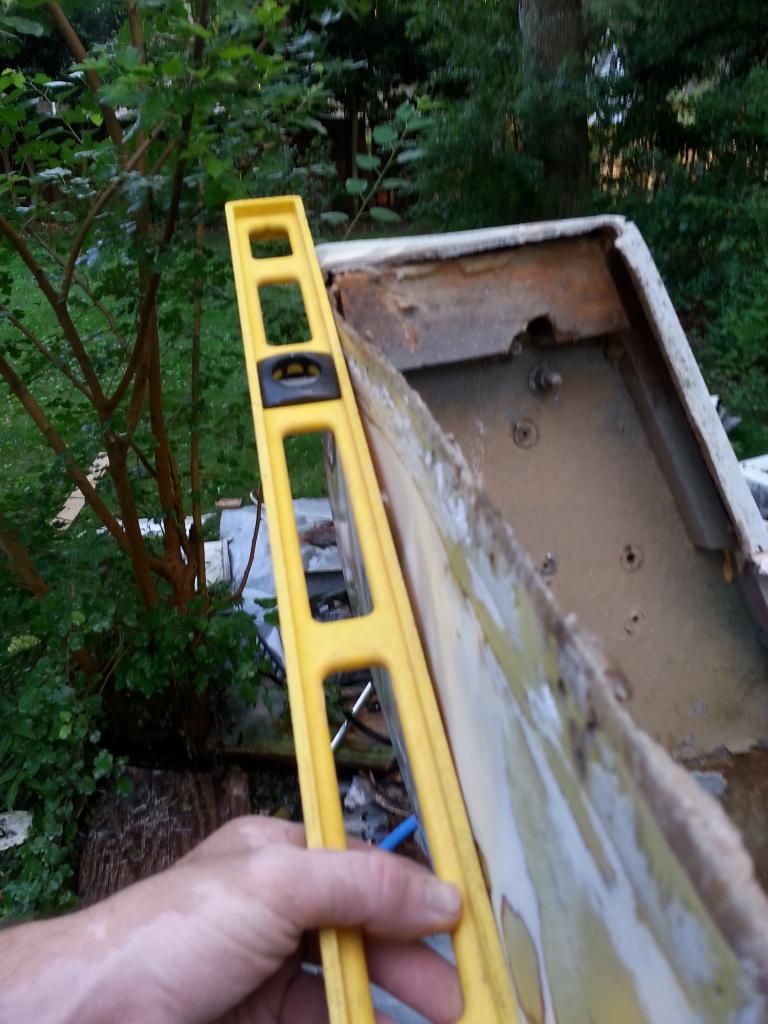
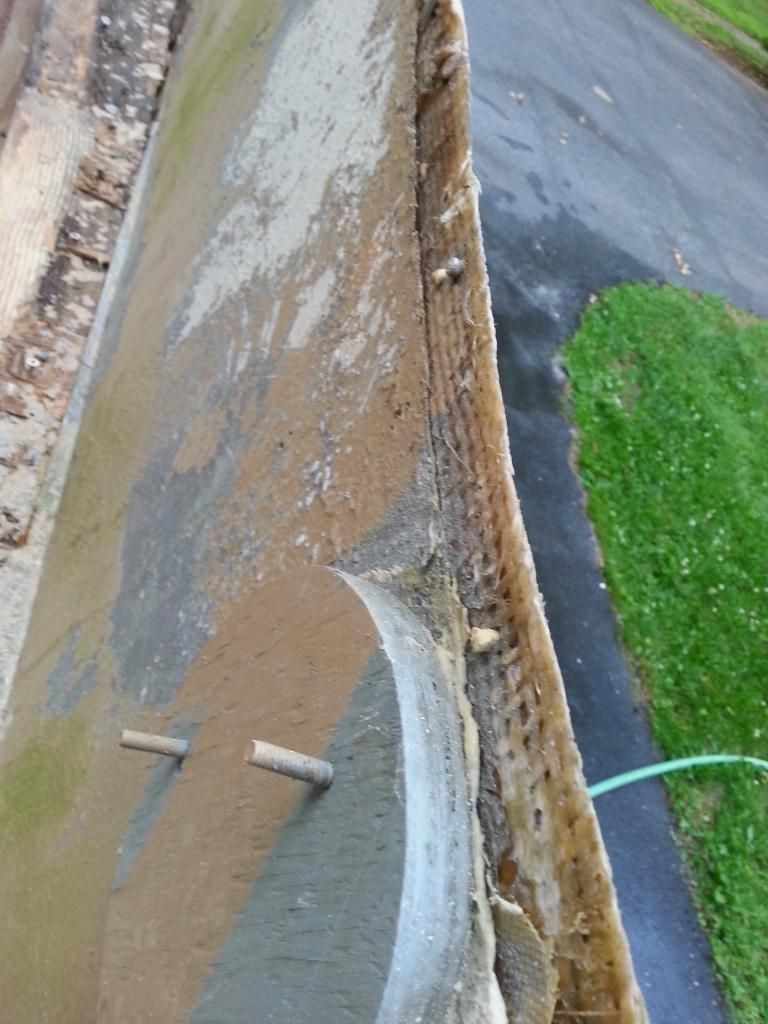
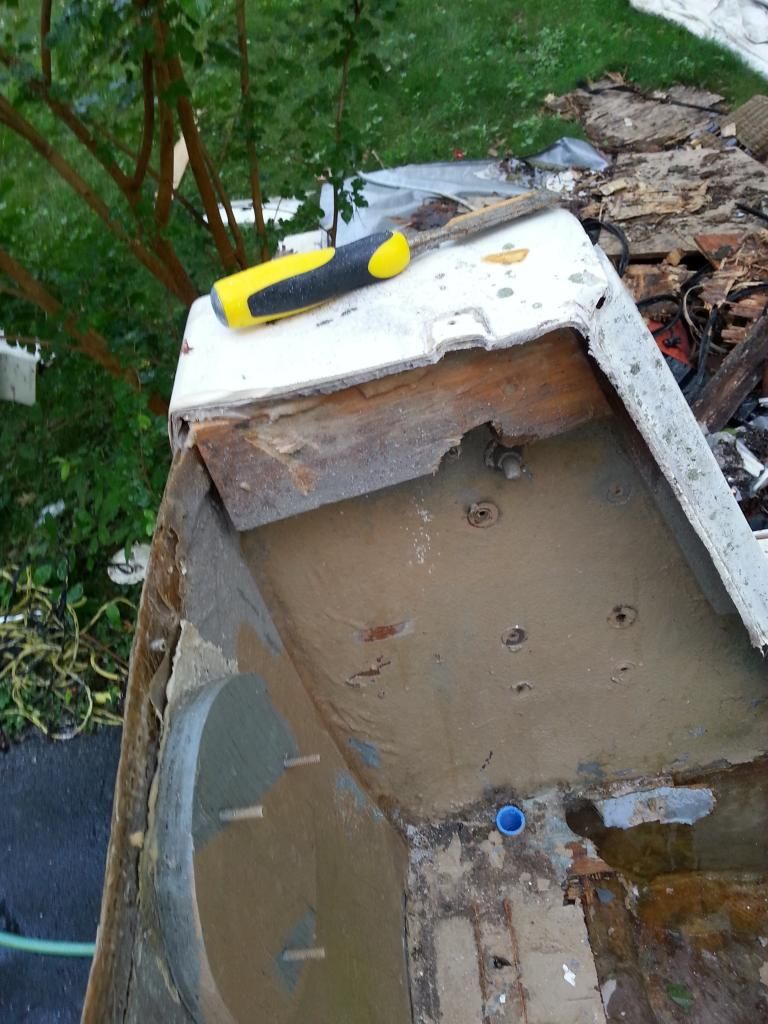
need some guidance. stringers & transom

brywheat

Member
Tons of questions!! Help please

So Im still confused about the stringers and transom and have a million questions.*

Transom
With the slight curve of transom Ive been told to start with 1/4" ply as it will easly bend to the exisiting outter skin. What do the pros say?
Here is the layup Ive been thinking..
outter skin, resin & mat? or glue?, 1/4" ply, using a/a or a/b fir,resin & mat? or glue?, 1/2" ply, resin & mat, 1/2" ply, resin & mat, 1/2", resin & mat, till i get 2.5", told thats the thickness i need to safely hang a floation bracket..need advice there too....Should i fillet the edges of each transom ply as i go? tabbing each piece as I go? 1708 for the outter skin x 2

Stringers
are they one single piece of ply? 1"? PO screwed 2"x12"s to the inside of the factory 2"..po raised the floor to the height I'll be going to. Replacment stringers will match factory location. what ive seen on a few builds If so how do you tie in two pieces for your lenght?*

For instance, did you make a "bed" for the stringers? is epoxy glue good enough for the bed? or use mat & resin?

should the old glass encapsulating the old stringers be completely removed?

Keep up the great work and thanks again for any input!
Thnaks a million for the help!
I'll get pics up later. .. the lady is bugging to go out to dinner. .. she's in for a shocker when I buy all this ply & glass. .. maybe I'm crazy for persuring this. .. but this thing will be set up awesome when I'm done:pray2:
 
Stringers

I can give you some insight on the stringers but not on the transom. My transom is in good condition and I only (only) had to do the stringers and floor.

I completed this project over the winter (mostly spring because we had a harsh winter in the Northeast)

During my initial research, I found I could do the stingers a few different ways:

1) Remove the stingers completely, add new wood and glass over. This is similar to the way they were originally constructed.

2) Cut the tops and remove the 1" X material (yes it is a solid piece of wood that will be rotten except for the bulkheads which are plywood) You will find the solid piece of wood is much easier to remove than the plywood. After rot is removed, I could pour Seacast or Arjay

3) Cut the tops of the stringers, remove rot, add new wood and glass over.

4) Leave the stringers alone and glass over with a layup of 1708 and chopped strand making the hollow stringers structural.

I opted to do number 3 and added 3/4" plywood and glassed over with 1708 and chopped strand. When I was done, they felt the steel beams.

This was a lot of work and I was tempted to do #4 but a lot of people said I should not leave any rot in the boat and I agree. The amount of work was much more but I am happy with the results.

For the stringers and the floor, I used (2) five gallon buckets of polyester resin and (1) gallon of putty (thickened resin with hair) I purchased all my products from Barnaget Light Fiberglass. They were really helpful in making material list and technical help.

For the floor, I chose 3/4" plywood with one layer of chopped strand on the bottom and two layers on top.

It's amazing this boat floats with the added weight but speed is not my concern. If I can cruise at 23 knots (I have the I/O 470 Mercruiser) and feel safe in the ocean when it gets nasty, that is my goals.

Also, I did not foam. I will be adding at least one 4,000 gallon rule pump with two backups, most likely at 2,000 and 1,000 because all water drains into the bilge.

I hope this helps.
 

Attachments

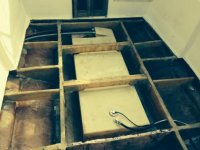
  • Fuel Tank.JPG.jpg
    Fuel Tank.JPG.jpg
    24.6 KB · Views: 72
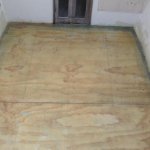
  • Floor.jpg
    Floor.jpg
    21 KB · Views: 49
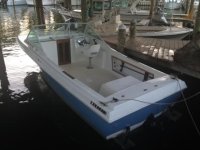
End Results

I read many post on this site before taking on this project. Some of the members commented to stick with it and it will be worth it. fiberglass work can get the best of you after days of grinding and sanding. In the end, I have a boat I can trust for many years the is economic to run (close to four miles per gallon)

If you look at the cost of rebuilding versus a good quality new boat, the cost is not so bad.
 

Attachments

  • slip.jpg
    slip.jpg
    24 KB · Views: 51
Thanks Dan!!
Yeah most of my friends say im crazy to spend this much rebuilding an old boat.

But..
1. I love the Hull & it was free
2. I want to build this rock solid and I know it will be safe, Ill know every inch of the boat and Ill be able to test my skills.
3. nothing nice comes easy

Think im going for option 3 too Dan. However alot of the woven roven attaching the orginal stringers will need replacing, some bubble spots even delaminated on the hull. I also will be raising the floor, I think,???
She wont stay sitting in the drink over night unless camping and I will also be installing 3 blidge pumps. But I like a self bailing deck on those rainy rockfishing days

Thanks again Dan!

Ill restart my build thread here
 
I used 2 layers of 3/4" marine ply.

First layer: In order to get that bend I cut 2 score lines about 3/8" deep at an angle, makes conforming to the hull much easier.

The score lines are on the side that faces the bow, not the side that will attach to the existing transom skin If you look closely at the transom you will see how the curve in the transom comes up at about a 60 degree angle on both sides about a foot on either side of the drain plug hole. Your score lines should follow that line.

I hope this makes sense, have plenty of clamps available.

Do a couple of test fits and try a dry clamping run.

When you are ready to do it for real, trowel a heavy layer of thickened resin on the existing transom skin and trowel a layer on the ply that will touch the transom skin and sandwich the thickened resin to the skin, clamp it and leave it overnight.

Second layer doesn't need score lines, again put thickened resin on layer you already clamped the prior night as well as the layer you are about to place. Sandwich together and clamp, lots of clamps.

I made the mistake once spreading a heavy layer of unthickened resin on the wood prior to troweling out the resin, the thickened resin won't stick if you do that and will ooze off the wood. You can use a very light layer of unthickened resin but don't get carried away.
 
Thanks Tartuffe!!

Few other transom questions for you...
How thick do you think it needs to be to support a bracket?
Only the first piece gets scored correct?

Thanks a million, everyone on this site is great with great info

Loving the V20 community!
 
Here are some pics..
Admin feel free to delete the orginial thread I started in the General Forum

Thanks again for all advice, Im sure I'll need more


Yes only score the first layer, once it is fully adhered to the outer skin it will be strong enough to torque that next layer in place. Even with all that torque it still will not fit absolutely snug against your first layer, that is where all that thickened resin you troweled on comes in handy.

I used that blue styrofoam board to cut my templates, it works really well.

There is a trade off regarding how snug you want the wood to come to your gunnels in the corners of your transom. I left enough room that I could easily get the thickened resin all the way into the corners. I left about an inch. It was very easy to make sure I had zero gaps in my corners but it did eat up ALOT of thickened resin.

Regarding brackets, I have no experience so I can't comment there. Brackets are sexy as hell but I opted not to put one on when I did my restore. It just didn't match my needs for the boat.
 
Thanks again Tartuffe

Off the next two days, hopfully be able to get to Harbor marine and pick up some supplies.

What kind of ply did you use Tartuffe?
Im thinking of going cheap and using Fir, however Ive been told Okume BS1088 Joubert, Meranti BS1088, or Meranti BS6566, are the have trade-offs for the cost. The BS6566 I've been told is best for a structural/ resin fiberglass bonding and it will bend easier to match the transom curve and is stronger, the $20 etrxa per piece may be worth the trade-off.
What would you use??
 
Last edited:
I used marine grade Baltic birch, it was some high dollar stuff but all of those you mention are all quality products from my research but I have not used them. Sounds like you are on the right track.

So do you plan to save the cap or are you going to transform her into a center console?

I used 1/2" divynicell foam for my floor core and hatches. Really great stuff to work with. May want to research those foam cores and consider them for your deck. My hatches alone weighed 80 lbs before the recore and 33 lbs after and solid as a rock.
 
One thing I will say about the wood you select, I had my boat at my friends dealership in his pit doing some fine-tuning on the engine. It is incredible the amount of force that is placed on that 1-1/2" of ply and maybe 1/4" of fiberglass. I see guys using everything from the products you mentioned down to bottom-dollar plywood.

Once it is all done, and the 600+ hours invested are to be enjoyed, never worry with if you should have spent the extra money on the wood. Skimp on light packages, pop-up cleats, rod holders and all the bells and whistles as they will end up costing far more than what you spend on the structural components and you can change those out later as they start to show their age.
 
Tartuffe

That raised another question. If I decided on the full transom/ bracket. . How thick should the transom be? I'll be replacing the stringers to and plan on tabbing in knees which will rise from stringers to the top of the transom. I'm either glassing in insulation for a fish box or making a livewell.
 
I would think to go with the same setup for a transom with a bracket of 2 layers of 3/4" ply. The one thing I would do would be to have an aluminum or stainless backer plate made to bolt the bracket to on the inside. Whomever you buy your bracket from should be able to tell you how large of an area you will need to distribute the force across.

I have a piece of aluminum c-channel that the bottom bolts of my motor bolt through. Because of the curvature of the transom I laid out a thick pad of thickened resin, covered it with saran wrap and mashed the channel into it. Once it cured I peeled the saran wrap off and sanded down the resin that squeezed out. This gave me a perfectly flat area that the c-channel rests against.

http://www.thehulltruth.com/boating...forum/450442-81-wellcraft-cc-restoration.html
 
Thanks, was alot of fun. I only used composite core material on the deck and hatches. There is some pretty neat stuff out there that can used on a transom but I wasn't aware of them when I started in on my project.
 
Tartuffe

For composite board dose it have to be infused vacuum bagged? Or whatever the proper terminology is? Doing research and it looks like awesome stuff. Did you start your rebuild onthe exterior of the hull? How did you flip it? Still have your support? Sorry for so many questions but I really appreciate the help!
 
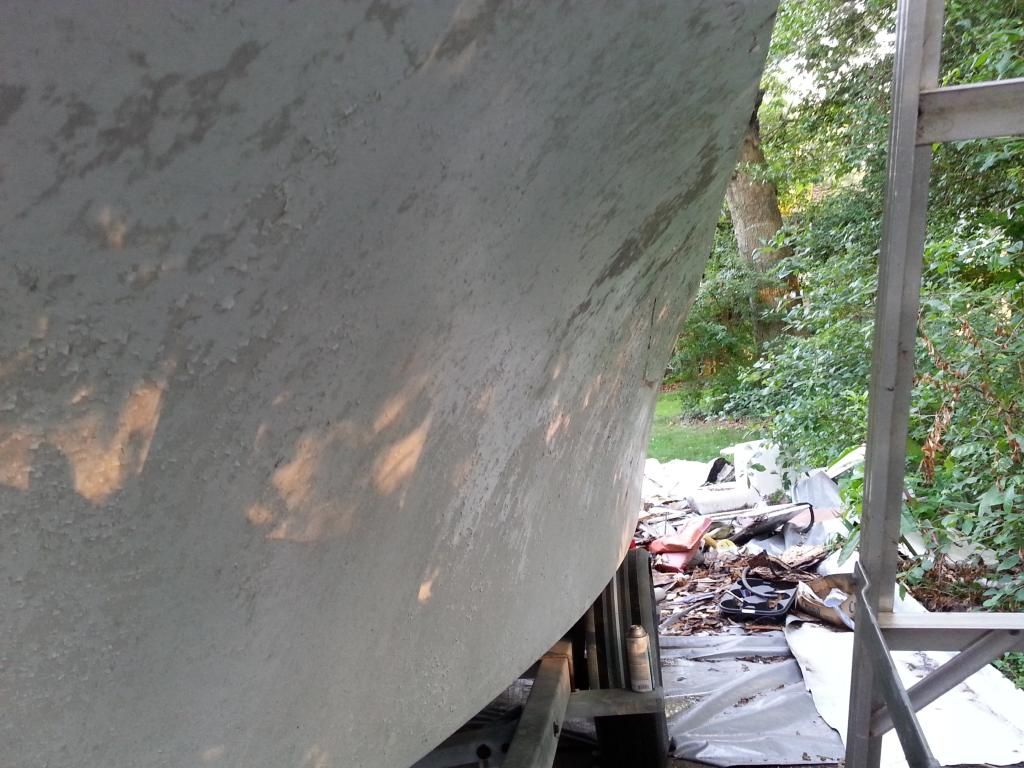
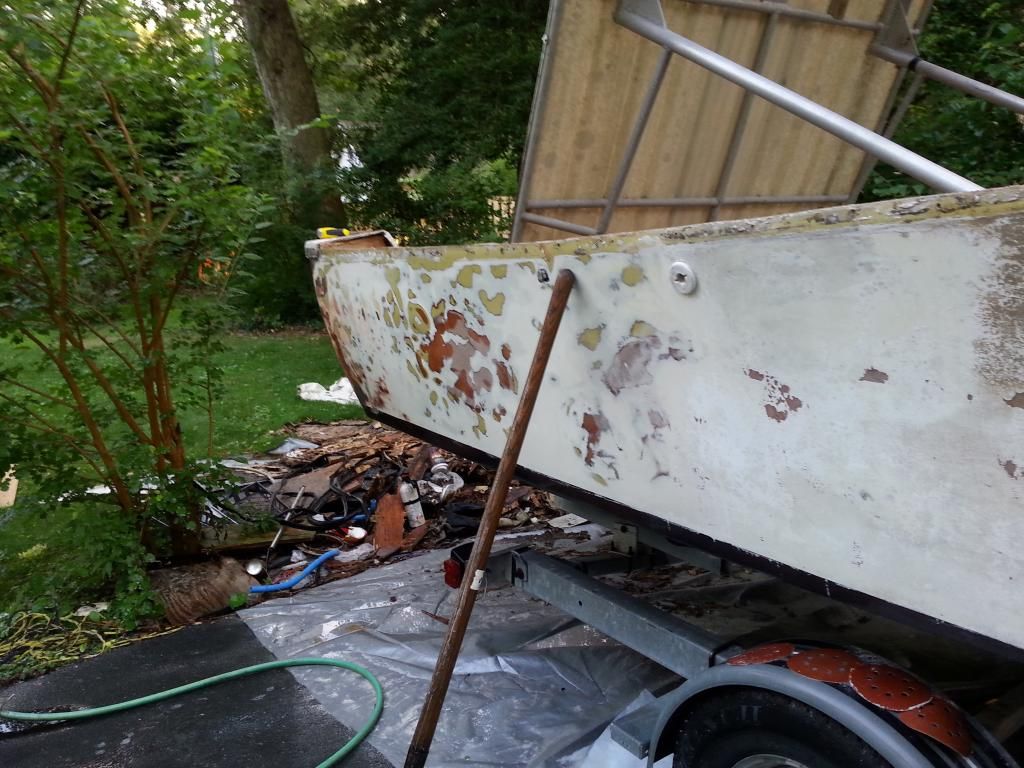
The gelcoat is also completely shot. . I've started exterior sanding and hit the glass in a few spots.. grinding down all cracks. Does the gelcoat all need to come off? 2hrs sanding didn't get a lot done.. I'll post some pics in the am
 
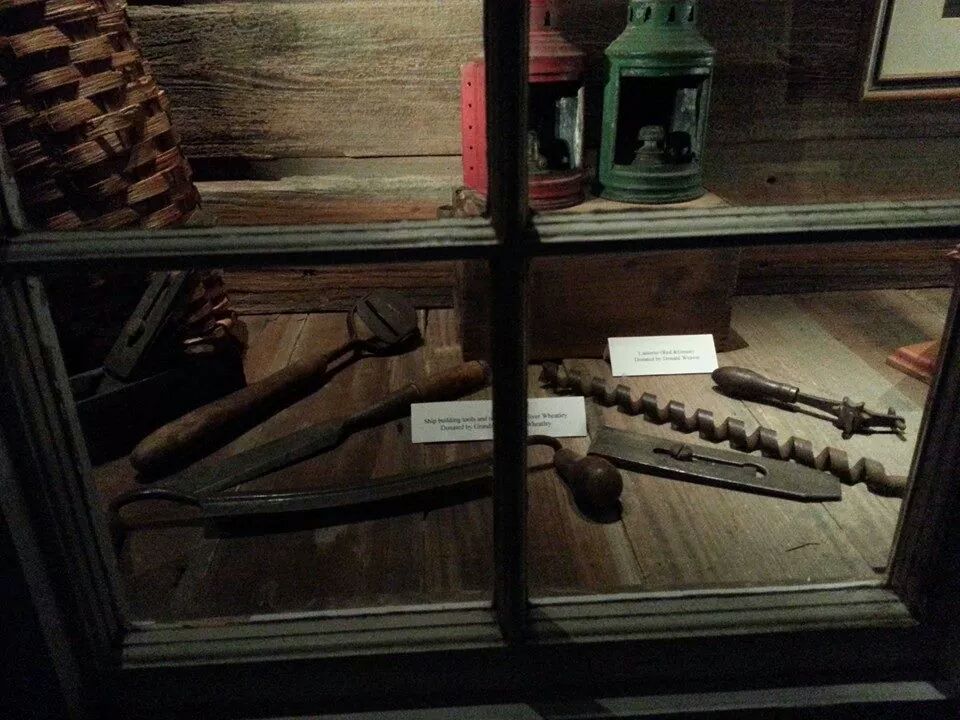
It's in the blood, Picture of my great grandfathers ship building tools. My dad donated them to our local maritime museum.


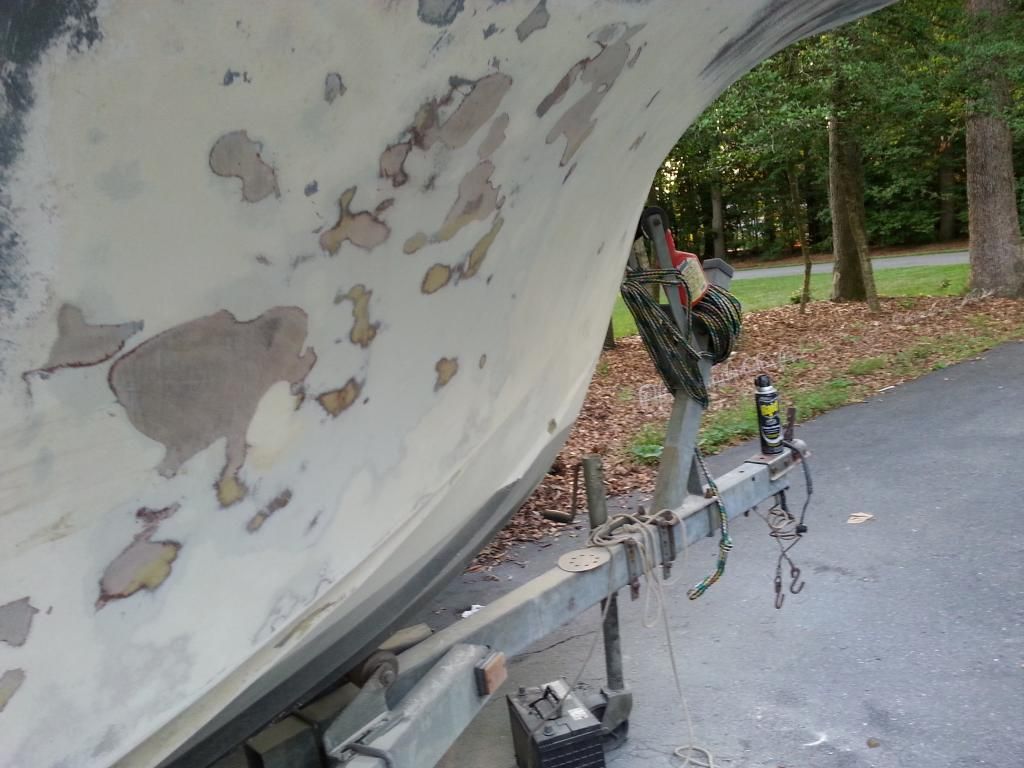
Pics of the gelcoat, where I have sanded and alot more to go


Next couple pics are for fairing related questions. How thick can fairing be on its own? At what thickness should i be adding CSM?


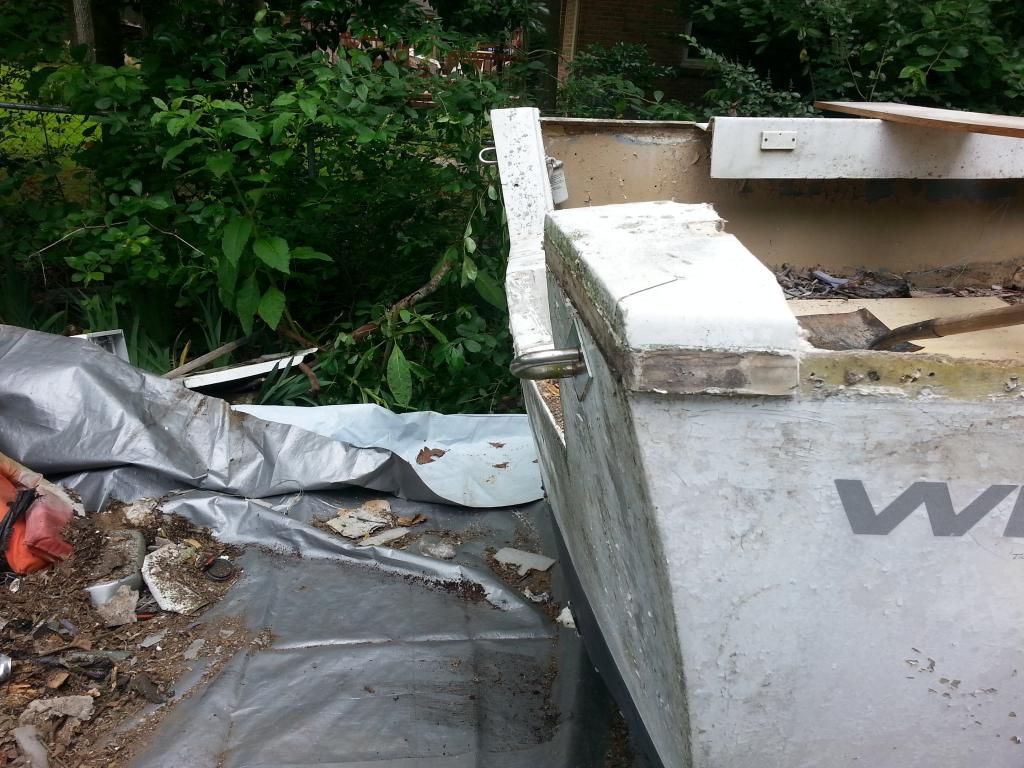
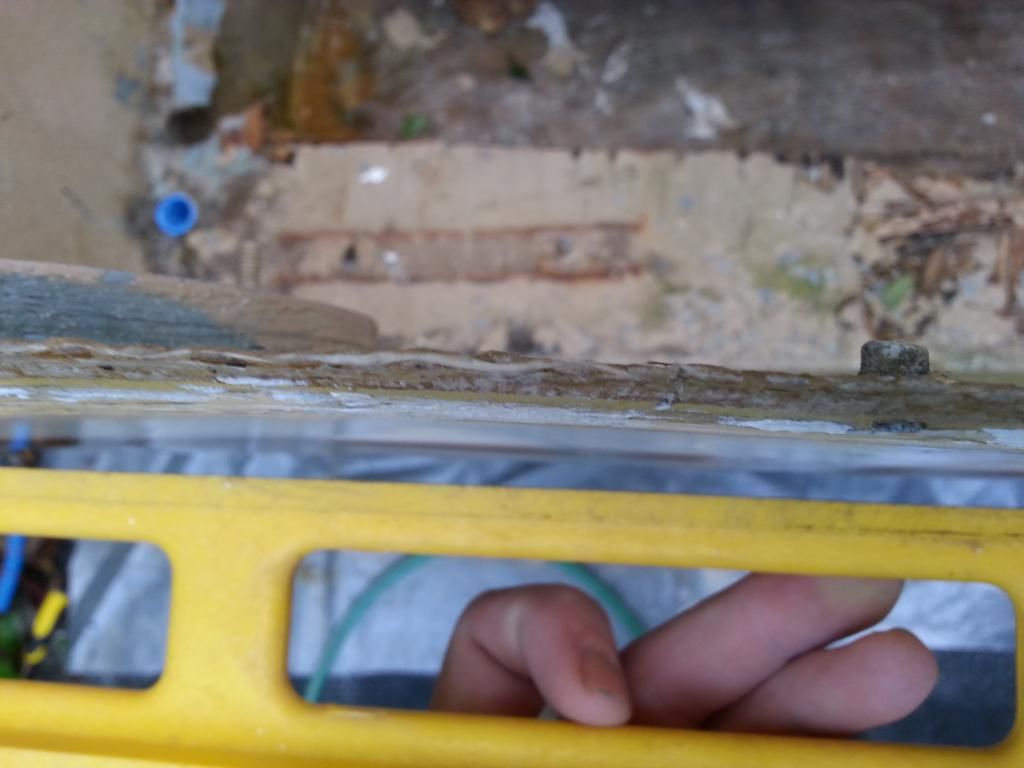
This last pic has me concerned. this is the top where the outter and inner skin match up. Looks like it's resin starved? recomendations on fixing?


Bored at work


Thanks again for your input & help!!
 
Last edited:
Back
Top