The forum pre-dates Google Drive but that is a good way. maybe I'll start doing that? Another way is to use Photobucket and post the links which
show the pic in your post. (I need to experiment, maybe you can do the same with google drive).
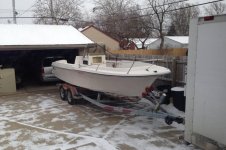
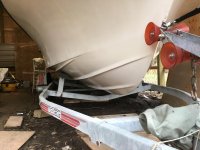
Nice boat...NICER shed!!!! Tell me you built that so you could work on your boat....

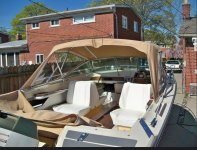
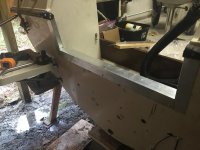
How did you like Seacast? Looks kind of thick. Did you have to use a vacuum bag? I used CarbonCore, pours nicely,no gaps.
A couple questions/comments, since you asked..
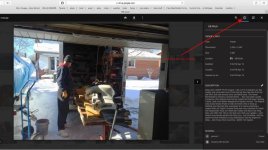
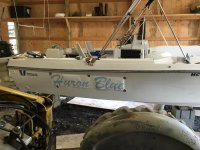
I see a fuel filter and a pump ball inside the cap mounted on transom.
When you go to change that filter you
will get gas in your bilge.
I would suggest mount the filter outside in the motorwell and use the Racor 3227 with the plastic bottom that drains. Then you can see if there is water in there and you can drain the filter before removing it.
The best position of the pump ball should be outside between the filter and the motor with the arrow pointed UP at the motor.
The fuse block is nice but those are pretty light gauge feed wires considering you have three 30 amp fuses, a 20 and a 7.5.
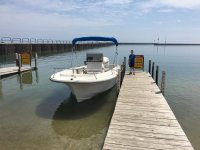
Can't wait to see fish pictures....