cliffpaul2
Junior Member
I converted my two small (useless) deck hatches into a larger one and added a custom stainless steel bin to store fish below the deck. This will replace a large cooler and save some deck space. Here is a summary of the project:
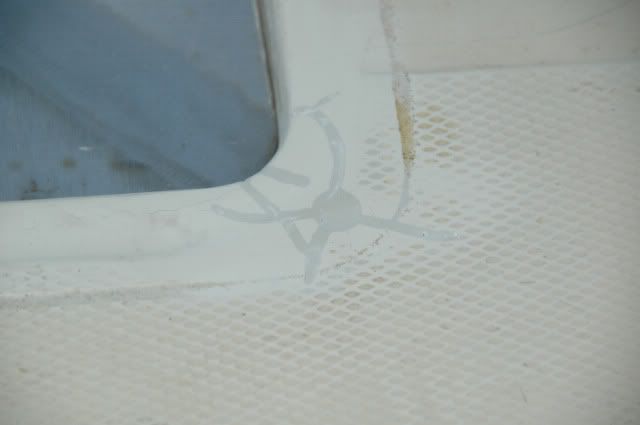
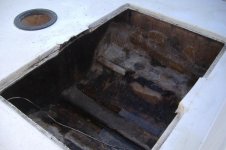
Before:
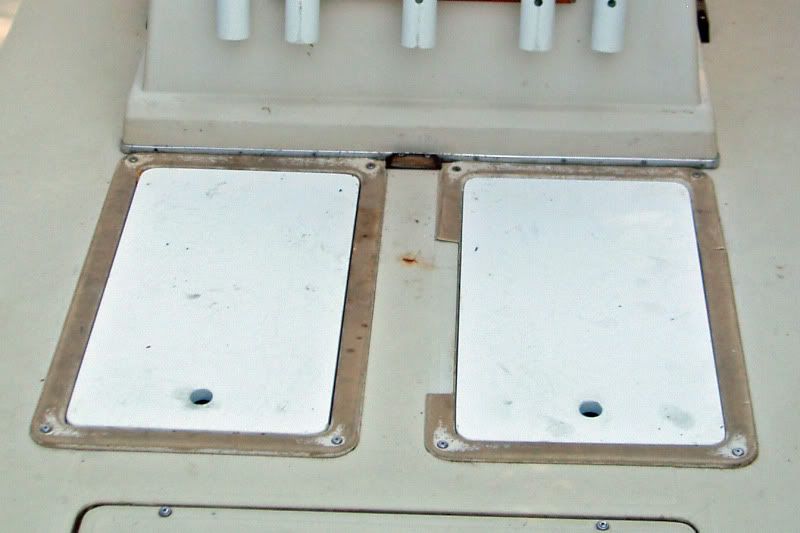
To start, I removed the cracked bins and cut the floor between the hatches.
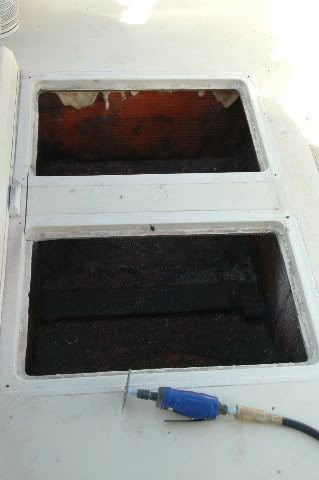
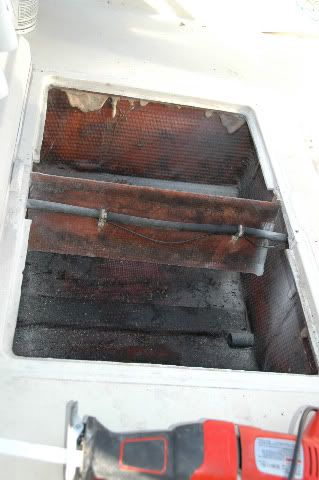
I had to be careful because the fuel line was attached to the under side.
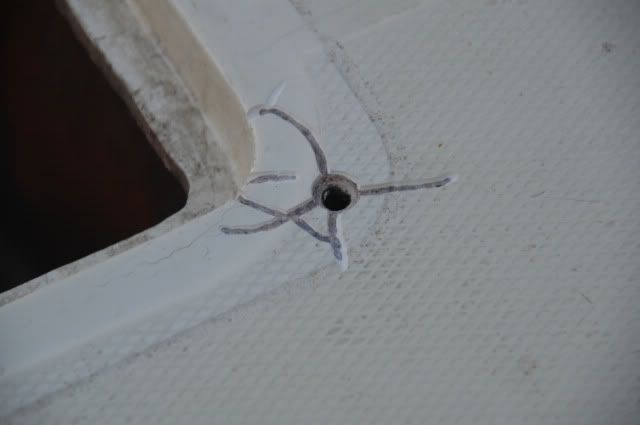
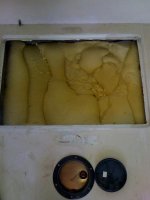
Of course these projects always seem to open up a can of worms, and I found some cracking around the screw holes from the old bins. I started grinding and the next thing you know, I was in the gelcoat repair business! Color matching is a real chore, but I got it close enough.
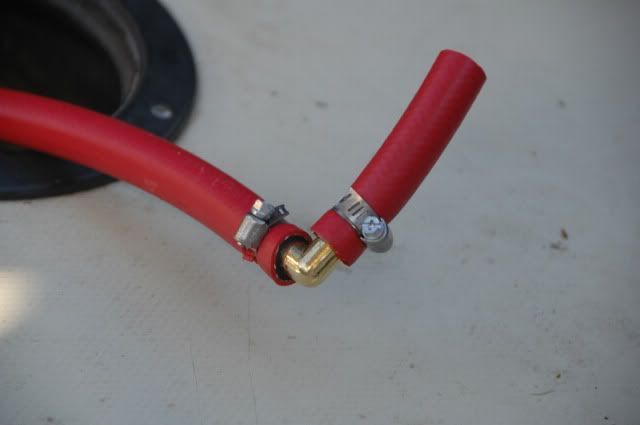
I had to re-route the fuel line to go around the outside of the bin. The nipple at the tank was pointing the wrong direction and was less than 2" from the bulkhead. I tried to turn the nipple, but it wouldn't budge and I didn't want to break it off, so I found a 90 degree brass elbow and re-routed the line.
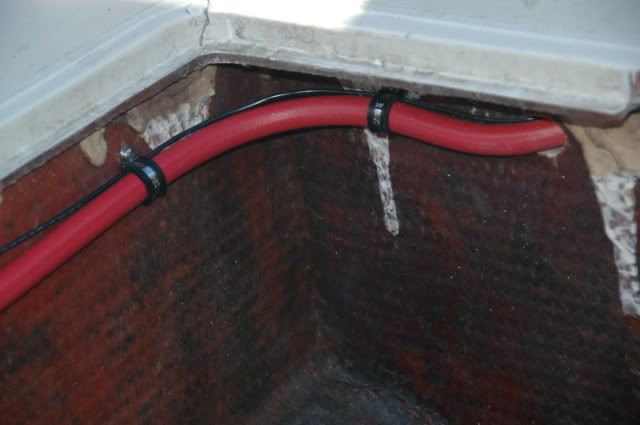
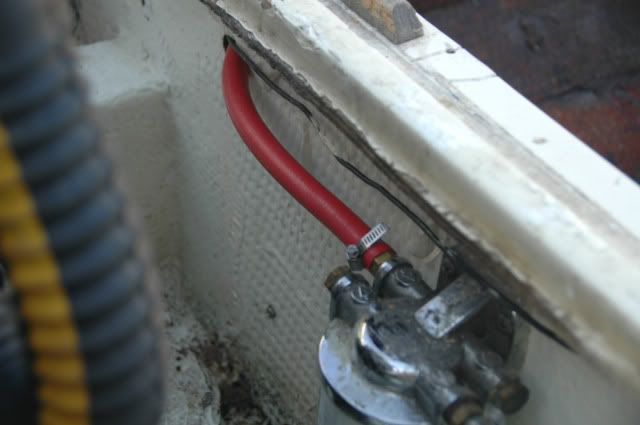
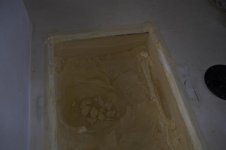
I drilled through the two bulkheads that run between the fuel tank and the engine compartment, and ran a new fuel line, attaching it and the fuel tank ground wire neatly around the bin with some nice stainless steel brackets:
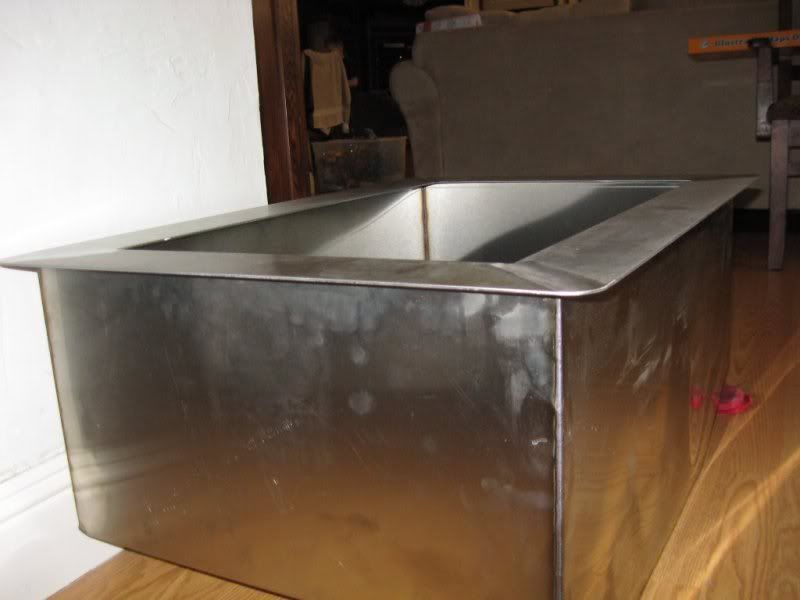
My brother's inlaws are in the sheet metal business, so I was able to get a custom bin made out of "scrap" stainless (never used).
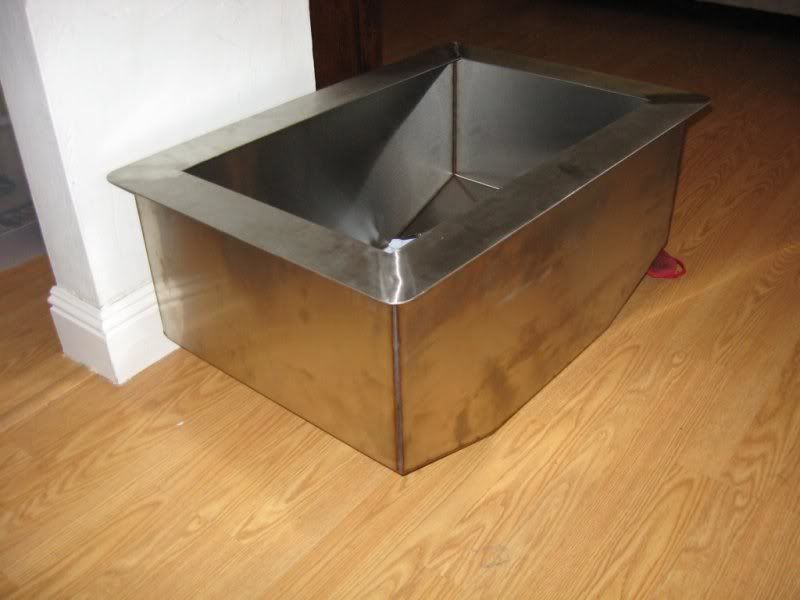
I designed the bin with a wide flange around the top that overhangs on the outside of the bin for hanging, and on the inside to keep ice/water/fish from sloshing out of the bin when I'm underway. The bottom is contoured with the hull of the boat to maximize capacity. It seems like a good design, but I haven't tested it yet...
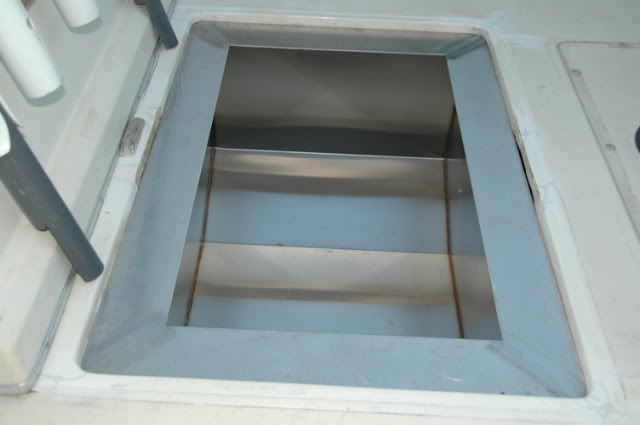
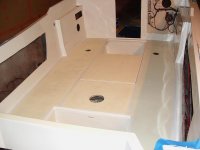
After a little grinding for a perfect fit to prevent too much water from getting under the deck, I dropped it in
Next was the hatch cover. For this, I bought a scrap of nice plywood and coated it completely with fiberglass resin. I was going to take it another step further and add some non-skid bed-liner paint for extra protection, but I haven't yet.
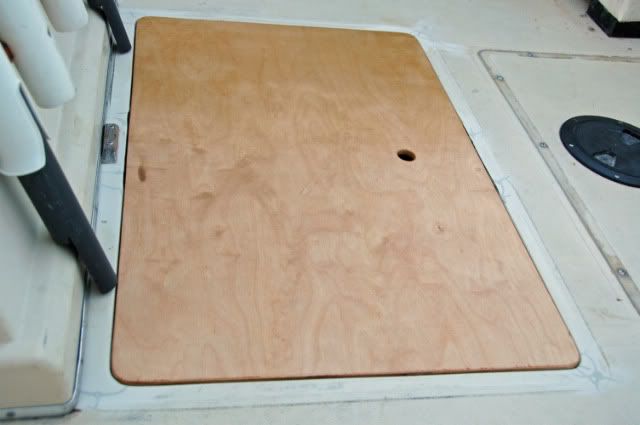
I punched out a finger hole in the lid for now, but I may put some hardware on it later.
I like how this project came out and can't wait to test it out!
Before:
To start, I removed the cracked bins and cut the floor between the hatches.
I had to be careful because the fuel line was attached to the under side.
Of course these projects always seem to open up a can of worms, and I found some cracking around the screw holes from the old bins. I started grinding and the next thing you know, I was in the gelcoat repair business! Color matching is a real chore, but I got it close enough.
I had to re-route the fuel line to go around the outside of the bin. The nipple at the tank was pointing the wrong direction and was less than 2" from the bulkhead. I tried to turn the nipple, but it wouldn't budge and I didn't want to break it off, so I found a 90 degree brass elbow and re-routed the line.
I drilled through the two bulkheads that run between the fuel tank and the engine compartment, and ran a new fuel line, attaching it and the fuel tank ground wire neatly around the bin with some nice stainless steel brackets:
My brother's inlaws are in the sheet metal business, so I was able to get a custom bin made out of "scrap" stainless (never used).
I designed the bin with a wide flange around the top that overhangs on the outside of the bin for hanging, and on the inside to keep ice/water/fish from sloshing out of the bin when I'm underway. The bottom is contoured with the hull of the boat to maximize capacity. It seems like a good design, but I haven't tested it yet...
After a little grinding for a perfect fit to prevent too much water from getting under the deck, I dropped it in
Next was the hatch cover. For this, I bought a scrap of nice plywood and coated it completely with fiberglass resin. I was going to take it another step further and add some non-skid bed-liner paint for extra protection, but I haven't yet.
I punched out a finger hole in the lid for now, but I may put some hardware on it later.
I like how this project came out and can't wait to test it out!
")